Paperless office with DMS Paperless-ngx on Homeserver
Install Paperless-ngx with Docker on your homeserver and transform your office into a paperless system. The complete step-by-step guide for your DMS setup.

CAUTION
Please note that this blog post was originally written in German and has been translated for your convenience. Although every effort has been made to ensure accuracy, there may be translation errors. I apologize for any discrepancies or misunderstandings that may result from the translation and I am grateful for any corrections in the comments or via email.
Having your own document management system is convenient. I would like to use Paperless ngx. It is free and offers OCR for uploaded files. The original document file- remains saved as a PDF in the specified directory, so you are not tied to Paperless ngx.
Paperless ngx was released in March 2022 as the successor to Paperless-ng. Since Paperless-ngx v1.10.0 (November 2022) qpdf 11, pikepdf 6 & ocrmypdf 14 are used, which improves the OCR quality. In addition, the automatic assignment of metadata such as tags has been improved. With Paperless-ngx v1.11.0 it is now finally possible not only to load PDF files (and with the help of Tika/Gotenberg also Office documents) into document management, but also to process emails. Previously, only the attachments were extracted from emails, but now the email itself is also archived.
The prerequisite for the following instructions is that Portainer (Portainer with Traefik or at least Docker-Compose (Docker on Raspberry Pi) is installed on the server. It basically works with a pure Ubuntu server(affiliate link) or something like a Raspberry Pi. It is also advisable to have at least one GB of RAM.
If you want to install Paperless-ngx on a Synology NAS, there is a new blog post here with instructions.
Create user and directory
First you need a Docker group. This should already exist with the installation of Docker.
# Your own user is added to the Docker group
sudo gpasswd -a namedesnutzers docker

# The user ID and the group ID can then be read out
id namedesnutzers

# ACL can be installed for rights management
sudo apt install acl

# The docker folder is created in the home directory
cd ~
mkdir docker

# The docker group receives all rights to the folder
sudo setfacl -Rdm g:docker:rwx docker
sudo setfacl -Rm g:docker:rwx docker
sudo chmod -R 775 docker

# As a test, you can check again whether the rights have been set correctly
getfacl docker
The docker group now has the rights to the ~/docker folder. The user can now create, edit, and access files in this folder. The rights are automatically transferred to the subfolders. The ID of the user (preferably not root) and the Docker group is still required. We also create a directory for the program with a few subfolders.
mkdir ~/docker/paperless
cd ~/docker/paperless
mkdir consume
mkdir db
mkdir export
mkdir media
mkdir data
The folder structure now looks like this:
paperless
├── consume
├── data
├── db
├── export
└── media
Of course, the folders can also be created at a different location. In this case, the paths in the Docker-Compose files need to be adjusted accordingly.
Consume folder
Files you want to manage in Paperless can be stored in the Consume folder. This is particularly useful if you have a scanner that can access the network and scan directly into the consume folder. This saves the manual uploading. I recommend the Brother ADS-1700W (affiliate link) or the Xerox 6515 DNI (affiliate link) if you also want to print documents.
Data folder
Here are some files that are stored by Paperless, such as logs.
DB folder
Here is the database.
Export folder
If you use the document exporter, the documents can be stored here.
Media folder
This is where the documents are saved, including the originals. Primarily this folder should backed up if important documents are managed in Paperless.
Portainer or Docker Compose
There are two ways to create a new stack: You can either switch to Portainer or use Docker Compose by creating a docker-compose.yml file in the Paperless folder.
touch ~/docker/paperless/docker-compose.ymlNew stack (Docker-Compose)
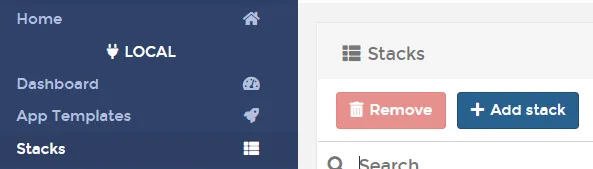
A new stack can now be added under Stacks.
Here we insert the Docker-Compose code.
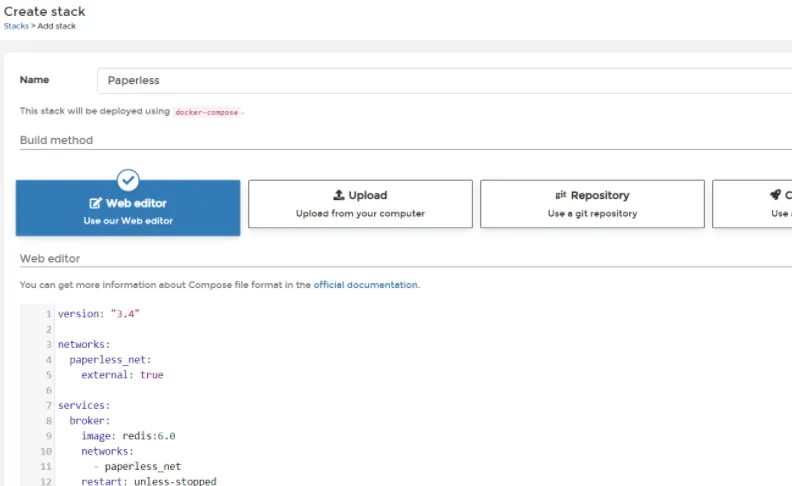
version: "3.4"

networks:
    internal:
        external: false

services:
    broker:
        container_name: paperless-redis
        image: redis:6.2
        networks:
            - internal
        restart: unless-stopped

    db:
        container_name: paperless-db
        image: postgres:14
        networks:
            - internal
        restart: unless-stopped
        volumes:
            - ~/docker/paperless/db:/var/lib/postgresql/data
        environment:
            POSTGRES_DB: paperless
            POSTGRES_USER: paperless
            POSTGRES_PASSWORD: paperless

    webserver:
        container_name: paperless
        image: ghcr.io/paperless-ngx/paperless-ngx:latest
        networks:
            - internal
        restart: unless-stopped
        depends_on:
            - db
            - broker
        ports:
            - 8050:8000
        healthcheck:
            test: ["CMD", "curl", "-f", "http://localhost:8000"]
            interval: 30s
            timeout: 10s
            retries: 5
        volumes:
            - ~/docker/paperless/data:/usr/src/paperless/data
            - ~/docker/paperless/media:/usr/src/paperless/media
            - ~/docker/paperless/export:/usr/src/paperless/export
            - ~/docker/paperless/consume:/usr/src/paperless/consume
        environment:
            PAPERLESS_REDIS: redis://broker:6379
            PAPERLESS_DBHOST: db
            USERMAP_UID: 1000
            USERMAP_GID: 100
            PAPERLESS_OCR_LANGUAGES: eng deu
            PAPERLESS_SECRET_KEY: pa6lHUuc1W8PQWdsP6wXViH1cJoKV38zj9ixRkDeTv3Q0iX8O9pNdq9GVXIqH6gilf4uV18vVy5KTeLAvghbkBbZz9ZsF9g5jmx5
            PAPERLESS_TIME_ZONE: Europe/Berlin
            PAPERLESS_OCR_LANGUAGE: deu
            PAPERLESS_FILENAME_FORMAT: "{created_year}/{correspondent}/{title}"
            # PAPERLESS_URL: "https://paperless.meinedomain.de"
The entries for the volume must be changed if the folders described above are located elsewhere.
The USERMAP_UID and USERMAP_GID, which we read out in the first step, must be changed.
If another application already uses port 8050, the port mapping should be changed. For example, 8020:8000 instead of 8050:8000. The ports do not need to be published if a reverse proxy exists on the same server. In this case, the host must be specified as the target of the proxy host, and the container must be added to the proxy network.
The PAPERLESS_SECRET_KEY needs to be changed. It can be random. If you are not planning to run Paperless publicly, you can also comment out the line completely.
Further configuration options can be found in the Documentation.
Without Portainer, the content must be inserted into docker-compose.yml (nano ~/docker/paperless/docker-compose.yml) and started (docker compose up -d or docker-compose up -d).
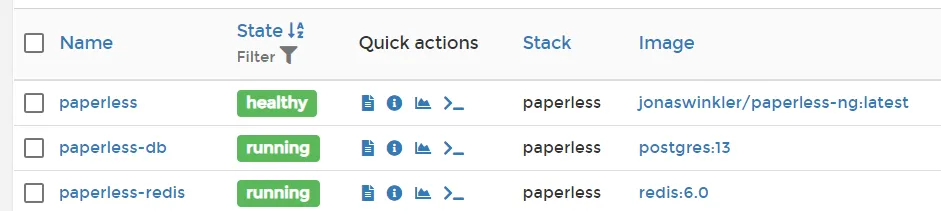
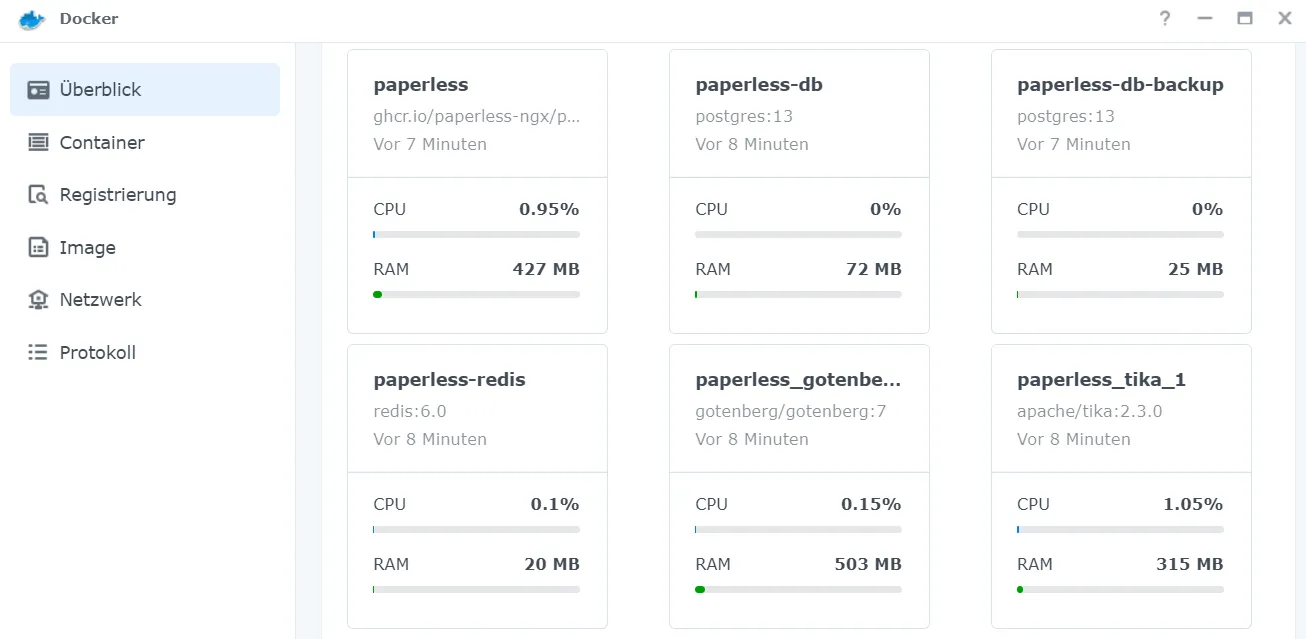
Deployment may take some time if all three images still need to be downloaded. After a bit of waiting, all three containers should be started.
We now visit the server’s IP address, including the port number (i.e. 8050 in the example above) from the Docker-Compose file.

New user
However, we probably cannot log in yet because no user has been created. We also take care of this in Portainer. To do this, click on the paperless container.
Then click on Console.

And then Connect.
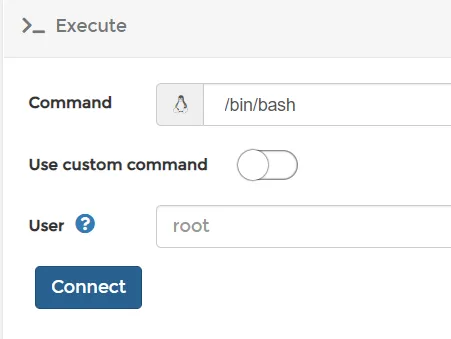
There we execute a command to create a user.
python3 manage.py createsuperuserWithout Portainer it works with docker exec -it paperless python3 manage.py createsuperuser.
A user name, an email address and a password must be entered. Now it should also be possible to log in.

Update
You may want to update your Paperless instance to the latest version (Changelog).
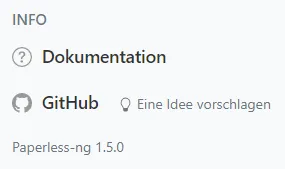
You can see the currently installed version at the bottom left of the Paperless-ng UI. In my case it is version 1.4.4, although 1.5 already exists.

I recommend creating a backup before updating.
Update via CLI
The update can be carried out relatively easily via the CLI (without Portainer).
docker compose pull
docker compose down
docker compose up -d
If you want to use a higher Postgres or Redis version (not recommended), you must also adjust the information in the docker-compose file. The database version should not simply be increased from 13 to 14 or 14 to 15, as this can lead to it no longer being loaded.
Update via Portainer
However, the update can also be carried out quickly with Portainer. To do this, the image page must first be called up.
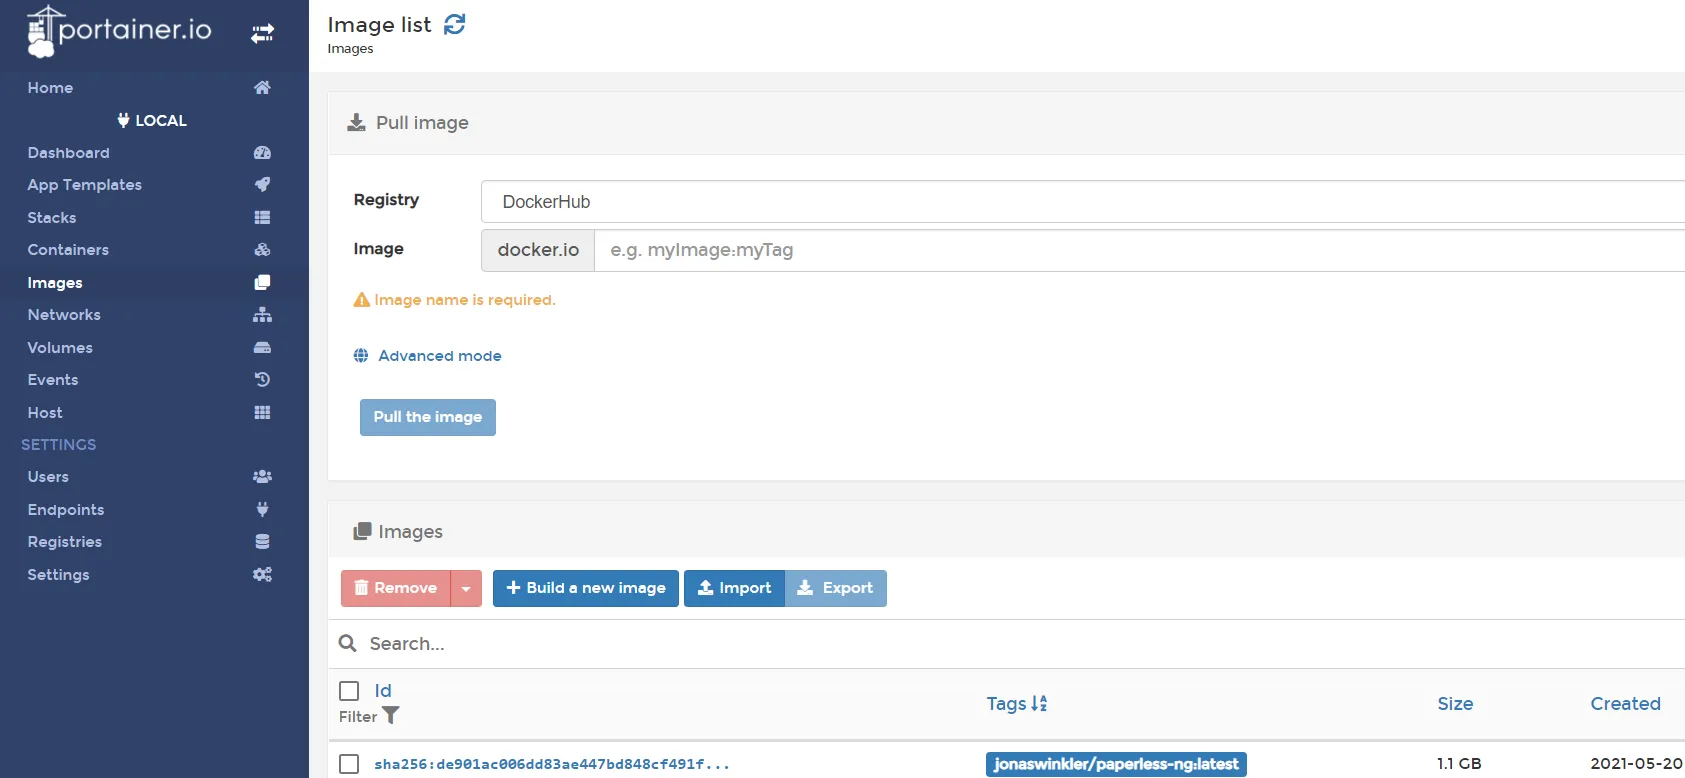
There I enter the image that I want to pull again.
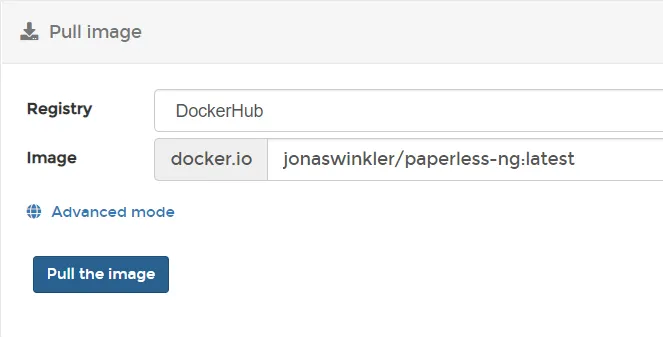
According to the Docker-Compose file, the following images are required:
- ghcr.io/paperless-ngx/paperless-ngx:latest
- postgres:14
- redis:6.2
With Paperless, the download can take a while, as over 1 GB is downloaded. I now see two images (unless there was no newer version).
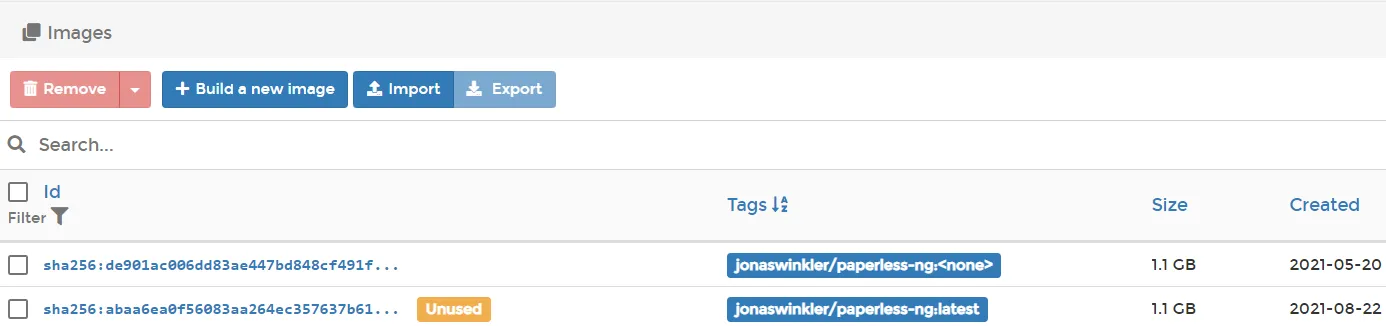
Again, if I want to use 14.x (not recommended) instead of Postgres version 13.x, I have to adjust this in the stack editor. I stop the paperless stack in the stack menu.
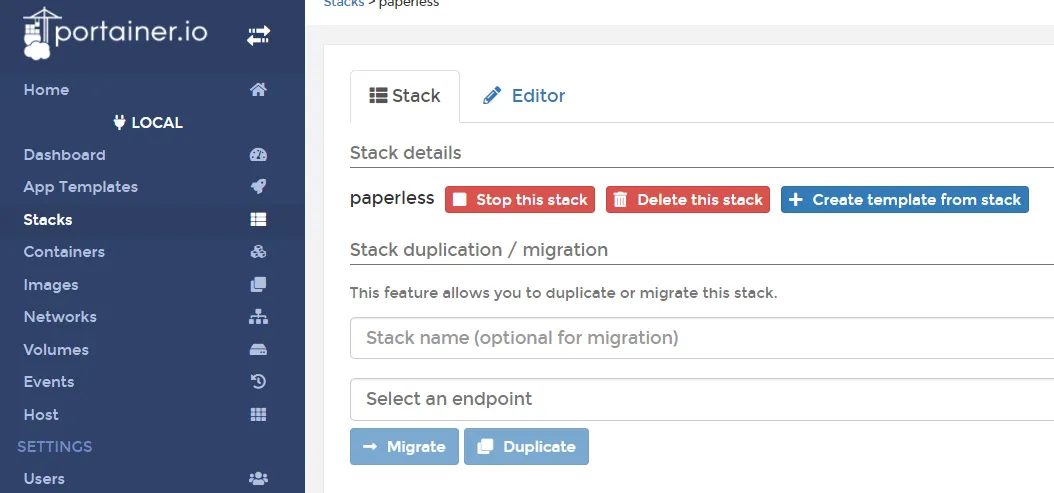
Then I start it again immediately. I have just updated my Paperless (as well as Redis and Postgre).
Backup
Occasionally, it makes sense to create a backup copy of Paperless. The Paperless folder should be moved to an external device to do this. However, this could lead to problems with the “db” folder when restoring at the latest. It is recommended to perform a database dump.
To do this, I first connect to my PostgreSQL container.
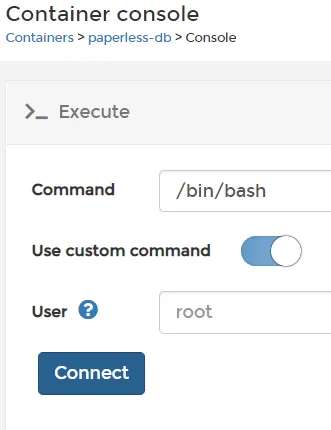
Via Portainer, /bin/bash must be executed in the container with the database
Of course, it is also possible without a container:
docker exec -i paperless-db /bin/bashIn the container, we then navigate to the folder with the data that we have persistently mounted.
cd var/lib/postgresql/dataNow all that remains is to create the dump. If necessary, the user name (paperless) and password (paperless) must be adjusted.
pg_dump --username paperless paperless > dump.sql
exit
It may seem as if nothing has happened, but there is a file called “dump.sql” in the […]/paperless/db folder.
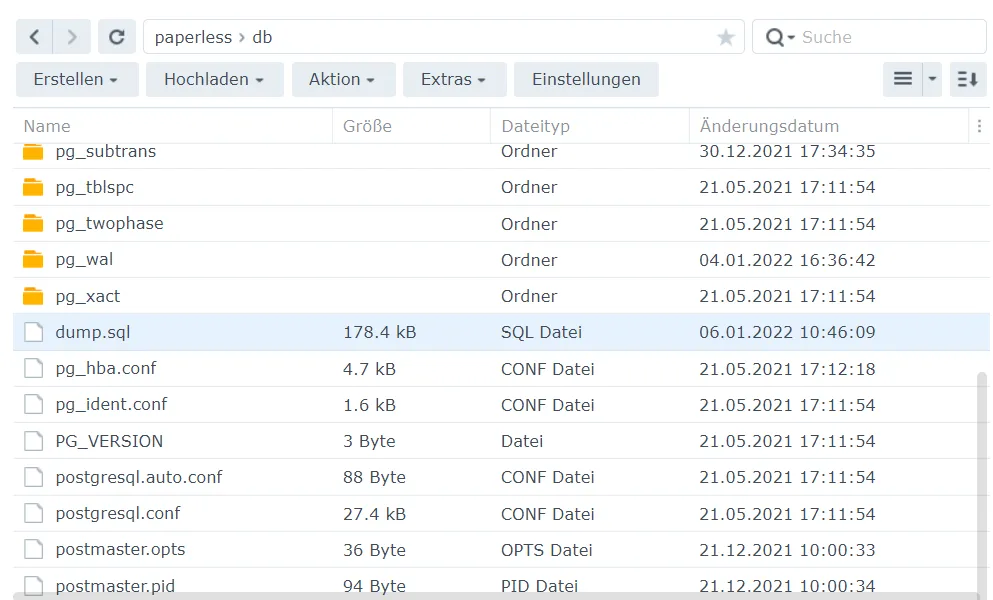
This should be saved. When restoring, we place the dump.sql in the db folder and then execute the following commands in the DB container:
cd /var/lib/postgresql/data
psql --username paperless paperless < dump.sql
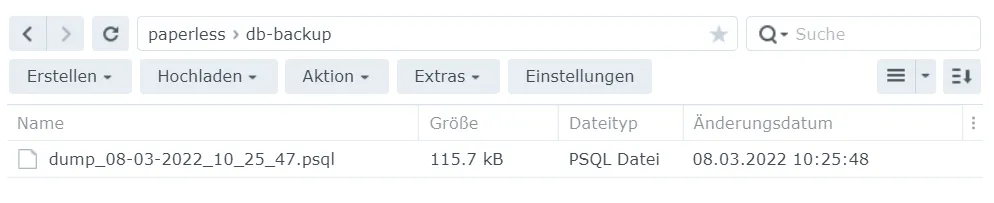
exitIt was pointed out to me in the comments (thanks for that) that the backup process can also be automated. To do this, you have to add another service to the stack (or the Docker-Compose file), but first create a folder for the backups.
mkdir db-backup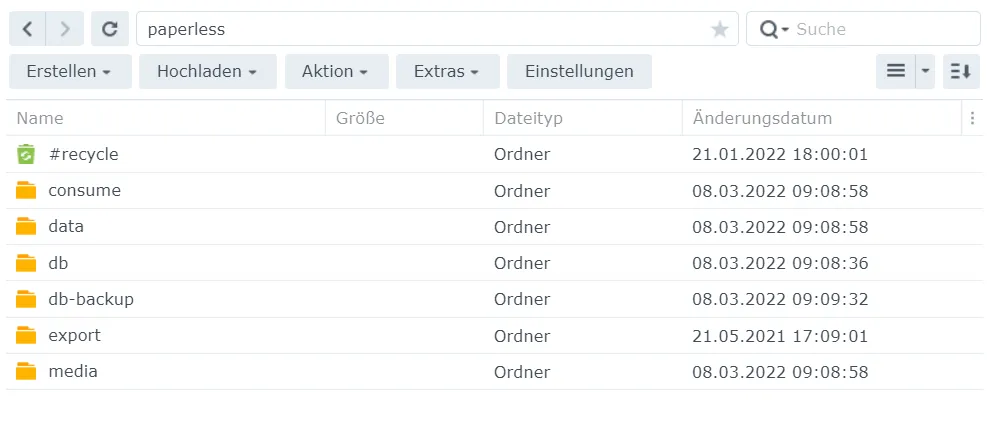
version: "3.4"

networks:
    internal:
        external: false

services:
    broker:
        container_name: paperless-redis
        image: redis:6.2
        networks:
            - internal
        restart: unless-stopped

    db:
        container_name: paperless-db
        image: postgres:14
        networks:
            - internal
        restart: unless-stopped
        volumes:
            - ~/docker/paperless/db:/var/lib/postgresql/data
        environment:
            POSTGRES_DB: paperless
            POSTGRES_USER: paperless
            POSTGRES_PASSWORD: paperless

    webserver:
        container_name: paperless
        image: ghcr.io/paperless-ngx/paperless-ngx:latest
        networks:
            - internal
        restart: unless-stopped
        depends_on:
            - db
            - broker
        ports:
            - 8050:8000 # do not use if the reverse proxy is used on the same device, then add the Docker network instead
        healthcheck:
            test: ["CMD", "curl", "-f", "http://localhost:8000"]
            interval: 30s
            timeout: 10s
            retries: 5
        volumes:
            - ~/docker/paperless/data:/usr/src/paperless/data
            - ~/docker/paperless/media:/usr/src/paperless/media
            - ~/docker/paperless/export:/usr/src/paperless/export
            - ~/docker/paperless/consume:/usr/src/paperless/consume
        environment:
            PAPERLESS_REDIS: redis://broker:6379
            PAPERLESS_DBHOST: db
            USERMAP_UID: 1000
            USERMAP_GID: 100
            PAPERLESS_OCR_LANGUAGES: eng deu
            PAPERLESS_SECRET_KEY: pa6lHUuc1W8PQWdsP6wXViH1cJoKV38zj9ixRkDeTv3Q0iX8O9pNdq9GVXIqH6gilf4uV18vVy5KTeLAvghbkBbZz9ZsF9g5jmx5
            PAPERLESS_TIME_ZONE: Europe/Berlin
            PAPERLESS_OCR_LANGUAGE: deu
            PAPERLESS_FILENAME_FORMAT: "{created_year}/{correspondent}/{title}"
            PAPERLESS_URL: "https://paperless.meinedomain.de"

    db-backup:
        container_name: paperless-db-backup
        image: postgres:14
        volumes:
            - ~/docker/paperless/db-backup:/dump
            - /etc/localtime:/etc/localtime:ro
        environment:
            PGHOST: db
            PGDATABASE: paperless
            PGUSER: paperless
            PGPASSWORD: paperless
            BACKUP_NUM_KEEP: 10
            BACKUP_FREQUENCY: 7d
        entrypoint: |
            bash -c 'bash -s <<EOF
            trap "break;exit" SIGHUP SIGINT SIGTERM
            sleep 2m
            while /bin/true; do
              pg_dump -Fc > /dump/dump_\`date +%d-%m-%Y"_"%H_%M_%S\`.psql
              (ls -t /dump/dump*.psql|head -n $$BACKUP_NUM_KEEP;ls /dump/dump*.psql)|sort|uniq -u|xargs rm -- {}
              sleep $$BACKUP_FREQUENCY
            done
            EOF'
        networks:
            - internal
This way you get a new backup of the database every week.
Tika / Gotenberg
Paperless cannot process “Office” files such as “.doc”, “.xlsx” and “.odt” in the above configuration, only PDFs. An error message appears if you try to upload a Word file to the document management system. With the help of Tika and Gotenberg, it is possible to convert these file types into PDF files during the upload.
Disadvantage: The additional services consume system resources. You may run out of memory if you only have 1-2 GB of RAM.
The change is easy to set up. Only the Docker-Compose file needs to be changed again:
version: "3.4"

networks:
    internal:
        external: false

services:
    broker:
        container_name: paperless-redis
        image: redis:6.2
        networks:
            - internal
        restart: unless-stopped

    db:
        container_name: paperless-db
        image: postgres:14
        networks:
            - internal
        restart: unless-stopped
        volumes:
            - ~/docker/paperless/db:/var/lib/postgresql/data
        environment:
            POSTGRES_DB: paperless
            POSTGRES_USER: paperless
            POSTGRES_PASSWORD: aPassword

    webserver:
        container_name: paperless
        image: ghcr.io/paperless-ngx/paperless-ngx:latest
        networks:
            - internal
        restart: unless-stopped
        depends_on:
            - db
            - broker
        ports:
            - 8050:8000
        healthcheck:
            test: ["CMD", "curl", "-f", "http://localhost:8000"]
            interval: 30s
            timeout: 10s
            retries: 5
        volumes:
            - ~/docker/paperless/data:/usr/src/paperless/data
            - ~/docker/paperless/media:/usr/src/paperless/media
            - ~/docker/paperless/export:/usr/src/paperless/export
            - ~/docker/paperless/consume:/usr/src/paperless/consume
        environment:
            PAPERLESS_REDIS: redis://broker:6379
            PAPERLESS_DBHOST: db
            PAPERLESS_DBPASS: aPassword
            USERMAP_UID: 1000
            USERMAP_GID: 100
            PAPERLESS_OCR_LANGUAGES: eng deu
            PAPERLESS_SECRET_KEY: pa6lHUuc1W8PQWdsP6wXViH1cJoKV38zj9ixRkDeTv3Q0iX8O9pNdq9GVXIqH6gilf4uV18vVy5KTeLAvghbkBbZz9ZsF9g5jmx5
            PAPERLESS_ALLOWED_HOSTS: "localhost,paperless.domain.de"
            PAPERLESS_TIME_ZONE: Europe/Berlin
            PAPERLESS_OCR_LANGUAGE: deu
            PAPERLESS_FILENAME_FORMAT: "{created_year}/{correspondent}/{title}"
            PAPERLESS_TIKA_ENABLED: 1
            PAPERLESS_TIKA_GOTENBERG_ENDPOINT: http://gotenberg:3000/forms/libreoffice/convert#
            PAPERLESS_TIKA_ENDPOINT: http://tika:9998
            PAPERLESS_URL: "https://paperless.meinedomain.de"

    db-backup:
        container_name: paperless-db-backup
        image: postgres:14
        volumes:
            - ~/docker/paperless/db-backup:/dump
            - /etc/localtime:/etc/localtime:ro
        environment:
            PGHOST: db
            PGDATABASE: paperless
            PGUSER: paperless
            PGPASSWORD: paperless
            BACKUP_NUM_KEEP: 10
            BACKUP_FREQUENCY: 7d
        entrypoint: |
            bash -c 'bash -s <<EOF
            trap "break;exit" SIGHUP SIGINT SIGTERM
            sleep 2m
            while /bin/true; do
              pg_dump -Fc > /dump/dump_\`date +%d-%m-%Y"_"%H_%M_%S\`.psql
              (ls -t /dump/dump*.psql|head -n $$BACKUP_NUM_KEEP;ls /dump/dump*.psql)|sort|uniq -u|xargs rm -- {}
              sleep $$BACKUP_FREQUENCY
            done
            EOF'
        networks:
            - internal

    gotenberg:
        image: gotenberg/gotenberg:7
        restart: unless-stopped
        environment:
            CHROMIUM_DISABLE_ROUTES: 1
        command:
            - "gotenberg"
            - "--chromium-disable-javascript=true"
            - "--chromium-allow-list=file:///tmp/.*"
        networks:
            - internal

    tika:
        image: apache/tika:2.3.0
        restart: unless-stopped
        networks:
            - internal
However, you will need other images if you have an ARM CPU.
If you have any questions / remarks / suggestions for improvement etc. please feel free to comment :)
Related Articles
How to Install Paperless-ngx on a Synology NAS with Docker
Learn how to install Paperless-NGX on your Synology NAS — a powerful open-source document management system — using Docker and Portainer. Step-by-step guide.
Install Linkwarden: Self-Hosted Bookmark Manager on Synology
Install Linkwarden on your Synology NAS and take control of your bookmarks. A self-hosted bookmark manager with easy Docker setup – manage links efficiently!
Synology NAS Setup: Your First Homeserver Step-by-Step
Set up your Synology DiskStation from scratch: VPN, DDNS, Firewall, Docker, and Nginx Proxy Manager. The complete NAS homeserver setup guide for beginners.
Firefly III - Personal finance manager on Synology (Docker)
Install the free personal finance software Firefly III on your Synology NAS with Docker. Manage income and expenses privately and clearly on your own server.