Calibre on Synology NAS: Manage E-Books with Docker
Install Calibre on your Synology NAS with Docker. Manage and organize your e-books, convert formats, and use Calibre-Web as a web interface on your NAS.

Table of Contents
CAUTION
Please note that this blog post was originally written in German and has been translated for your convenience. Although every effort has been made to ensure accuracy, there may be translation errors. I apologize for any discrepancies or misunderstandings that may result from the translation and I am grateful for any corrections in the comments or via mail.
Calibre is a versatile solution for managing e-books. In addition to displaying, converting and cataloging e-books, Calibre allows you to communicate with e-book readers and automatically download metadata for books in a library. It can even be used to manage newspapers. In this article, I will show you how to start a Calibre server on a Synology NAS and then administrate the library with Calibre-Web.
Prerequisites
I use a Synology NAS, the model DS220+(Amazon Affiliate Link) with 10 GB RAM(Amazon Affiliate Link). However, basically, any device that runs Docker can be used.
The resources required for Calibre are low. Still, you should ensure you have enough storage space for your books. My library currently contains about 150 books, which occupy about 2.3 GB of storage space.
In the past I wrote a guide to Calibre with Traefik. There is also a mention of Calibre in Asustor NAS Setup.
A reverse proxy manager on the network is helpful, regardless of whether it is on another device or the Synology NAS.
We use the DSM from the Synology NAS for the installation. Portainer is not required, as no external database is started.
Setting up the Docker user
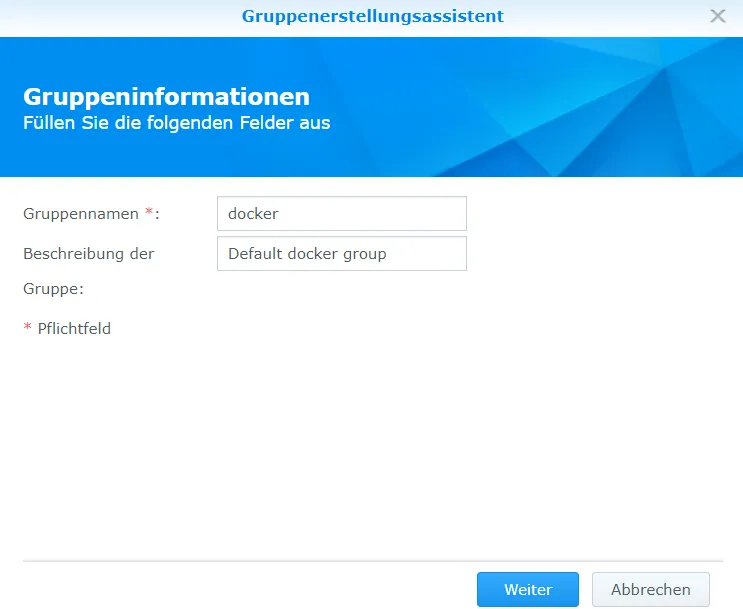
First, I set up a Docker group to ensure better rights management.
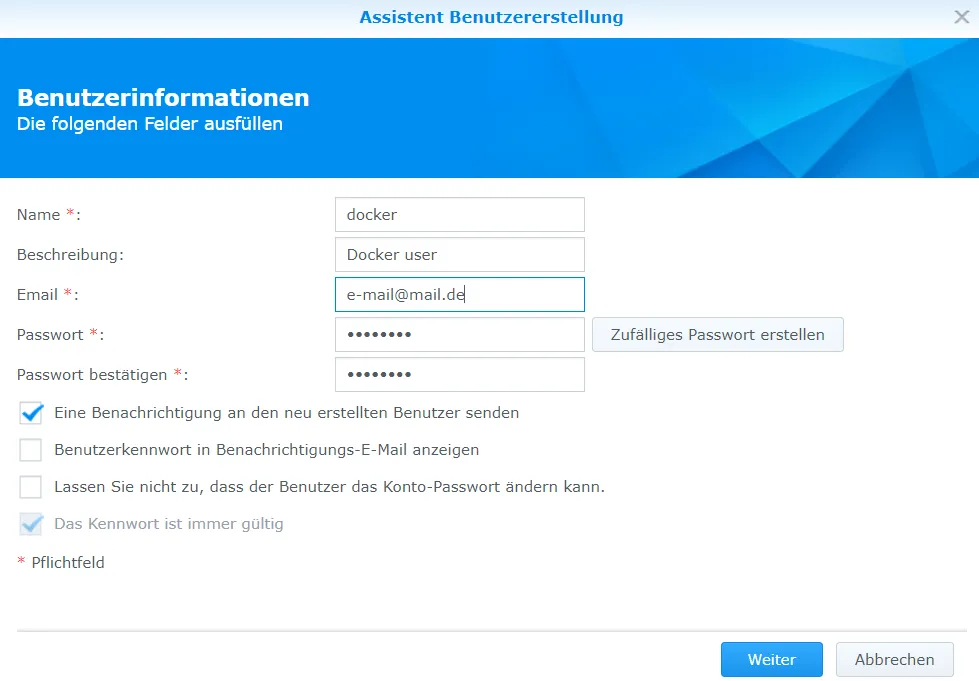
I then create a new user who should have the rights to the Calibre container.
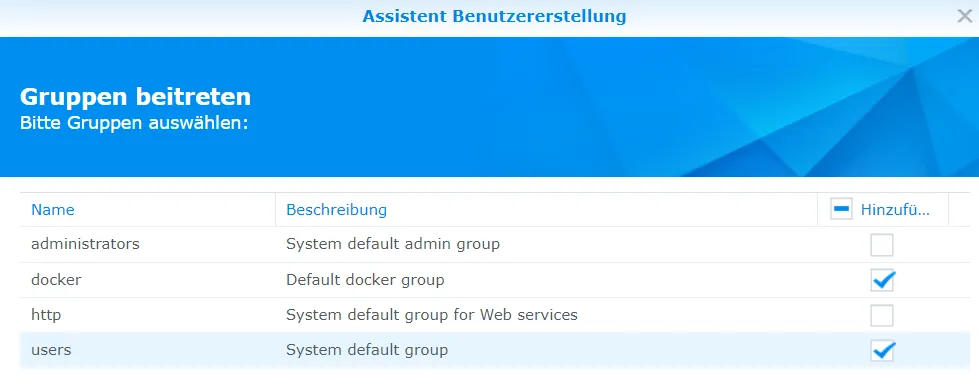
I add this user to the Docker group.
I create only one Docker user for more efficient administration instead of creating a separate user for each service.
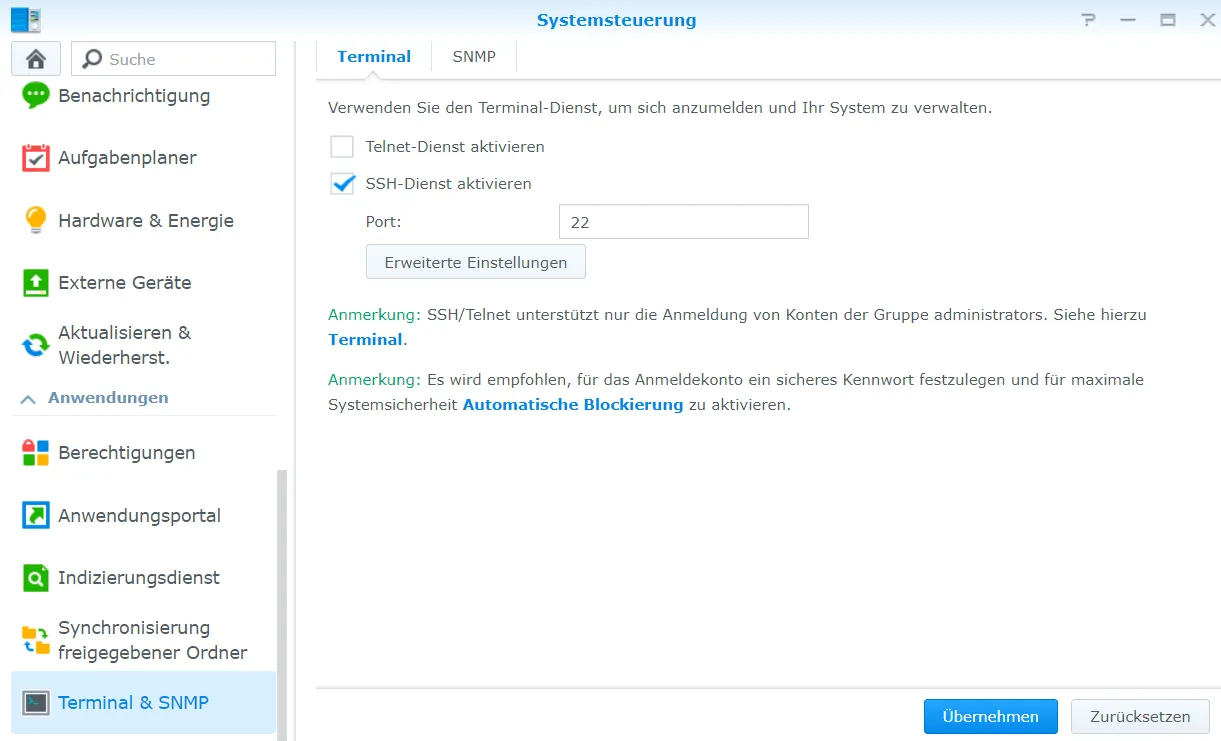
To determine the ID of the “docker” user and the “docker” group, I temporarily activate SSH and connect to the NAS via a terminal (e.g. in VSCode).
ssh adminusername@{ip-address-from-nas}First, I would like to know the UserID of the user docker.
id -u dockerI note this number as the UserID. Next, I want to find out the group ID of the group docker.
id -Gn docker
# now I see the names of the groups
id -G docker
# now I see the numbers of the groups
I memorize the number at the group “docker” position as the group ID. Then I exit the terminal.
exitI also deactivate SSH again.
![]()
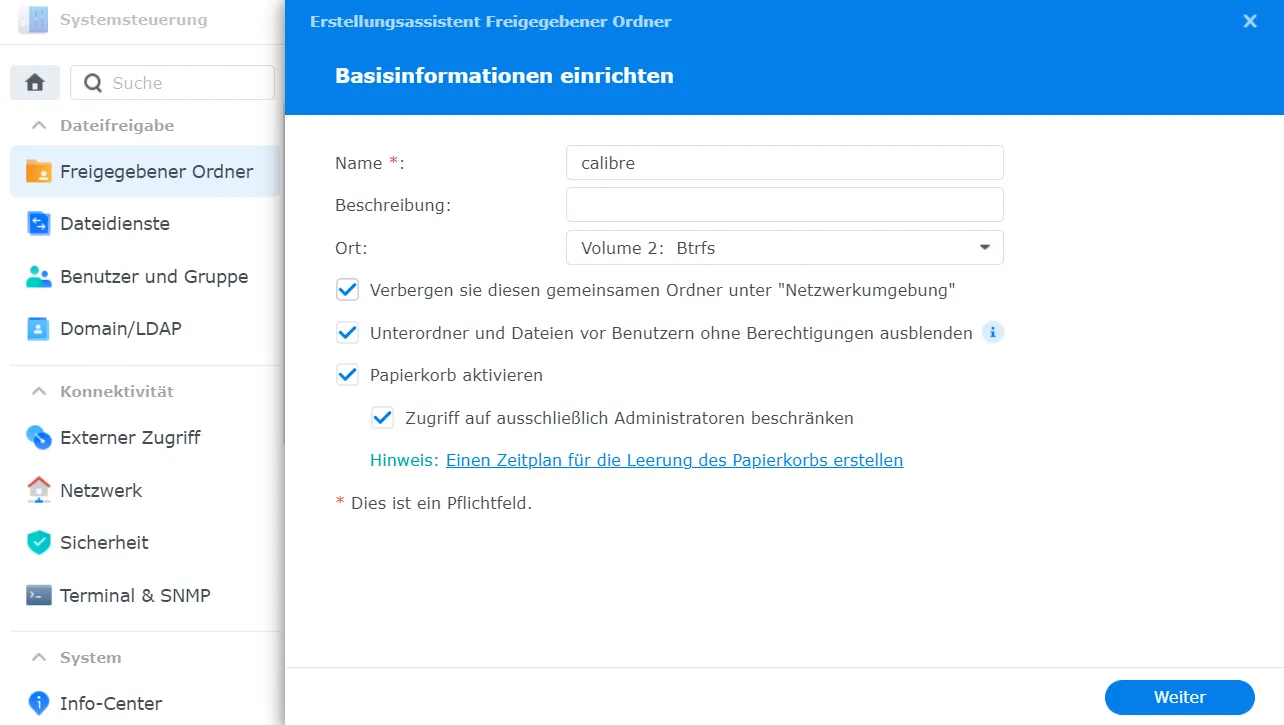
Now I create a new shared folder without checksum check and name it calibre.
The Docker group needs access rights to the folder.

It is also advisable to grant the Docker user access rights.

I create two new folders in this directory:
- data
- web-data
Calibre Server Installation
I open Docker in DSM and search for the image linuxserver/calibre.
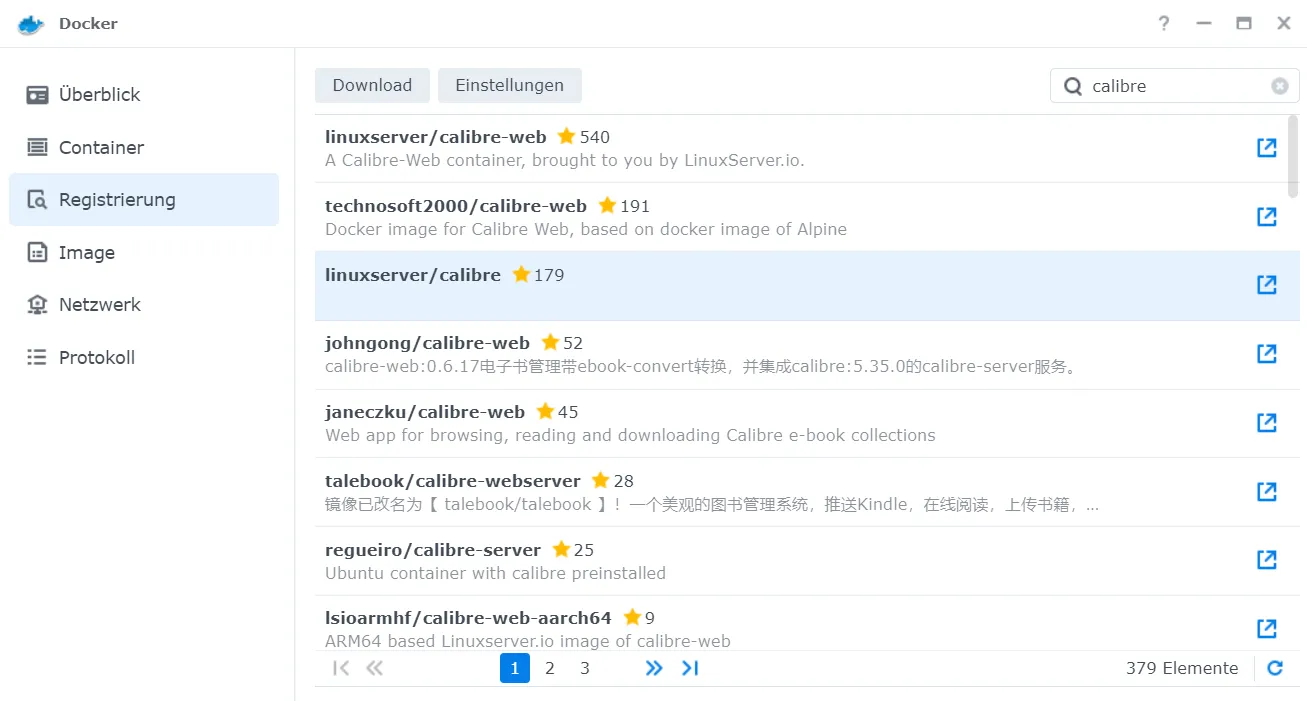
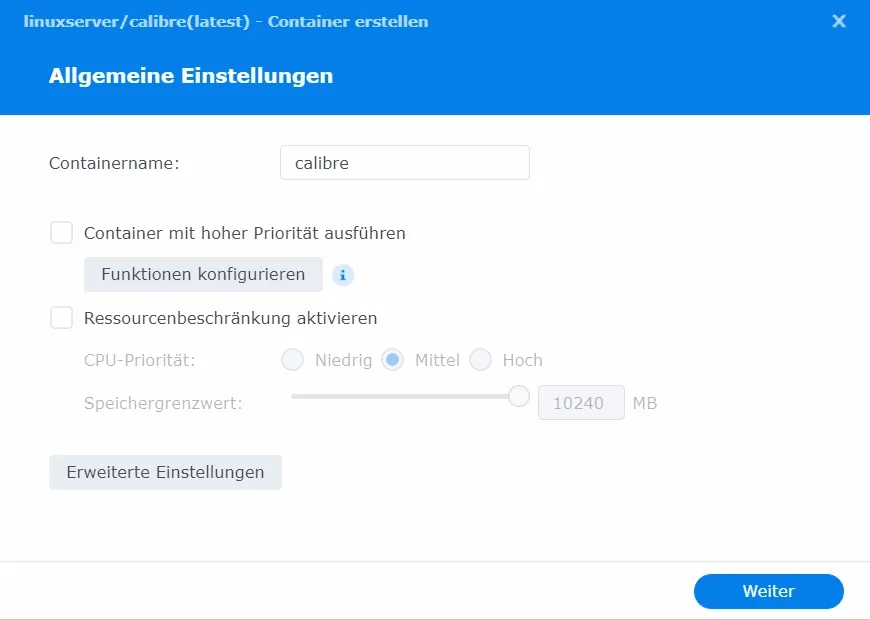
I download this with the tag latest. The image is about 1 GB in size. I start a new container with this image as soon as it is downloaded.
I add the folder calibre/data under Volume in the expanded properties. I include the config directory in this folder.
Under Port I set a connection with port 8080. The left-hand number can be freely selected (this should be done in particular if another service is already running on 8080). The right-hand number should remain 8080 (unless you adjust this under Environment). Four environment variables must be added to the environment:
PUID: The personal user ID of the user (docker)PGID: The personal group ID of the group (docker)TZ: The time zone, for Germany it isEurope/Berlin.PASSWORD: The password of the userabc.
Then, I start the container.
Calibre server configuration
Now I can access the server by calling up the IP address of the NAS with the set port (8080) in a web browser. Username is abc and the password is what I have set in the environment.
I change the name Calibre-Bibiliothek to books.
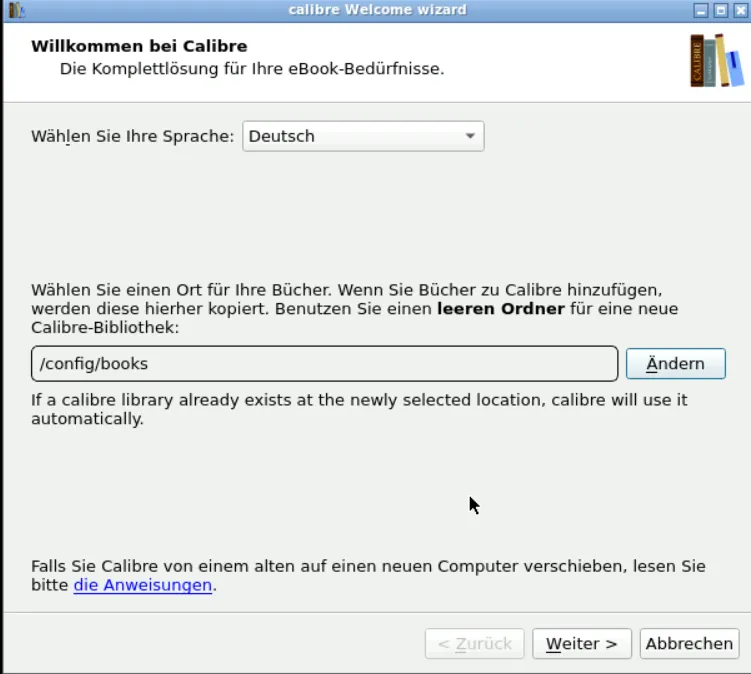
A device can be selected by default for the e-book device. This setting can also be changed later. If you are unsure, it is best to leave it generic.
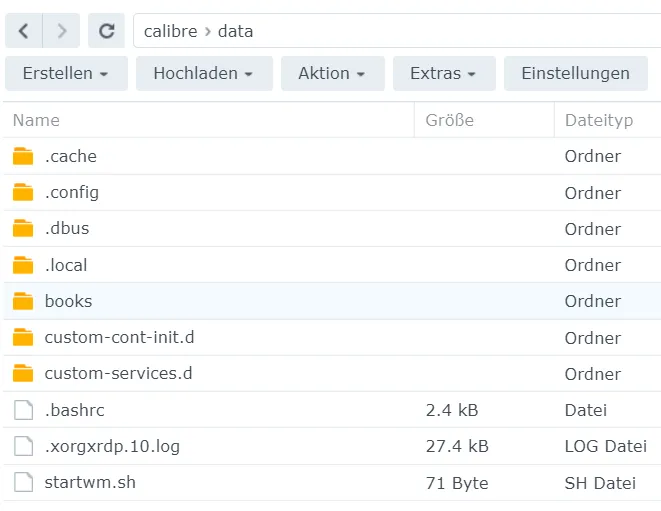
As soon as you see your library, the setup is complete. The directory with the Calibre library should now also be visible in the calibre/data folder.
Installation of the Calibre Web Server
Next, the web server must manage the books in a more user-friendly GUI. To do this, I search for the linuxserserver/calibre-web image and download it. Again, select the tag latest. This image is about 600 MB in size.
For the volumes, I mount the folder calibre/web-data with the mount path /config and another folder calibre/data/books with the mount path /books. Under Port settings, I select the port Calibre-Web, which should be accessible. The container port remains at 8083.
This time, 5 environment variables can be added to the environment:
PUID: The personal user ID of the user (docker)PGID: The personal group ID of the group (docker)TZ: The time zone, for Germany it isEurope/Berlin.DOCKER_MODS: This can be set tolinuxserver/calibre-web:calibreso that books can be converted. It does not work on an ARM system.OAUTHLIB_RELAX_TOKEN_SCOPE: If you consider using Google OAuth, you can set the value to1. Otherwise, it can be left blank.

At this point, I stop the Calibre container.

Calibre Web Server configuration
Now, I set up a proxy host for port 8083 in my reverse proxy. Otherwise, you have to call the IP address with port 8083 directly.
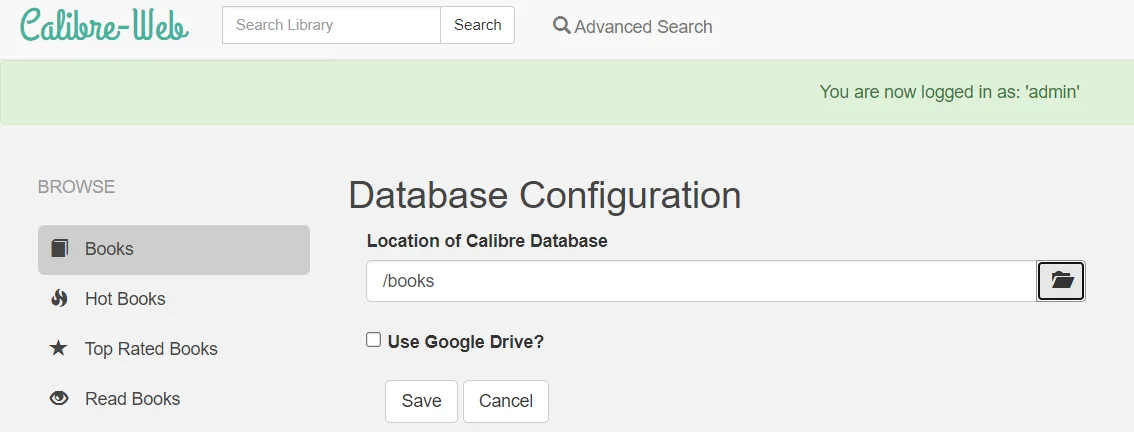
The login data are admin as username and admin123 as password.
For the path to the database, I select /books.
You should then change your password in the profile (top right).
You can also set the basic configuration to allow books to be uploaded via the web server.

You should also check the box in the user configuration to view the books yourself.
This completes the setup.
Backup
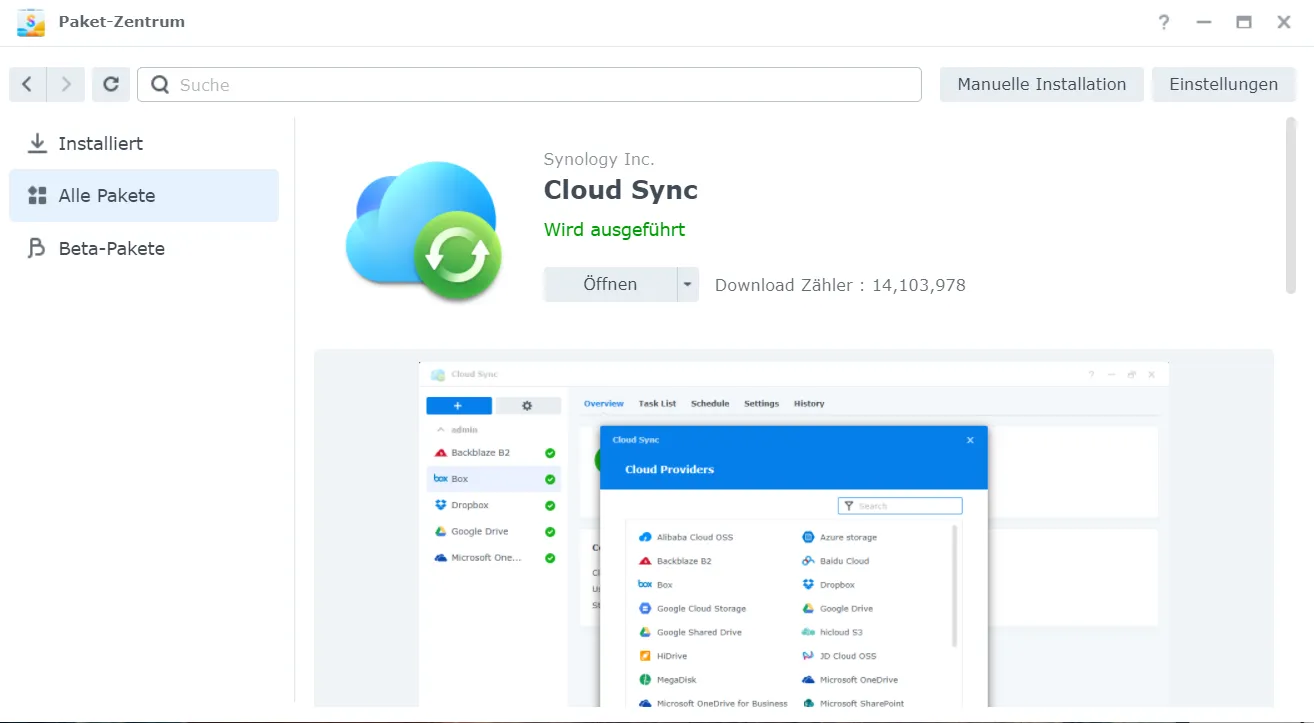
If you want to back up your books to the cloud, this is easy on Synology. To do this, install the Cloud Sync program from the Package Center.
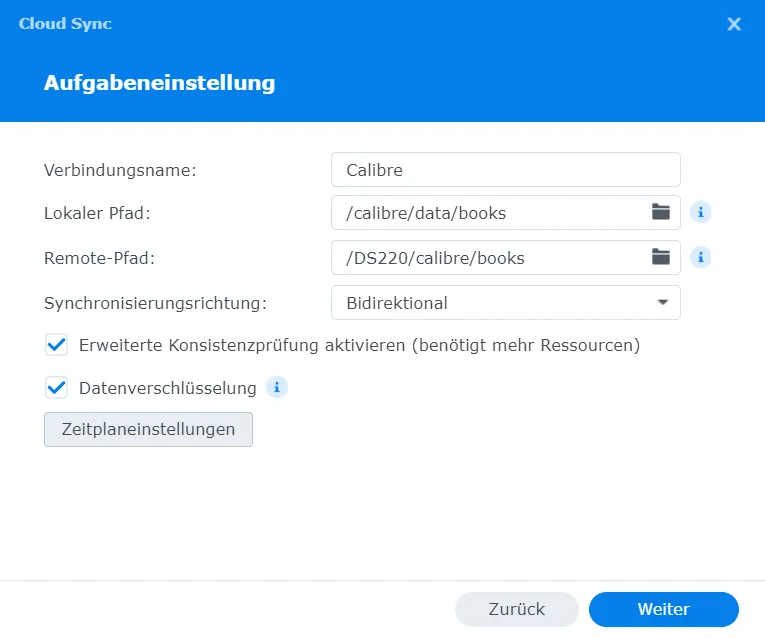
I set up a new task with Cloud Sync to synchronize the books folder with Google Drive or Microsoft One Drive, etc.
Please use the comment function if you have any questions / suggestions for improvement / criticism etc.
Have fun reading!
Related Articles
Firefly III - Personal finance manager on Synology (Docker)
Install the free personal finance software Firefly III on your Synology NAS with Docker. Manage income and expenses privately and clearly on your own server.
Install Linkwarden: Self-Hosted Bookmark Manager on Synology
Install Linkwarden on your Synology NAS and take control of your bookmarks. A self-hosted bookmark manager with easy Docker setup – manage links efficiently!
How to Install Paperless-ngx on a Synology NAS with Docker
Learn how to install Paperless-NGX on your Synology NAS — a powerful open-source document management system — using Docker and Portainer. Step-by-step guide.
Asustor NAS Homeserver Setup with Docker: VPN, Gitea & Calibre
Set up your Asustor NAS as a homeserver step by step: VPN, firewall, reverse proxy, Gitea and Calibre with Docker. The complete NAS homeserver guide.