Immich: Easy Self-Hosted Photo Management Server Setup Guide
Set up Immich, a private photo cloud, on your server. Step-by-step guide for NAS or Ubuntu. Secure alternative to Google Photos.

Table of Contents
You know what? Privacy isn’t just a buzzword anymore—it’s a necessity. And when it comes to storing your precious memories—those candid family photos, those goofy videos of your dog—trusting a third-party cloud service can feel like handing over your diary to a stranger. That’s where Immich steps in, offering a self-hosted, open-source alternative to services like Google Photos or iCloud. Think of it as your very own private vault for photos and videos, one that you control entirely.
But is it worth the effort? Let’s break it down together.
Why Immich Stands Out (And Why You Should Care)
Immich wasn’t born out of some corporate boardroom brainstorming session. Nope. It started with a dad—a guy named Alex Tran—who wanted a safe, private way to store photos of his newborn baby. No ads, no algorithms peeking at his pictures, no risk of data breaches. Just pure, unfiltered privacy. Fast forward to today, and Immich has grown into a powerhouse tool for managing photos and videos, complete with features that rival its big-name competitors.
Here’s what makes it special:
- A sleek interface that feels eerily similar to Google Photos.
- Automatic uploads from both Android and iOS devices.
- Smart features like facial recognition and AI-powered search.
- Full ownership and control over your data—no strings attached.
Honestly, who wouldn’t want that?
Setting Up Immich: Easier Than You Think
Before you panic about setting up a “self-hosted” solution, let me assure you—it’s not rocket science. Sure, there’s a bit of prep work involved, but if you’ve ever tinkered with Docker or set up a NAS (Network Attached Storage), you’re already halfway there.
What You’ll Need
First things first, here’s what you’ll need to get started:
- A Server with Docker: This could be anything from a Synology NAS to an old PC running Ubuntu.
- Some decent hardware specs: Ideally, 6GB of RAM and 4 CPU cores, though 4GB and 2 cores might scrape by if you’re on a budget.
- Plenty of storage space: Photos and videos eat up space faster than you’d think. Plan accordingly.
- Optional extras:
- Reverse Proxy: A reverse proxy (e.g., Nginx Proxy Manager, Caddy, Traefik) for external access and domain usage.
- DNS-Server: A DNS server (e.g., Adguard Home, Pi-Hole, Technitium) for internal forwarding.
- VPN-Server: If the server is not on your own network, setting up a VPN server like WireGuard or OpenVPN is recommended.
- SMTP EMail Address: An SMTP address can be used for notifications, e.g., a shared web hosting plan from Netcup.
INFO
If using a NAS, Portainer (Portainer on Synology), Dockge (Dockge on
Ugreen) or another Docker management tool should be installed to manage multiple containers.
On an Ubuntu Server (Setup Guide), docker compose can be used.
Organizing Your Files
Before diving into the installation, take a moment to organize your folders. You’ll need two main directories:
data: Where your photos and videos will live.db: For the PostgreSQL database.
For example:
Ubuntu Server
cd ~
mkdir immich
cd immich
mkdir db data
Result:
/home/user/immich
├── db
└── data
We can also create an empty docker-compose.yml file here, which we’ll need later.
touch docker-compose.ymlor the data path, we only need the relative reference to the docker-compose.yml file. In this case, it would be ./db and ./data.
Synology NAS
On a Synology NAS, we can either create a new shared folder for Immich or use a shared folder for all Docker containers. In my configuration, I created a shared folder docker on my SSD and a shared folder dockerhdd on my HDD. In both, I create an immich folder and on the SSD, I additionally create the subfolder db and on the HDD, the subfolder data. This way, I can store the database on the SSD and the photos and videos on the HDD.
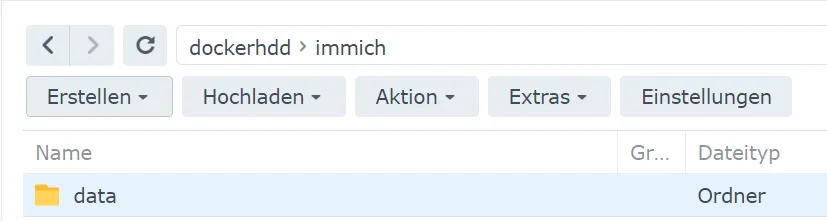
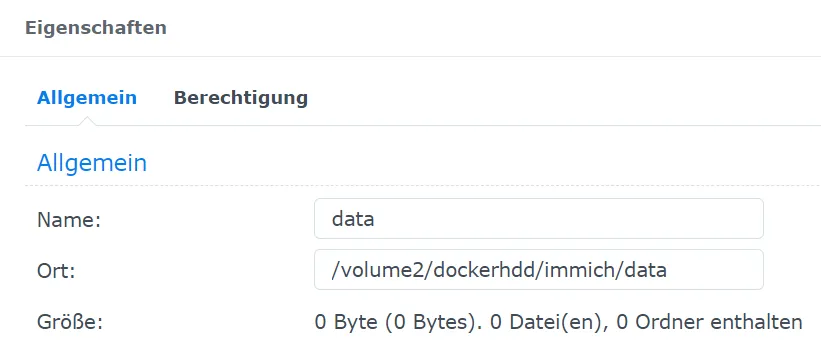
Wherever the folders are created, the complete path can be found via the properties. This will be needed later for the Docker containers.
Example result:
/volume1/docker/
└── immich
    └── db

/volume2/dockerhdd/
└── immich
    └── data
Ugreen NAS
On a Ugreen NAS, we can simply create a new immich folder in the shared folder docker. In this folder, we then create the subfolders data and db.

Of course, you can also create another shared folder. This is particularly useful if you want to store the database (db) on an SSD and the images and videos (data) on an HDD.
We need the full path, which we can find through the folder’s properties. This will be needed later for the Docker containers.

Example result:
/volume1/docker/
└── immich
    |── db
    └── data
# or
/volume1/docker/
└── immich
    └── db

/volume2/dockerhdd/
└── immich
    └── data
Firewall
To ensure that the created containers can communicate with each other, it is recommended to either allow the entire internal IP range or check the IP addresses used by the containers after installation if you have a restrictive firewall. Otherwise, the containers may not be able to communicate with each other.
Writing the Docker Compose File
Once your folders are ready, it’s time to write the docker-compose.yml file. This file tells Docker which containers to spin up and how they should interact. Here’s a quick rundown of the key components:
- Valkey: Handles caching for faster performance.
- PostgreSQL: The database engine, enhanced with pgvecto.rs for vector-based searches.
- Immich Server: The brains of the operation.
- Immich Machine: Powers AI-driven features like facial recognition.
Docker Compose File
First, we need the container commands to perform the installation.
Immich Docker Compose Generator
Generate a production-ready Docker Compose configuration for your self-hosted photo management
Please fix the following issues:
- •Please change the default password
Configuration
Storage Settings
Network Settings
Security Settings
Please change the default password
Version Settings
Generated Configuration
Production-ready Docker Compose file for Immich
Configuration Required
Complete the form above to generate your Docker Compose file
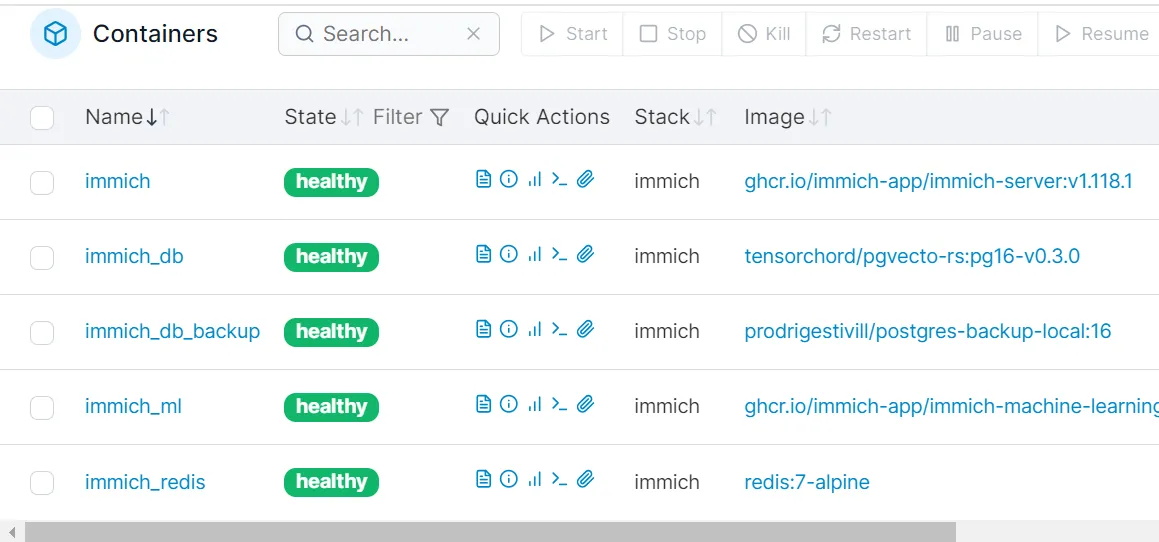
The images can be customized, but I advise against using latest or release as it can lead to problems if a new incompatible image is published. You can check on the container page to see which image is currently the newest.
Installation über Docker-Compose (Ubuntu Server)
The Docker-Compose code can be copied into the docker-compose.yml file. For the paths, relative paths (e.g., ./db) or absolute paths (e.g., /home/user/immich/db) can be used. The paths should lead to the previously created folders.
Then the containers can be started with the command docker compose up -d or sudo docker compose up -d.
Installation über Portainer
Under Stacks, a new stack can now be added.
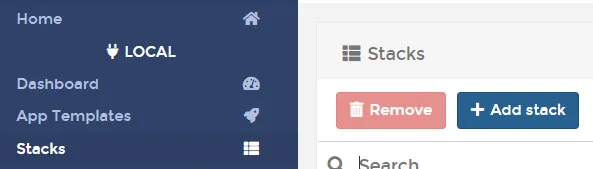
If you can’t see this menu item, make sure you have selected the local environment and are running Portainer with the image portainer/portainer-ce and not portainer/portainer.
Here we insert the Docker Compose code.

Then the containers can be started. This may take a few minutes.
Installation über Dockge
In Dockge, a new stack can be created. To do this, the Docker-Compose code is pasted into the text field and the stack is created. Then the containers can be started.
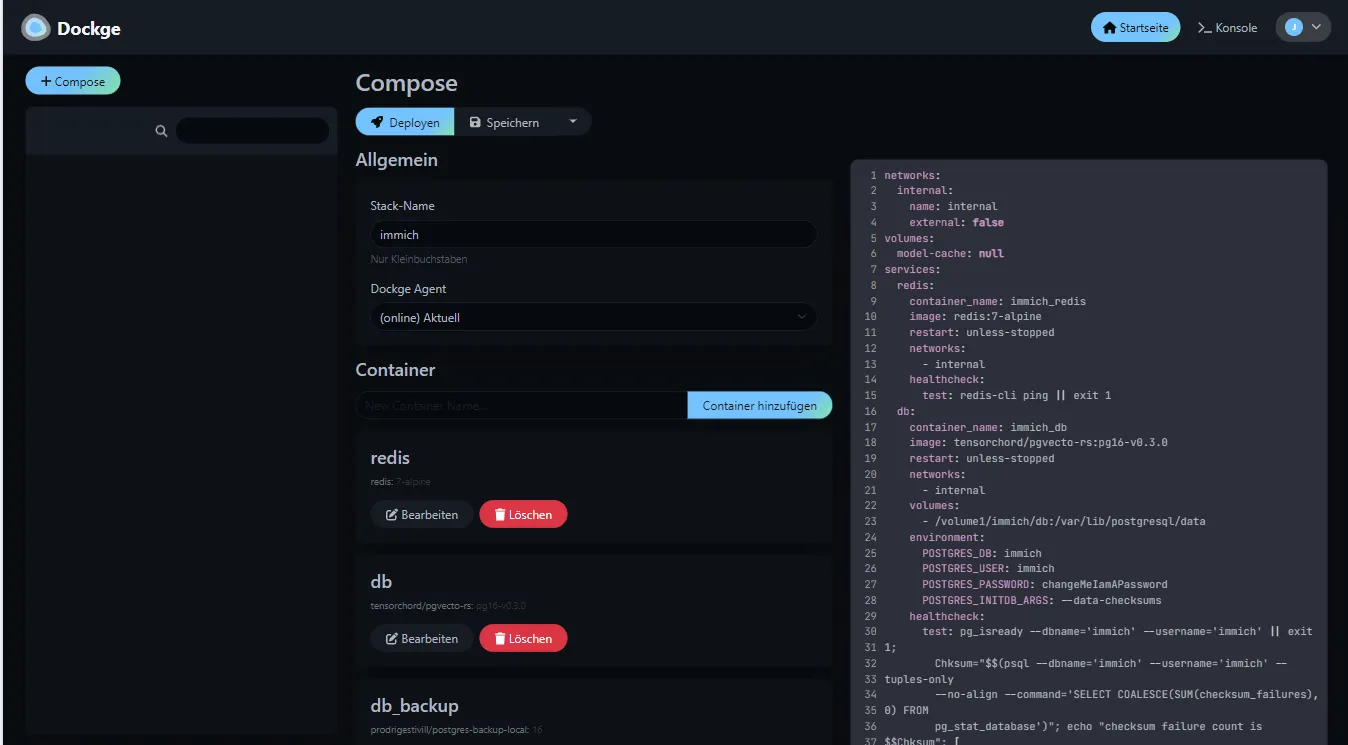
The initial installation can take a few minutes.
Reverse Proxy
To make Immich accessible via a domain like immich.domain.com, we set up a reverse proxy in the meantime.
Nginx Proxy
I enter the address of my Synology NAS and the port number chosen above. I can also use an access list to set whether only local access is possible.
If the Nginx Proxy Manager is on the NAS and the web server is in the same Docker network, you can enter the container name immich here and the port 2283.
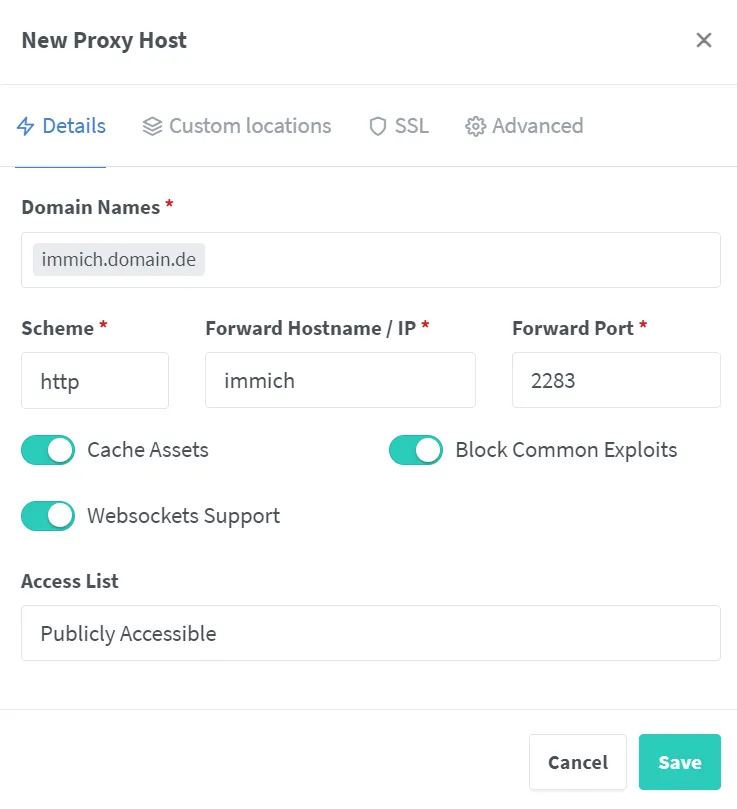
If not, I enter the IP address of the server and the port number. The port number can be changed in the Docker-Compose file. The IP address is the internal IP address of the server.
After I’ve obtained the SSL certificate for the proxy host, I also add a few additional settings to the “Custom Nginx Configuration”.
client_max_body_size 50000M;
proxy_redirect off;
This ensures that larger files (50,000 MB) can also be uploaded to Immich.
Caddy Proxy
Alternatively, other proxy servers can be used. Especially if you’re using a different device for it, there are many options. With Caddy, it might look like this:
{
    acme_ca https://acme-v02.api.letsencrypt.org/directory
    email   mail@domain.com
}

immich.domain.de {
    @blocked not remote_ip private_ranges
    respond @blocked 403
    reverse_proxy 192.168.1.123:8010
    client_max_body_size 50G
}
Or (if you want access from everywhere):
{
    acme_ca https://acme-v02.api.letsencrypt.org/directory
    email   mail@domain.de
}

immich.domain.de {
    reverse_proxy 192.168.1.123:8010
    client_max_body_size 50G
}
First Login
Immich should now be accessible under the domain or the IP address of the server (with port 2283).
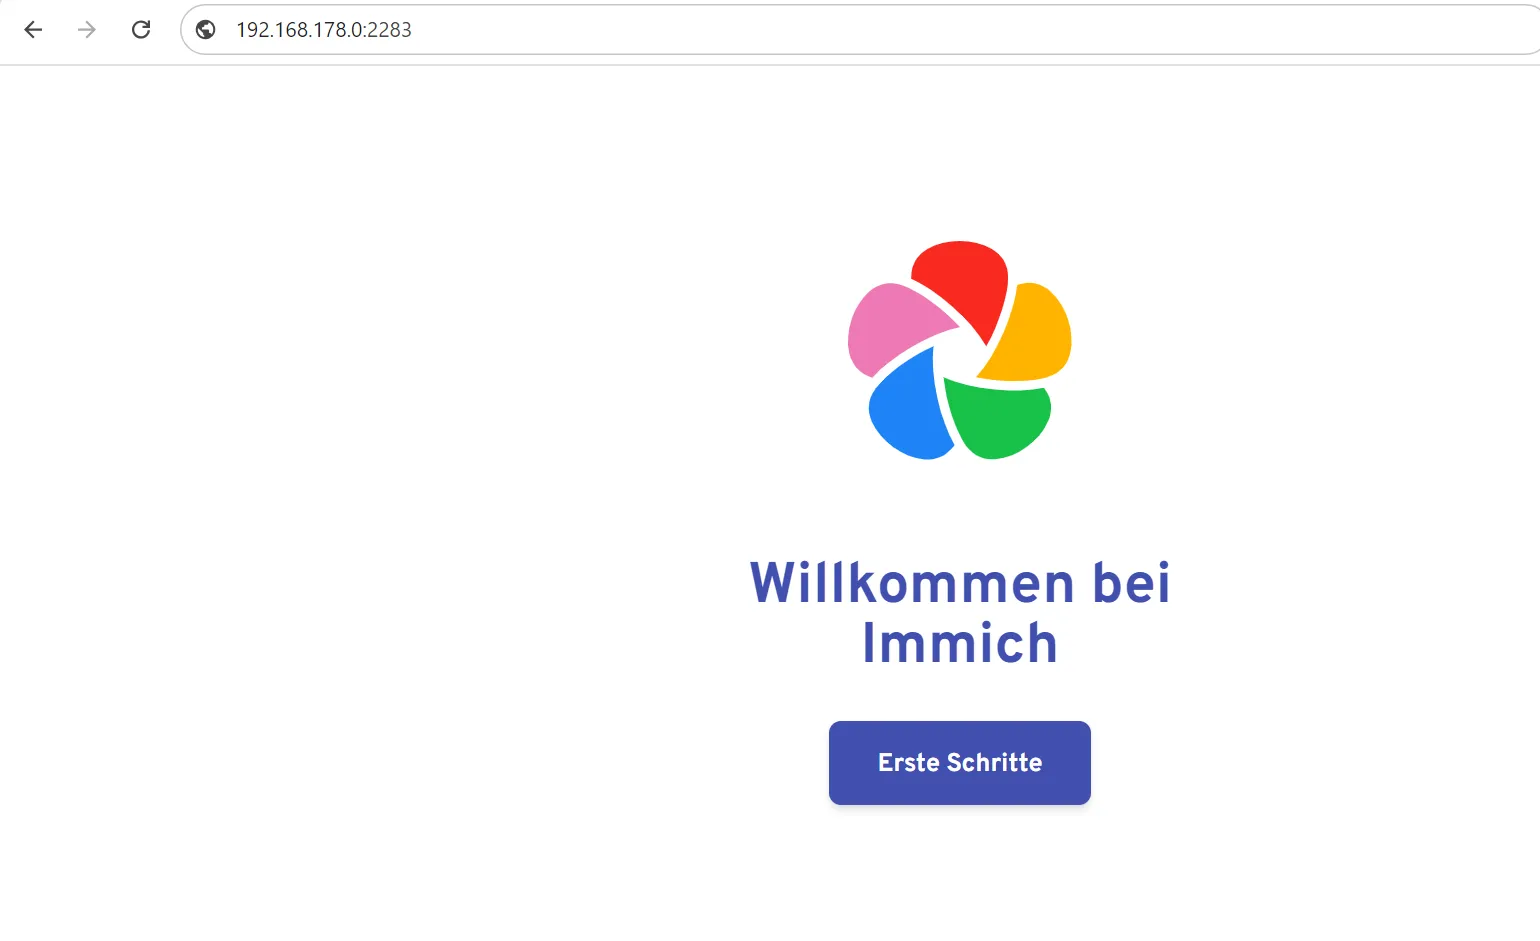
The first user is an admin user. This user can add additional users and change settings.
The setup is self-explanatory. In the administration, you can now add new users and assign them a storage quota. Users can then log in with their email address and a password.
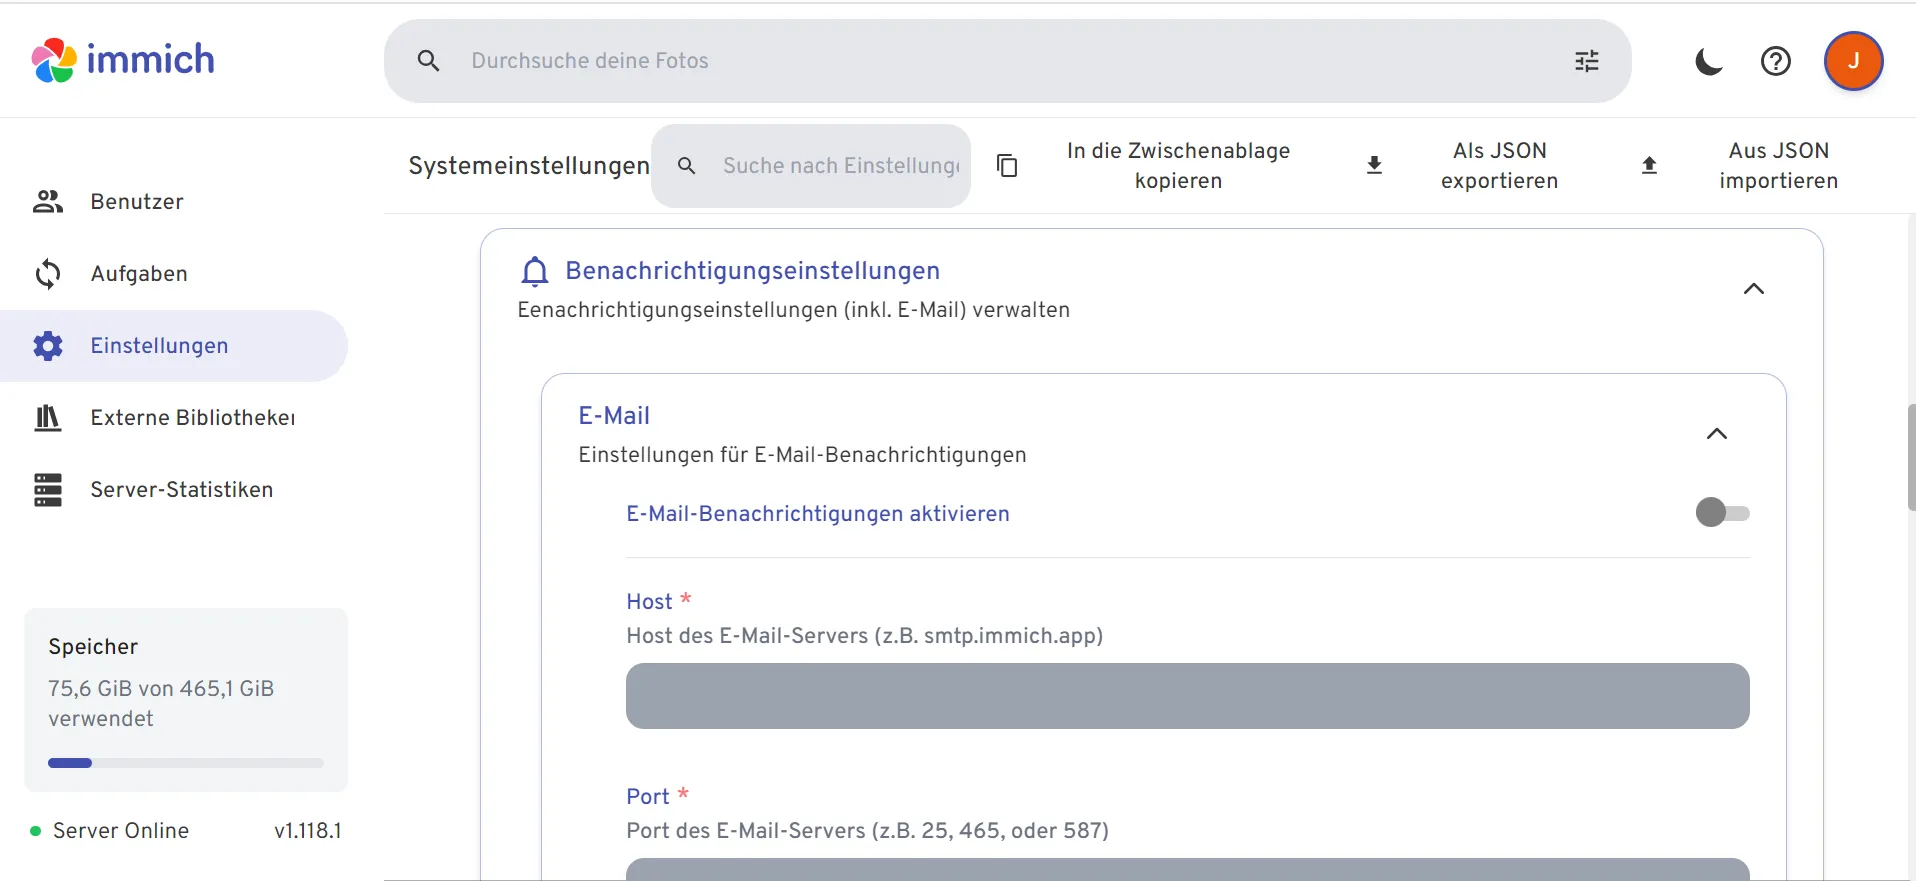
If you have an SMTP address, you can also set up notifications. This is particularly useful if multiple users access Immich and share images. For example, a web hosting plan from Netcup with an email inbox can be used here. Costs start at €2.17 per month.
Apps
Immich also offers apps for Android and iOS. These can be downloaded from the respective app stores. The apps are free and allow photos and videos to be uploaded directly from devices.
Features:
- Automatic Upload: New photos and videos are automatically uploaded.
- Sharing and Collaboration: Albums can be shared with family and friends.
Create Backup
For a complete backup, the folders db-backup (database) and data (images and videos) should be secured. This can be done manually. Alternatively, it can be automated with a script or a backup tool like rsync or Duplicati.
An advantage (and simultaneously a disadvantage) of Immich is that the images are stored in a normal file system. This means that if something goes wrong and Immich no longer works, you can simply copy the images and restore them on another system (provided the images have not been deleted).
Conclusion
Immich should now be running. I appreciate any comments. Enjoy managing your images!