Install Linkwarden: Self-Hosted Bookmark Manager on Synology
Install Linkwarden on your Synology NAS and take control of your bookmarks. A self-hosted bookmark manager with easy Docker setup – manage links efficiently!
Table of Contents
Managing bookmarks can often be a hassle, especially when you’re trying to sync them across multiple browsers and devices. Enter Linkwarden, a robust open-source self-hosted bookmark manager that puts you in control of your digital resources. If you have a Synology NAS at your disposal, you’re in luck. You can set up Linkwarden on your device, ensuring that your bookmarks are private and accessible from anywhere. Let’s walk through the installation process.
Understanding Linkwarden: A Self-Hosted Bookmark Manager
A bookmark manager, as the name suggests, helps you manage your web bookmarks. It takes your pile of links, some new, some long lost under an avalanche of data, and presents them to you in an easily navigable format. From categorizing to sorting, a bookmark manager’s job is to turn your bookmark chaos into an organized symphony.
v1.0.0
First official release
v2.0.0
New archivable format: Readable view, Full text search functionality, Rename and Remove Tags functionality, Recent Links in dashboard, Added rearchive functionality, Delete profile functionality, Increased max import size, Added indicators for public collections, Seperated owned/member collections, Refactored API routes, Bug fixes, security patches, and optimizations, ...
v.2.4.0
Much Improved Design, All Bookmarks Now Get Archived, Archive Formats Other Than Webpages, Added Compact List View, Enhanced User Experience, ...
Linkwarden is fairly new to the bookmark manager scene, but it’s already making waves and gaining popularity.
Key Features of Linkwarden
Linkwarden presents a variety of features to its users. It’s got an intuitive design, allowing you to create, check, and manage bookmarks with ease. Collaborative bookmarking is another top feature, enabling you to share your bookmarks with colleagues or friends.
Collect and Organize Webpages Effortlessly
Linkwarden makes it a breeze to save, store, and categorize webpages all in one central hub. You can collect links from any browser with just a few clicks, organize your links with custom tags and folders, and create collections to group related links, ensuring a clutter-free and intuitive bookmark management experience.
Preserve Webpages
Linkwarden allows you to view and preserve the webpages you’ve organized, ensuring you never have to worry about broken links again. It can auto-capture a copy of each webpage as a screenshot (.png) and a PDF, and allows you to download your archived webpages for offline access.
Collaborate Seamlessly
Linkwarden isn’t just for personal use. It’s the perfect tool to supercharge your collaboration efforts, making teamwork smoother and more efficient. You can invite team members to collaborate on shared collections, assign customizable permissions, and easily share curated collections with the public.
Additional Features
Linkwarden is open source and fully self-hostable, with its entire source code published to GitHub. It’s privacy-friendly, responsive, and supports both dark and light modes. You can pin your favorite webpages to the dashboard, search and filter all your curated contents across all your collections effortlessly, and collect webpages directly from your browser with its open-source extension for Chrome / Chromium based or Firefox. Plus, you can easily import or export all your bookmarks from/to other platforms.
The Advantage of a Self-Hosted Solution
Now, why should you want to install an open-source bookmark manager and use it as a self-hosted solution? The advantage is obvious: control. A self-hosted bookmark manager empowers you to keep hold of your data, protecting you from third-party intervention.
Prerequisites
Before diving into the installation, ensure that your Synology NAS meets the following requirements:
- Docker installed
- Portainer installed
- (Optional) A domain name with a valid SSL certificate (for example from Netcup for €5 / year (.de domain))
- (Optional) A reverse proxy configured
Step-by-Step Installation Guide
Step 0: Set up Docker and Portainer
If you haven’t already, you’ll need to install Docker and Portainer on your Synology NAS. You can find detailed instructions on how to do so in my Synology Setup Guide. Make sure that you don’t block internal requests in your firewall settings.
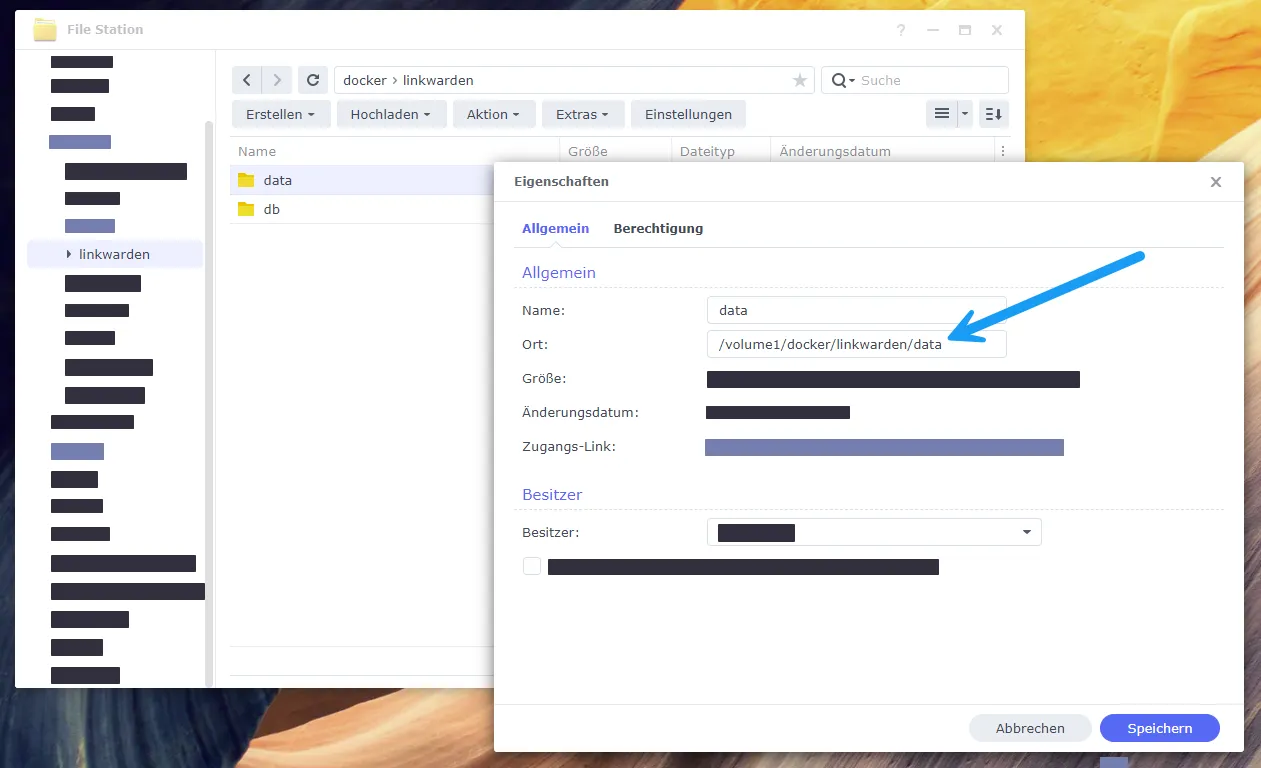
Step 1: Create a Directory for Linkwarden
First, you’ll need to create a directory for Linkwarden. Open File Station and create two new folders where you want to save your Linkwarden data. I called mine data and db. You can name them whatever you want.

Make sure that you have read and write permissions for both folders. Note down the path to your folders. You’ll need it later:
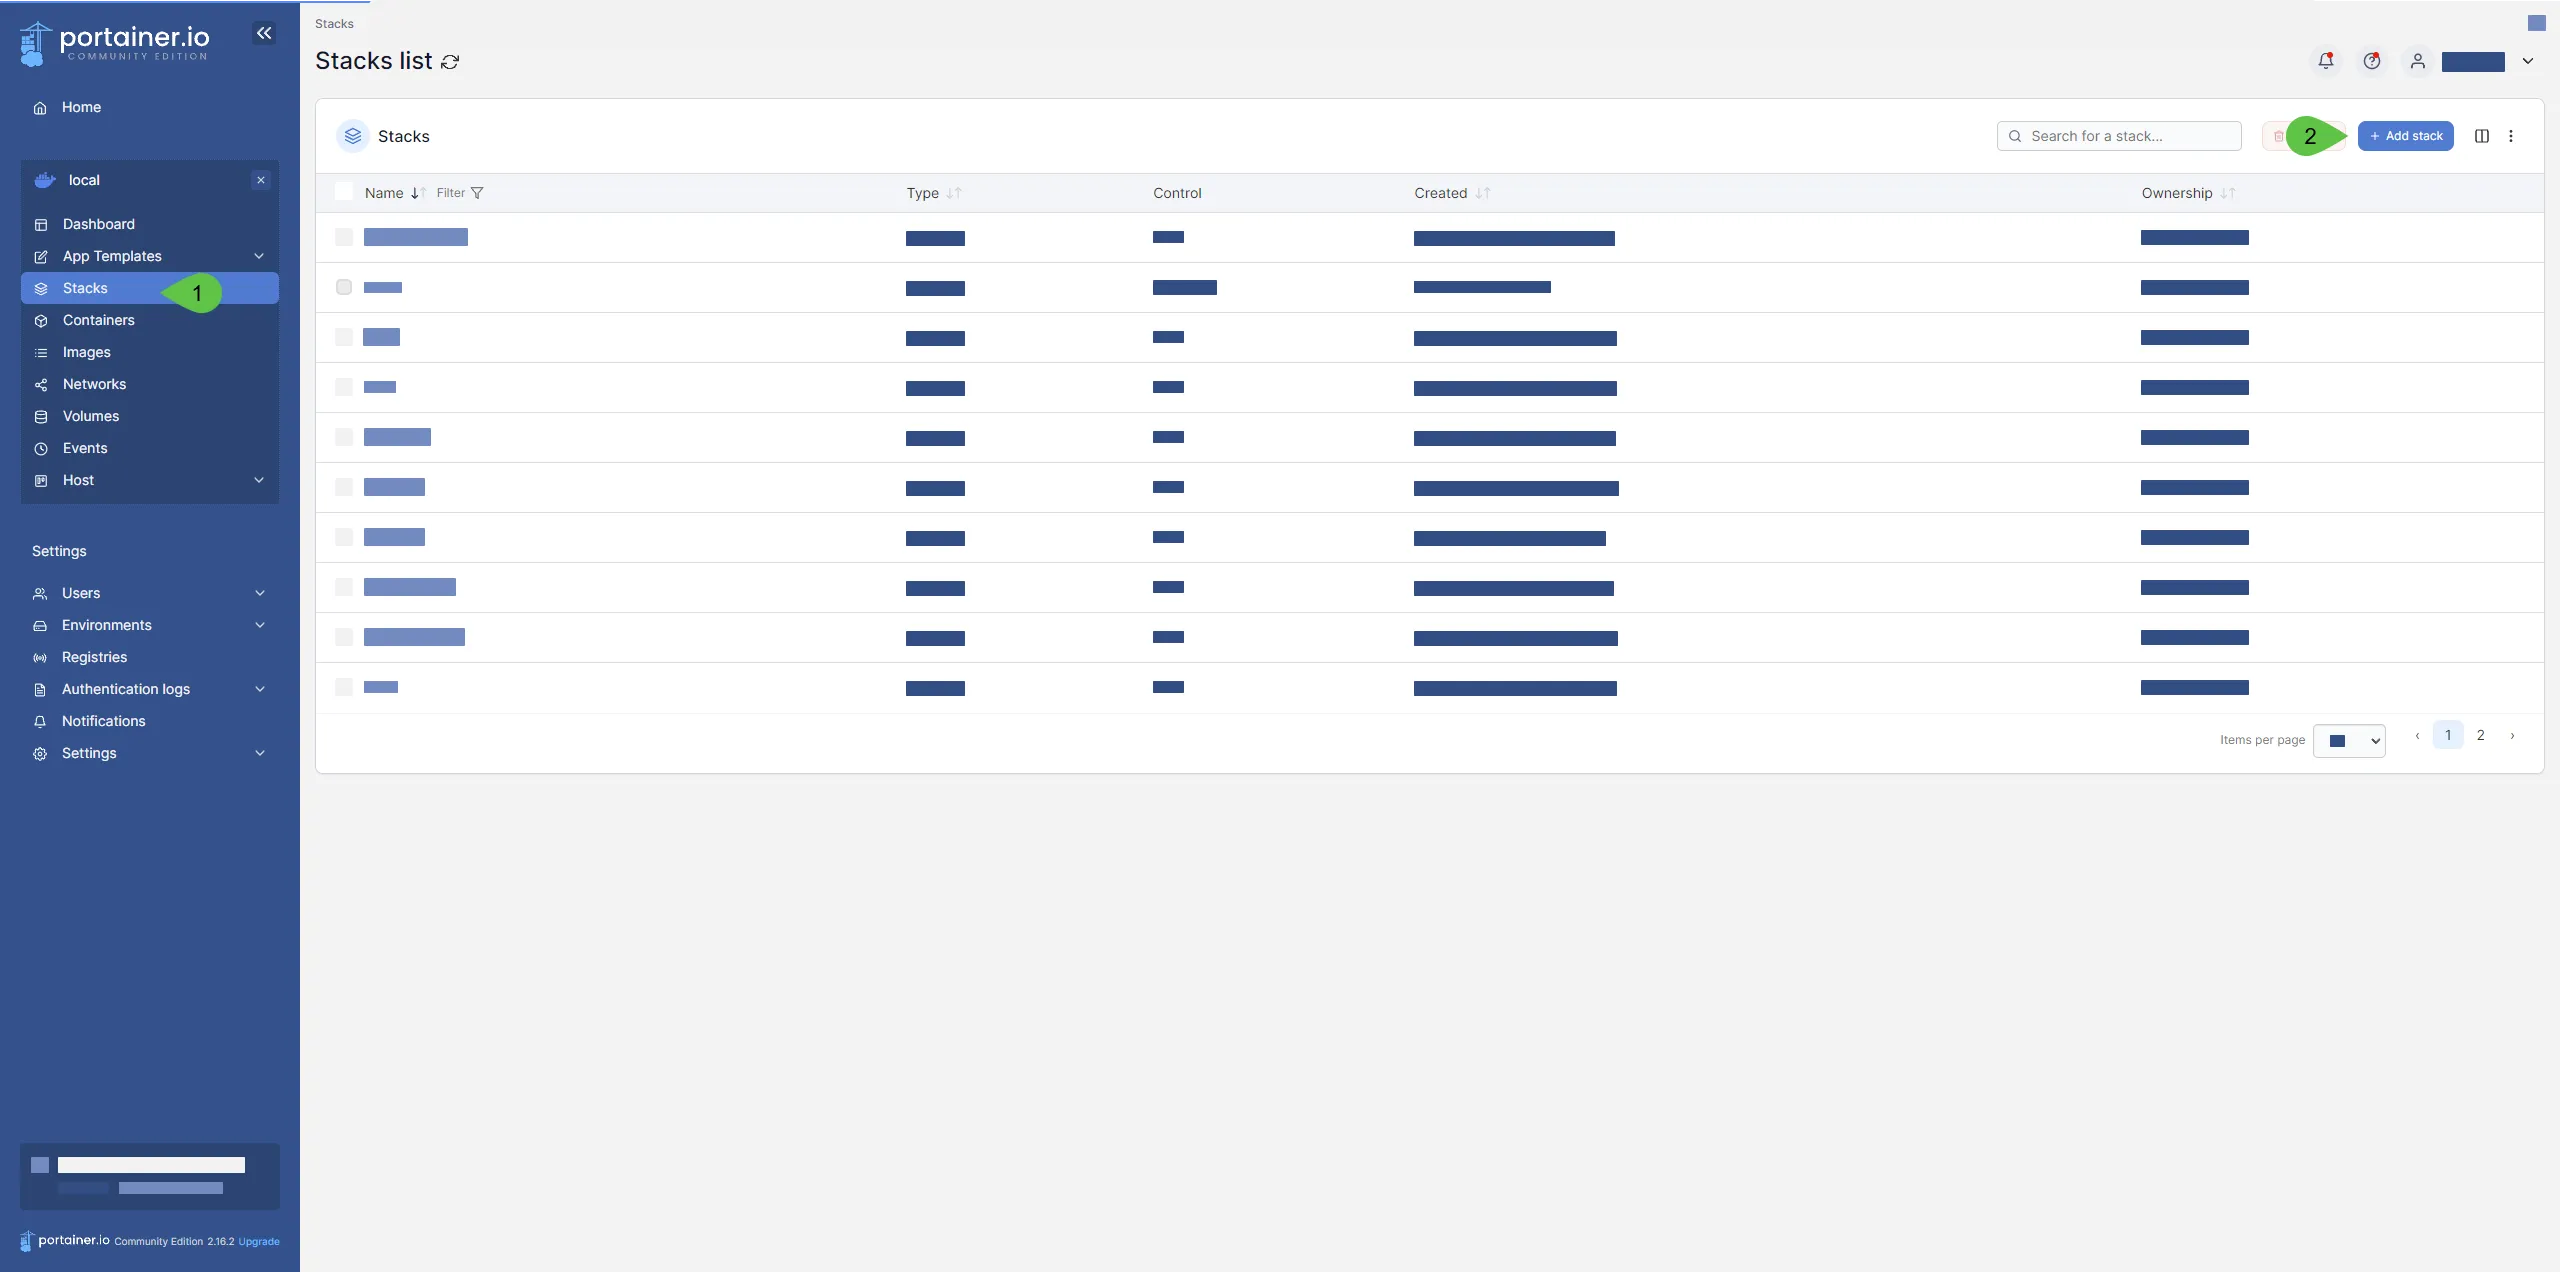
Step 2: Create a Docker Stack in Portainer
Next, you’ll need to create a Docker stack in Portainer. Open Portainer and navigate to Stacks in the left sidebar. Click on Add stack in the top right corner.
Step 3: Configure the Docker Stack
Now, you’ll need to configure the Docker stack. Enter a name for your stack. I called mine linkwarden. Then, paste the following code into the Web editor:
version: "3.5"
services:
    linkwarden:
        environment:
            - DATABASE_URL=postgresql://linkwarden:9aGnTqvEs6BPXEl@linkwarden-db:5432/linkwarden-db
            - NEXTAUTH_SECRET=q013hX949bW6uXf
            - NEXTAUTH_URL=https://linkwarden.yourdomain.com
            # - NEXT_PUBLIC_DISABLE_REGISTRATION=true
        restart: always
        image: ghcr.io/linkwarden/linkwarden:latest
        ports:
            - 3333:3000
        volumes:
            - /volume1/docker/linkwarden/data:/data/data
        depends_on:
            - linkwarden-db
    linkwarden-db:
        container_name: linkwarden-db
        image: postgres:15
        environment:
            POSTGRES_DB: "linkwarden-db"
            POSTGRES_PASSWORD: "9aGnTqvEs6BPXEl"
            POSTGRES_USER: "linkwarden"
        restart: always
        volumes:
            - /volume1/docker/linkwarden/db:/var/lib/postgresql/data
Replace the following values:
POSTGRES_PASSWORD: Replace9aGnTqvEs6BPXElat both occurrences with a secure password of your choice.NEXTAUTH_SECRET: Replaceq013hX949bW6uXfwith a secure password of your choice.NEXTAUTH_URL: Replacehttps://linkwarden.yourdomain.comwith the URL you want to use to access Linkwarden. If you don’t have a domain name, you can use your local IP address instead. If you don’t want to use SSL, replacehttpswithhttp. If you don’t want a custom URL, usehttp://localhost:3000instead.volumes: Replace/volume1/docker/linkwarden/datawith the path to yourdatafolder. Replace/volume1/docker/linkwarden/dbwith the path to yourdbfolder.ports: Replace3333with the port you want to use to access Linkwarden. If the reverse proxy is installed on the same device, you don’t have to publish any ports.
Configure the reserve proxy if you want to use a custom URL and/or SSL.
Step 4: Create a Linkwarden Admin Account
Now, you’ll need to create a Linkwarden admin account. After the container starts, open a web browser and type in your NAS IP address followed by the assigned port number http://ip-address-of-your-synology:3333 or your domain. You’ll be greeted by the Linkwarden login screen:
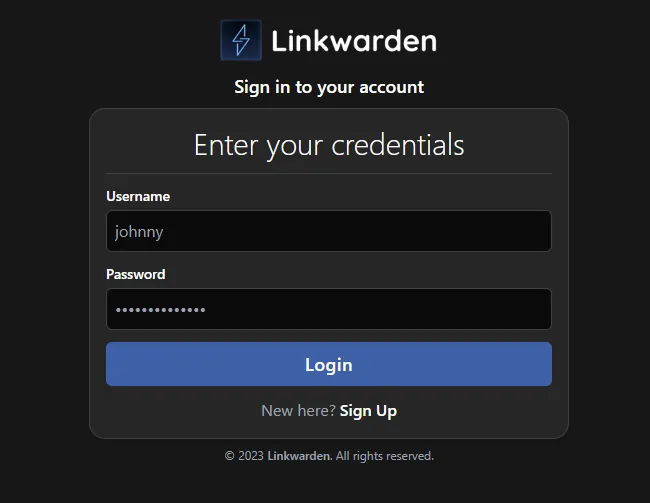
Click on Sign up and create a new account. Then, log in with your new account.
If this doesn’t work, you might have to check your NEXTAUTH_URL again. Make sure it’s http instead of https if you don’t use SSL.
Step 5: Configure Linkwarden
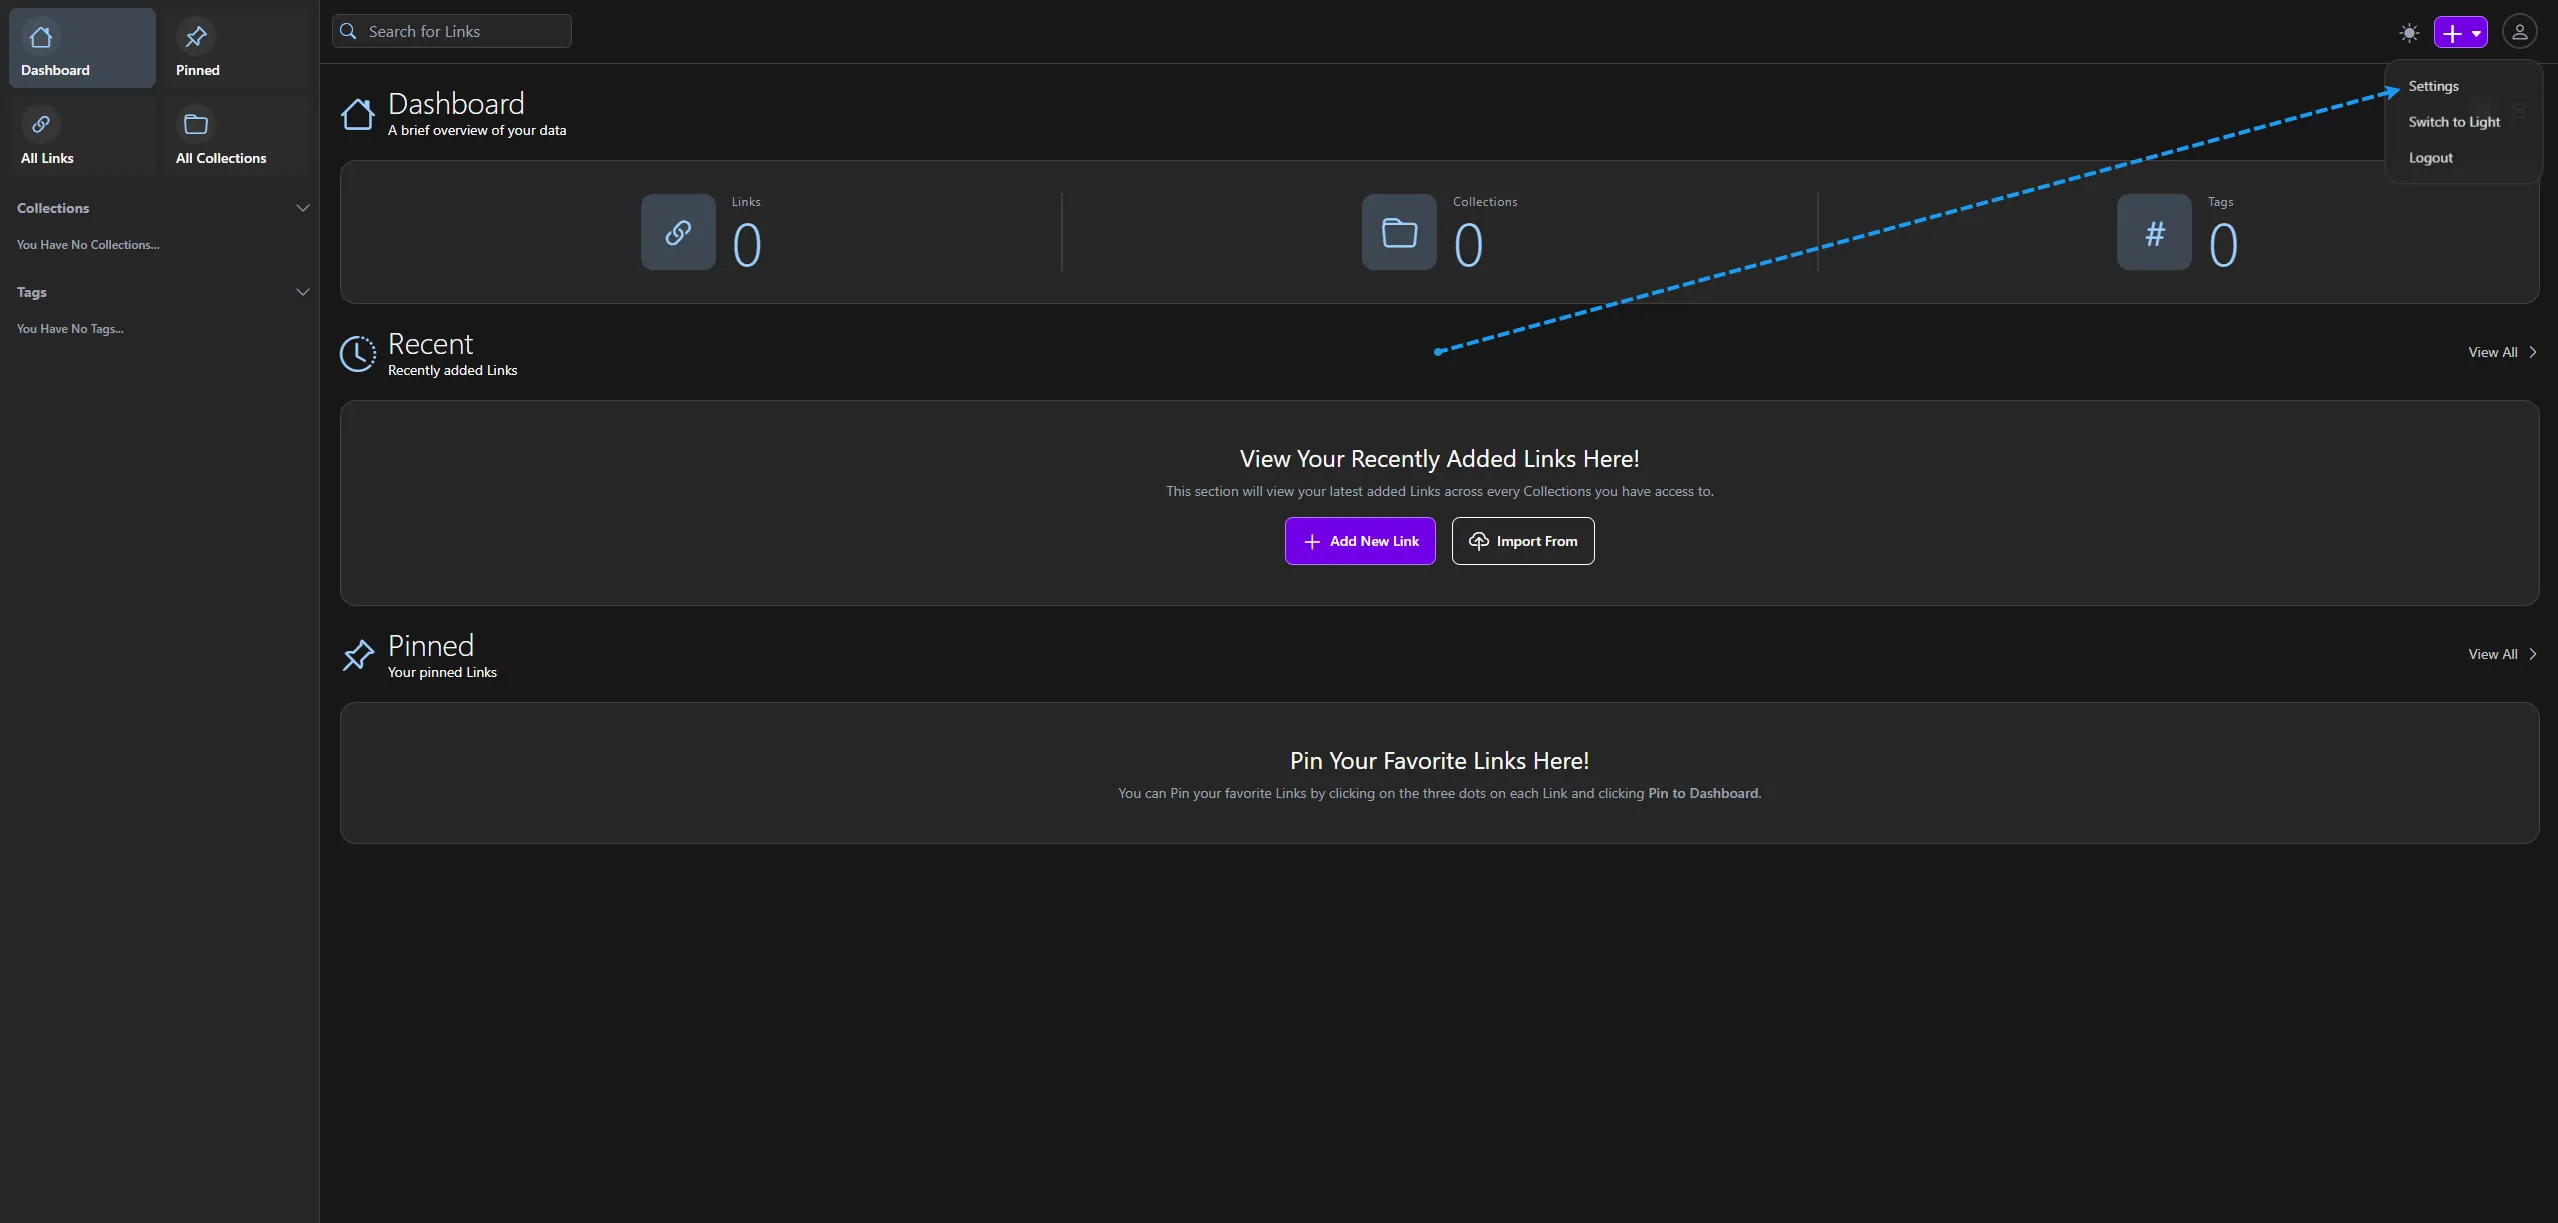
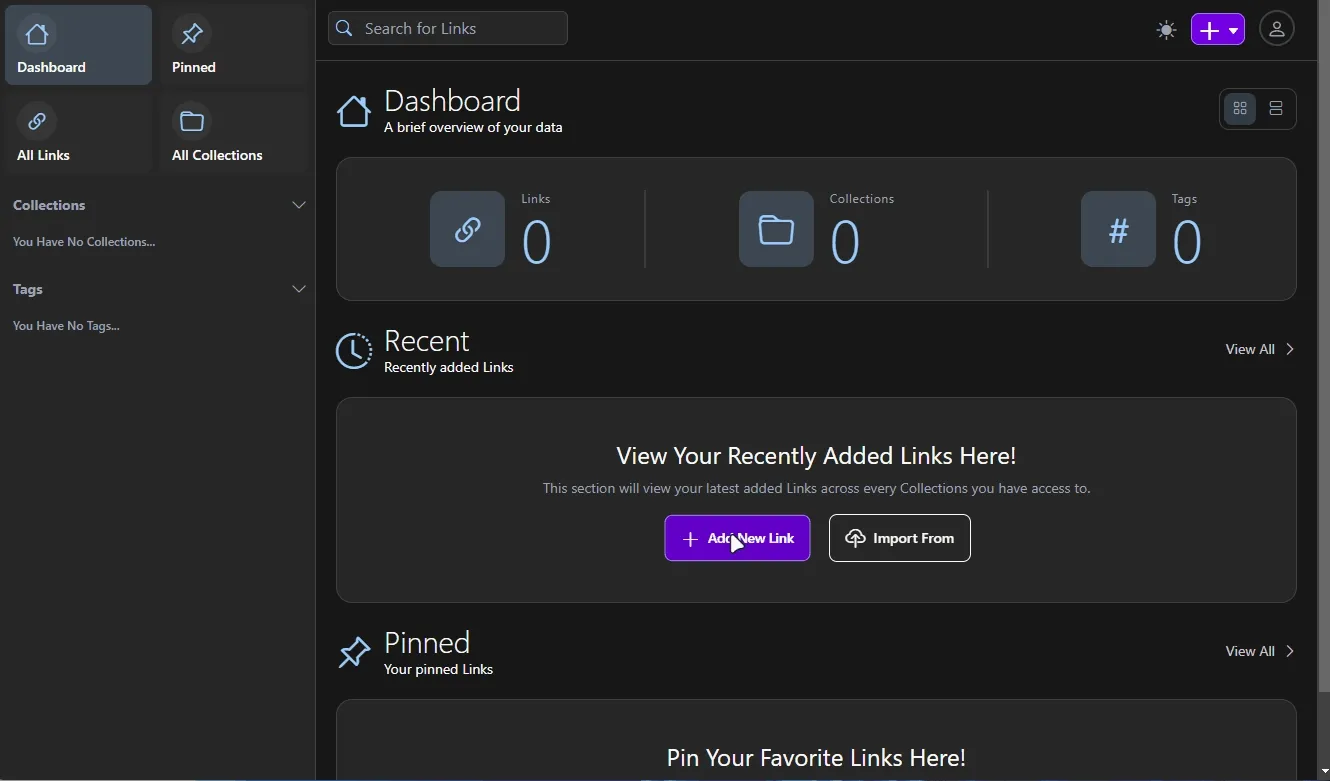
After logging in, you’ll find yourself on the Linkwarden dashboard.
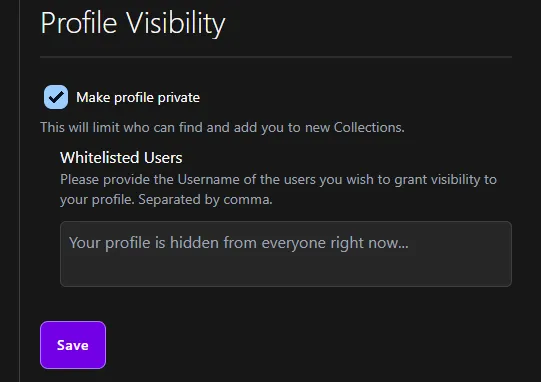
Set your profile to private
Click on the profile icon in the top right corner to open the settings.
Under “Profile Visibility” select “Make profile private” and click on “Save”.
Disable registration
Do you want to prevent other users from registering? Go back to the Portainer stack and uncomment the following line:
- NEXT_PUBLIC_DISABLE_REGISTRATION=trueThe boolean is case sensitive. Make sure it’s true and not True or TRUE. Then, restart the stack.
Try to register a new account. You should see the an error 400: “Registration is disabled” at the end of the registration process.
Step 6: Add bookmarks
You can import your bookmarks from a bookmark html file. These files are usually exported from your browser. You can also import a json file from Linkwarden or another bookmark manager.
You can find the export functionality in the profile settings.
You can also add bookmarks manually by clicking on the plus icon in the top right corner.
This will save the bookmark to a selected collection and generate a screenshot and a PDF of the webpage (you can disable this feature in the settings). Furthermore, you can add tags to your bookmarks to categorize them.
Tips for a Smooth Experience
- Regularly update Linkwarden to the latest version. Go to the stack editor in Portainer and click on
Update the stackand selectRe-pull image and redeployto update Linkwarden. Don’t update Postgres to a newer major version without a migration plan. - Regularly back up your data. You can find the backup functionality in the profile settings. You can also back up your data by backing up the
dataanddbfolders you created in Step 1. - Use strong, unique passwords for your Linkwarden account. You can use a password manager like Vaultwarden to generate and store your passwords.
Conclusion
Congratulations! You’ve taken a significant step towards managing your bookmarks more effectively with Linkwarden on your Synology NAS. With your bookmarks now self-hosted, you can enjoy enhanced privacy and convenience. Remember, the key to a successful installation is following each step carefully and not rushing the process. Happy bookmarking!
Related Articles
How to Install Paperless-ngx on a Synology NAS with Docker
Learn how to install Paperless-NGX on your Synology NAS — a powerful open-source document management system — using Docker and Portainer. Step-by-step guide.
Paperless office with DMS Paperless-ngx on Homeserver
Install Paperless-ngx with Docker on your homeserver and transform your office into a paperless system. The complete step-by-step guide for your DMS setup.
Synology NAS Setup: Your First Homeserver Step-by-Step
Set up your Synology DiskStation from scratch: VPN, DDNS, Firewall, Docker, and Nginx Proxy Manager. The complete NAS homeserver setup guide for beginners.
Firefly III - Personal finance manager on Synology (Docker)
Install the free personal finance software Firefly III on your Synology NAS with Docker. Manage income and expenses privately and clearly on your own server.