Firefly III - Personal finance manager on Synology (Docker)
This guide describes how to install the free and open source personal finance manager Firefly III on your Synology NAS with Docker.

Table of Contents
CAUTION
Please note that this blog post was originally written in German and has been translated for your convenience. Although every effort has been made to ensure accuracy, there may be translation errors. I apologize for any discrepancies or misunderstandings that may result from the translation and I am grateful for any corrections in the comments or via mail.
Firefly III is a free and open-source financial manager software for personal use. Firefly can help you keep track of expenses, income and budgets. Credit cards, joint household accounts and savings accounts are supported.
Alternatives
Another option to consider is Frappe Books. The target group here is also small businesses. Unfortunately, it is still in the beta phase; it only works via detours on a server and attaching receipts is impossible (yet). I wasn’t delighted with Gnucash. Akaunting is another software that runs on a server. Unfortunately, the installation process is modest, and functionalities such as double-entry bookkeeping cost money.
That’s why we’re talking about Firefly III here.
Requirements
I use a Synology NAS. It’s a DS220+(Amazon affiliate link) with 10 GB RAM(Amazon affiliate link).
However, that many resources are not necessary. In any case, a server with Portainer (instructions for Synology) should be available.
Also, a reverse proxy manager on the network is helpful, regardless of whether it is on another device or the Synology NAS.
Installation
Folder structure
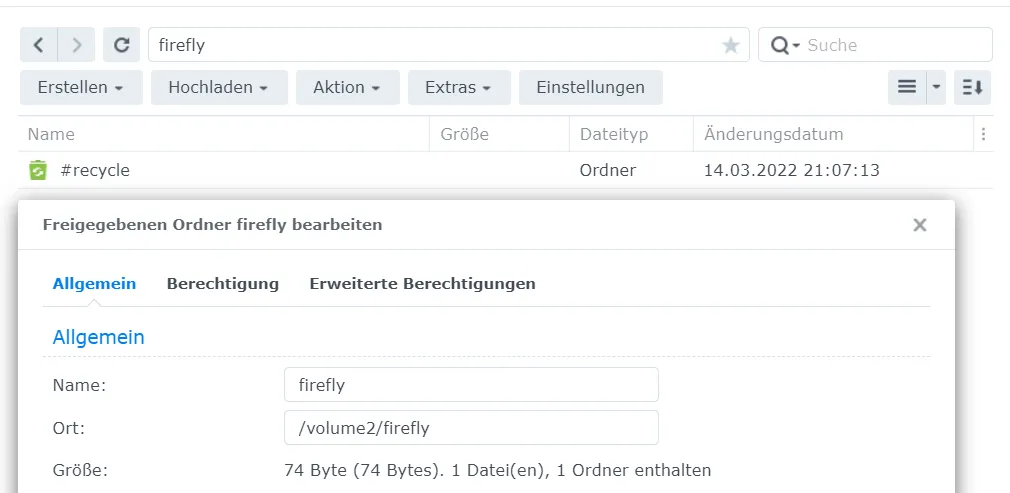
First, I create a new shared folder in the DSM. I do not activate the data checksum because I want my database in this folder. I also give the Docker group access to this folder.

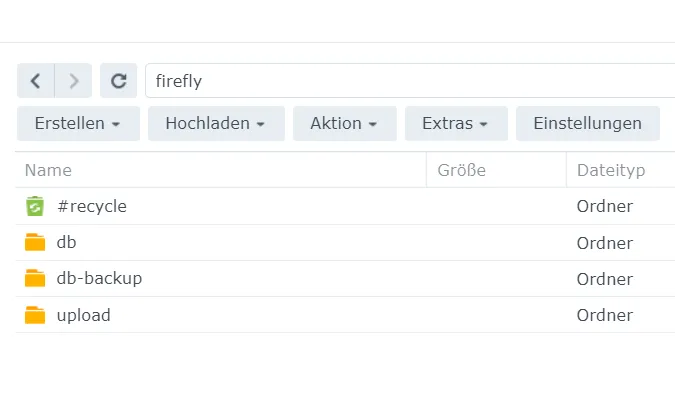
In my case, it is /volume2/firefly. I create three new folders in this directory:
- db
- db-backup
- upload

New stack
Now, I can switch to Portainer and create a new stack. I call it firefly and insert the following code into the web editor:
version: "3.7"

networks:
    internal:
        external: false

services:
    firefly:
        container_name: firefly
        image: fireflyiii/core:latest
        ports:
            - 8080:8080
        volumes:
            - /volume2/firefly/upload:/var/www/html/storage/upload
        restart: unless-stopped
        env_file:
            - stack.env
        depends_on:
            - firefly-db
        networks:
            - internal

    firefly-db:
        container_name: firefly-db
        image: postgres:14
        volumes:
            - /volume2/firefly/db:/var/lib/postgresql/data
        restart: unless-stopped
        environment:
            POSTGRES_DB: ${DB_DATABASE}
            POSTGRES_USER: ${DB_USERNAME}
            POSTGRES_PASSWORD: ${DB_PASSWORD}
        networks:
            - internal

    firefly-db-backup:
        container_name: firefly-db-backup
        image: postgres:14
        volumes:
            - /volume2/firefly/db-backup:/dump
            - /etc/localtime:/etc/localtime:ro
        environment:
            PGHOST: firefly-db
            PGDATABASE: ${DB_DATABASE}
            PGUSER: ${DB_USERNAME}
            PGPASSWORD: ${DB_PASSWORD}
            BACKUP_NUM_KEEP: 10
            BACKUP_FREQUENCY: 7d
        entrypoint: |
            bash -c 'bash -s <<EOF
            trap "break;exit" SIGHUP SIGINT SIGTERM
            sleep 2m
            while /bin/true; do
              pg_dump -Fc > /dump/dump_\`date +%d-%m-%Y"_"%H_%M_%S\`.psql
              (ls -t /dump/dump*.psql|head -n $$BACKUP_NUM_KEEP;ls /dump/dump*.psql)|sort|uniq -u|xargs rm -- {}
              sleep $$BACKUP_FREQUENCY
            done
            EOF'
        networks:
            - internal

    firefly-redis:
        container_name: firefly-redis
        image: redis:6
        networks:
            - internal
Some things must be adapted to your own circumstances:
volume2/firefly/...: The path to the folder in which the data is saved.8080:8080: The port on which Firefly should run. If this port is already occupied, another port should be used:8081:8080,8082:8080, etc.
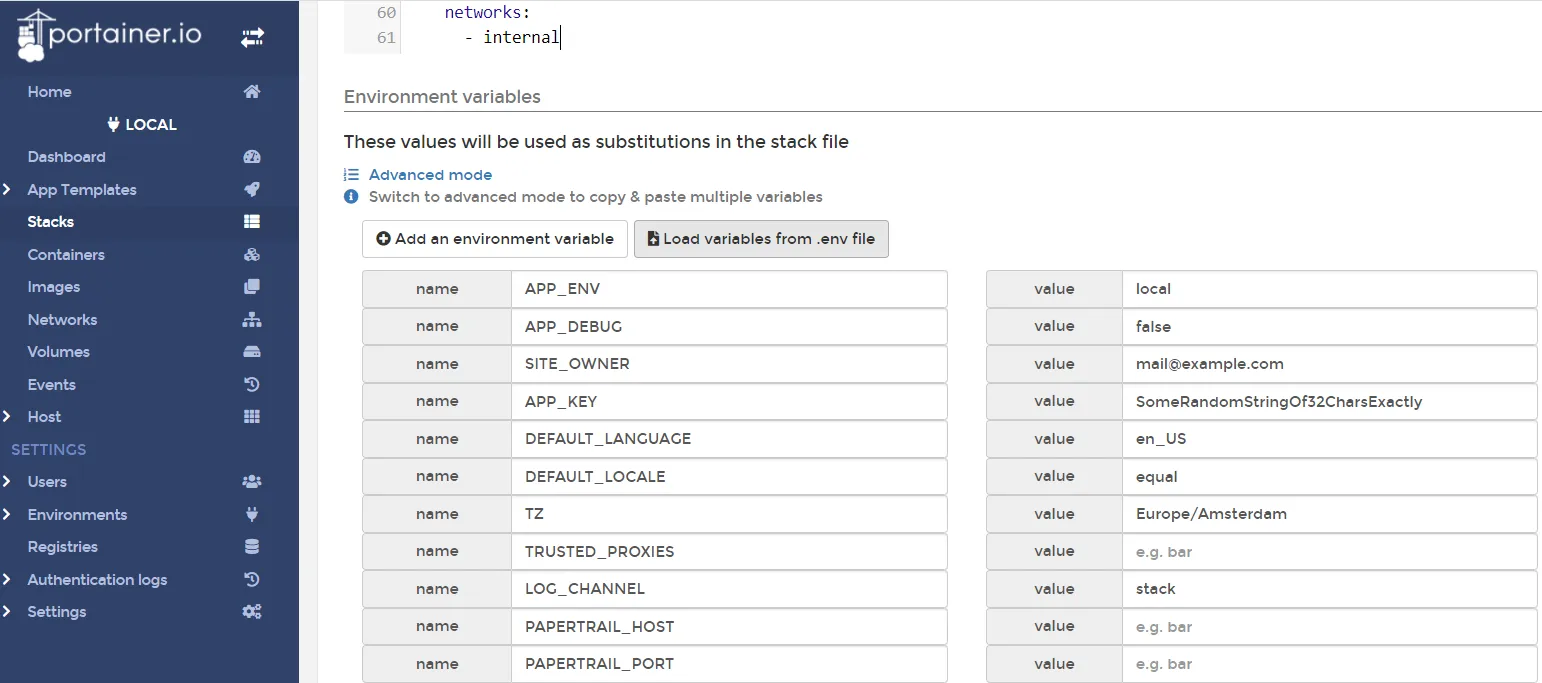
The .env file must be downloaded from here. This must be saved as .env. You can then upload it to Portainer.

Now, some values can be customized:
- I set
APP_ENVtoproduction. - For
SITE_OWNER, I enter my e-mail address. - A random key with exactly 32 characters must be generated for
APP_KEY.
- For
DEFAULT_LANGUAGEI enterde_DE. - I set
TZtoEurope/Berlin. TRUSTED_PROXIEScan be set to**.- PaperTrail can be activated, I do not use it.
- I change
DB_CONNECTIONtopgsql. - In my case,
DB_HOSTisfirefly-db. DB_PORTis5432.- You can choose any
DB_PASSWORDyou like. - I change
CACHE_DRIVERtoredis. - In my case,
REDIS_HOSTisfirefly-redis. REDIS_PORTremains6379.
If required, the email settings can also be customized to receive email notifications from Firefly for specific events such as errors and crashes, security notifications and password resets.
-
I change
MAIL_MAILERtosmtp. -
In my case,
MAIL_HOSTissmtp.mydomain.com. … Be careful at this point. I entered this data correctly, but made a mistake with the db-host, which is why the program did not start correctly. The Firefly Mailer sent me up to 32 e-mails per minute. Perhaps you should only enter this information later when you are sure the program is running reasonably well. -
Finally, you can set the
APP_URL, which you specify in the proxy host. According to the instructions, however, this setting has no effect.
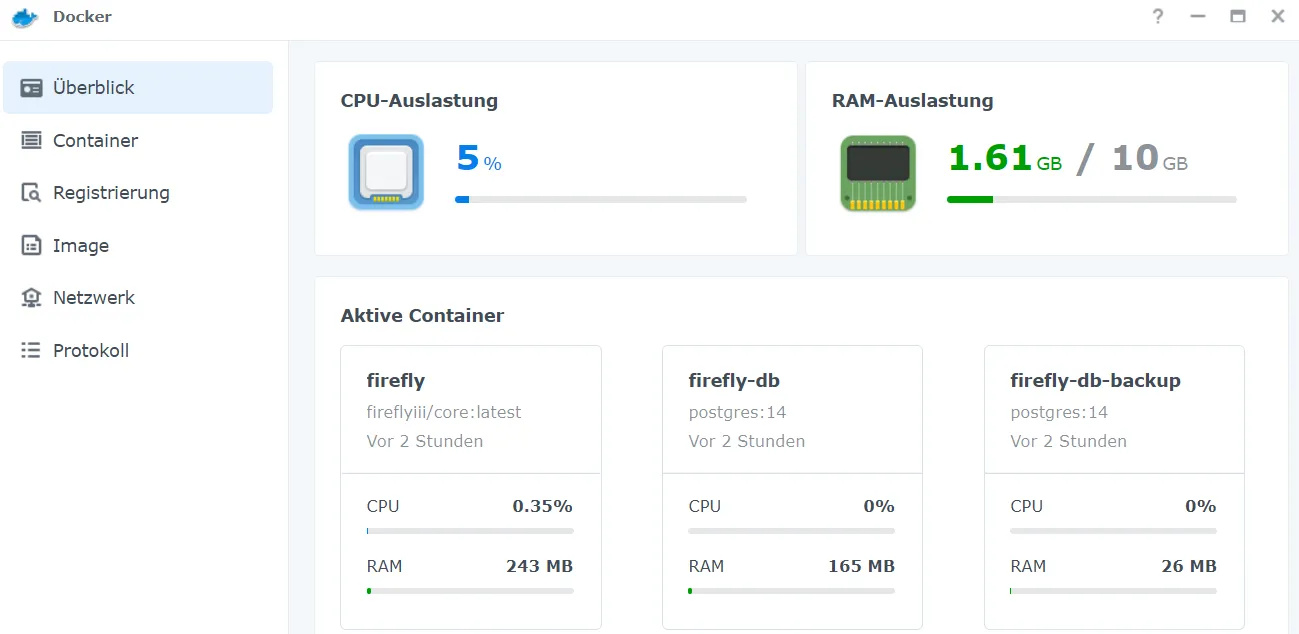
Then, I start the stack. At this point, you can go and get a coffee ☕

You can then log in using either the address set in the proxy manager or the server’s IP address with the assigned port (8080 by default).
Please write a comment if you have any wishes, remarks or criticism :) I hope this helps someone.