Paperless-ngx: Automated Backup with Ofelia
How to set up an automated backup for Paperless-ngx directly within the Docker stack using Ofelia.
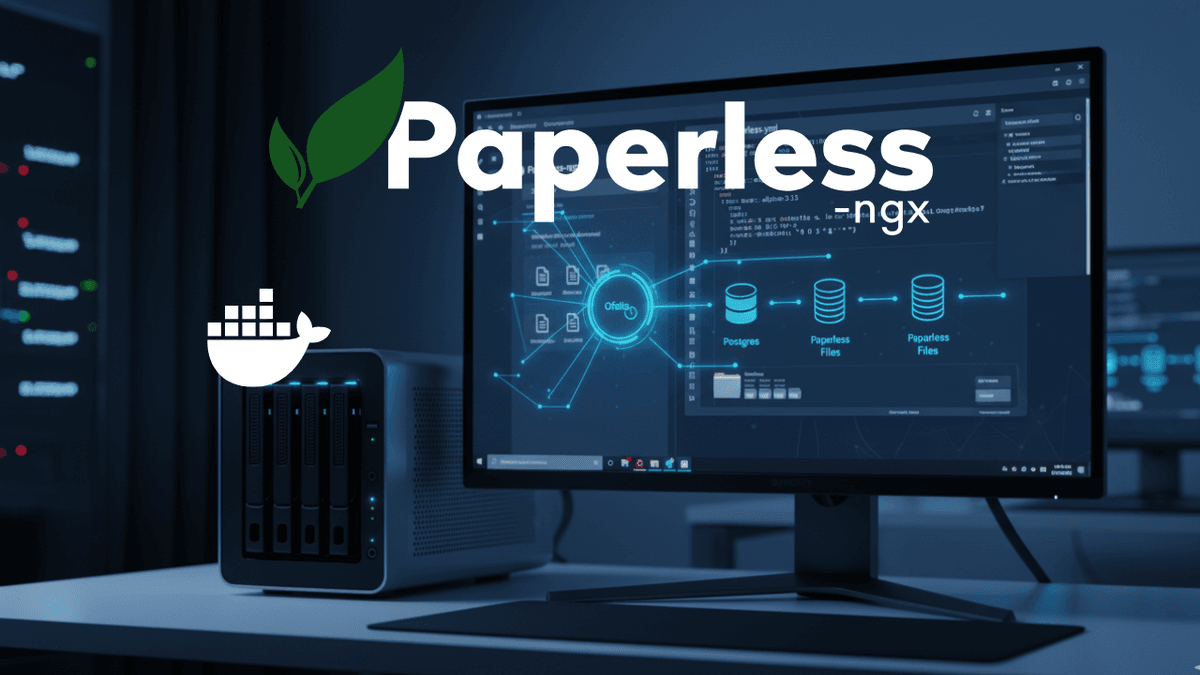
Table of Contents
A document management system without a backup works fine until it goes wrong. A manual backup is laborious, and simply copying folders while the system is running can lead to a corrupt backup. Furthermore, on pre-built NAS systems, a system update might delete a manually created cron job.
That’s why I’m showing you a “Container-Native” backup solution today. We use Ofelia, a job scheduler that runs directly inside Docker. This means: Your backup becomes part of the stack, is portable, and theoretically survives every system update.
The Strategy
We want to achieve the following:
- Fully automated backup: A backup is created every night (or whenever you want).
- Database consistency: We use
pg_dumpto cleanly export the database. - Independence: The backup tool runs as a container (
backup-runner) and is controlled byofelia. - Compatibility: We fix the problem where Synology often uses an outdated Docker API.
Step 1: Prepare Folder Structure
Before we mess with containers, let’s create some order on the NAS. Open File Station on your Synology (or your preferred file manager).
Inside the folder docker/paperless (or wherever you installed Paperless), create the following structure:
backups(This is where the finished backups will land)scripts(This is where our backup script goes)export(Temporary folder for the Paperless Exporter)- … as well as the usual folders (
data,media,db,consume,cache)
Step 2: The Backup Script
Create a file named backup.sh. This script will later be executed inside the container.
#!/bin/bash
set -e

# --- CONFIGURATION ---
BACKUP_BASE_DIR="/backup"
PAPERLESS_DATA_DIR="/paperless_data"
LATEST_LINK="${BACKUP_BASE_DIR}/latest"
RETENTION_DAYS=30

# Names
PG_CONTAINER="paperless-db"
WEBSERVER_CONTAINER="paperless"
PG_USER="paperless"
PG_DB="paperless"

echo "--- Backup Start: $(date) ---"

# 1. Create directory
DATE_STAMP=$(date +"%Y-%m-%d_%H-%M-%S")
BACKUP_DIR="${BACKUP_BASE_DIR}/${DATE_STAMP}"
mkdir -p "${BACKUP_DIR}"

# 2. Save version info
echo "Saving versions..."
VERSION_FILE="${BACKUP_DIR}/restore_info.txt"
echo "Backup Timestamp: ${DATE_STAMP}" > "${VERSION_FILE}"
# Read Postgres Version
PG_VER=$(docker exec "${PG_CONTAINER}" psql -U "${PG_USER}" -d "${PG_DB}" -c "SHOW server_version;" -t | xargs)
echo "PostgreSQL Version: ${PG_VER}" >> "${VERSION_FILE}"

# 3. Database Dump
echo "Creating DB Dump..."
docker exec "${PG_CONTAINER}" pg_dump -U "${PG_USER}" -d "${PG_DB}" > "${BACKUP_DIR}/paperless-db.sql"

if [ ! -s "${BACKUP_DIR}/paperless-db.sql" ]; then
    echo "ERROR: Dump empty!"
    rm -rf "${BACKUP_DIR}"
    exit 1
fi

# 4. Exporter (Backs up documents + manifests)
echo "Starting Exporter..."
docker exec "${WEBSERVER_CONTAINER}" document_exporter ../export

# 5. Rsync (Copies exported data to backup)
echo "Syncing files..."
# We use hardlinks (--link-dest) to save disk space
LINK_DEST_OPTION=""
if [ -d "${LATEST_LINK}" ]; then
  LINK_DEST_OPTION="--link-dest=${LATEST_LINK}/documents"
fi

rsync -a --delete ${LINK_DEST_OPTION} "${PAPERLESS_DATA_DIR}/export/" "${BACKUP_DIR}/documents/"

# 6. Set symlink to latest backup
ln -snf "${BACKUP_DIR}" "${LATEST_LINK}"

# 7. Cleanup (Delete old backups)
echo "Deleting old backups..."
find "${BACKUP_BASE_DIR}" -maxdepth 1 -type d -not -name "latest" -mtime +${RETENTION_DAYS} -exec rm -rf {} \;

echo "--- Backup Finished ---"
Upload this file to the folder /docker/paperless/scripts.
Step 3: Docker Compose (The Critical Part)
Now we adjust the docker-compose.yml (or the project in Container Manager).
Here comes the important trick for Synology users:
If we simply use the image alpine:latest for the backup-runner, it installs the very latest Docker CLI. This CLI then tries to talk to your Synology’s Docker engine. Since Synology updates often lag behind, you might get an error like this in the log:
Error response from daemon: client version 1.52 is too new. Maximum supported API version is 1.43
The Solution: We use an older Alpine version (e.g., 3.15) for the Backup-Runner.
Here is the complete configuration (excerpt for Backup & Ofelia):
services:
  # ... your paperless, db, broker services ...
  webserver:
    container_name: paperless # The name is important for the backup script
    [...]

  db:
    container_name: paperless-db # The name is important for the backup script
    environment:
      POSTGRES_DB: paperless # The name is important for the backup script
      POSTGRES_USER: paperless # The name is important for the backup script
    [...]

  [...]

  ofelia:
    image: mcuadros/ofelia:0.3
    container_name: paperless-ofelia
    restart: unless-stopped
    command: daemon --docker
    volumes:
      - /var/run/docker.sock:/var/run/docker.sock:ro
    depends_on:
      - backup-runner
	# Must be in the same network

  backup-runner:
    image: alpine:3.15
    container_name: paperless-backup-runner
    command: >
      sh -c "apk add --no-cache bash rsync docker-cli && tail -f /dev/null"
    volumes:
      - /var/run/docker.sock:/var/run/docker.sock:ro
      - ./scripts/backup.sh:/scripts/backup.sh:ro
      - ./export:/paperless_data/export:ro
      - ./backups:/backup # Adjust path where backups should land
    labels:
      ofelia.enabled: "true"
      ofelia.job-exec.paperless-backup.schedule: "0 0 3 * * *"
      # Schedule: 0 0 3 * * * = Every day at 3 AM
      # For testing you can use "0 * * * * *" (every minute)
      ofelia.job-exec.paperless-backup.command: "/bin/bash /scripts/backup.sh"
    # Must be in the same network
Explanation of Labels
ofelia.enabled: Tells Ofelia that this container has jobs.ofelia.job-exec...schedule: The Cron expression.0 0 3 * * *means daily at 03:00 AM. (Note: Ofelia uses Go-Cron, which has 6 fields including seconds! The first 0 is the seconds).ofelia.job-exec...command: The command that is executed inside thebackup-runner.
Step 4: Installation and Test
- Create the project in Container Manager (or via Portainer/SSH) with the new config.
- Wait until all containers have started.
- Open the log of the
paperless-ofeliacontainer. - If you set the schedule to every minute for testing, you should immediately see:
Started - /bin/bash /scripts/backup.shand shortly after:Finished in "...", failed: false
Check your backups folder. You should now see subfolders with date stamps containing a paperless-db.sql file and a documents folder.
Step 5: Restore - Disaster Recovery
A backup you cannot restore is useless. We are simulating a total failure: All Docker data is gone, only the backups folder remains.
How to restore Paperless:
1. Stop & Clean
Stop the Docker project. Delete (in a worst-case scenario) the contents of db, media, data.
2. Prepare Backup Folder
Copy a matching pair of the documents folder and paperless-db.sql into a new folder named backup, located in the same directory as the empty media, db, etc. folders.
3. Mount Backup Folder
Bind this folder into the webserver and the database services in your compose file:
services:
  webserver:
    container_name: paperless
  volumes:
    - /volume1/paperless/data:/usr/src/paperless/data
    - /volume1/paperless/media:/usr/src/paperless/media
    - /volume1/paperless/export:/usr/src/paperless/export
    - /volume1/paperless/backup:/backup
  [...]

db:
  container_name: paperless-db # The name is important for the backup script
  volumes:
    - /volume1/paperless/db:/var/lib/postgresql
    - /volume1/paperless/backup:/backup
  [...]

[...]
4. Start ONLY the Database
Start only the paperless-db container. Leave the others off. This creates a fresh, empty database.
5. Import Database Dump
Open a terminal for the database container (via Portainer “Console” or Container Manager “Terminal”) using /bin/bash.
Assuming you made the dump available at /backup/paperless-db.sql inside the DB container:
# Go into the container (if via SSH)
# docker exec -it paperless-db /bin/bash

# Restore Command
psql -U paperless -d paperless < /backup/paperless-db.sql
If no errors appear: Congratulations, the database is back!
6. Import Documents
Now start the rest of the stack (Webserver, Broker, etc.).
Open a terminal for the webserver (paperless) container.
Run the importer:
document_importer /backup/documents/Paperless will now read all files, check the database, and restore the associations.
Conclusion
With Ofelia and the dedicated backup-runner, you have a robust solution that works independently of the host system. Remember the 3-2-1 rule: This script backs up locally to the NAS. Use backup services like Cloud Sync or Duplicati to push this backups folder to an external hard drive or the cloud!
FAQs
Why Alpine 3.15 and not latest?
Synology often uses an older Docker version. Alpine:latest installs a Docker CLI that is too new for the Synology engine, leading to API errors.
Can I trigger the backup manually?
Yes, you can log into the 'paperless-backup-runner' container at any time and simply execute '/scripts/backup.sh'.
What happens to old backups?
The variable RETENTION_DAYS=30 is set in the script. Backups older than 30 days are automatically deleted during the next run.
Why Ofelia instead of Synology Task Scheduler?
Ofelia runs as a container in the same network as Paperless. This makes the setup portable. If you move to a new server, you simply take your backup logic with you without having to set up cron jobs on the host again.