Open WebUI Setup: ChatGPT Alternative with Docker & Ollama
Install Open WebUI with Docker and Ollama on your own server for a private, powerful ChatGPT alternative. Step-by-step guide to a local, privacy-first AI setup!
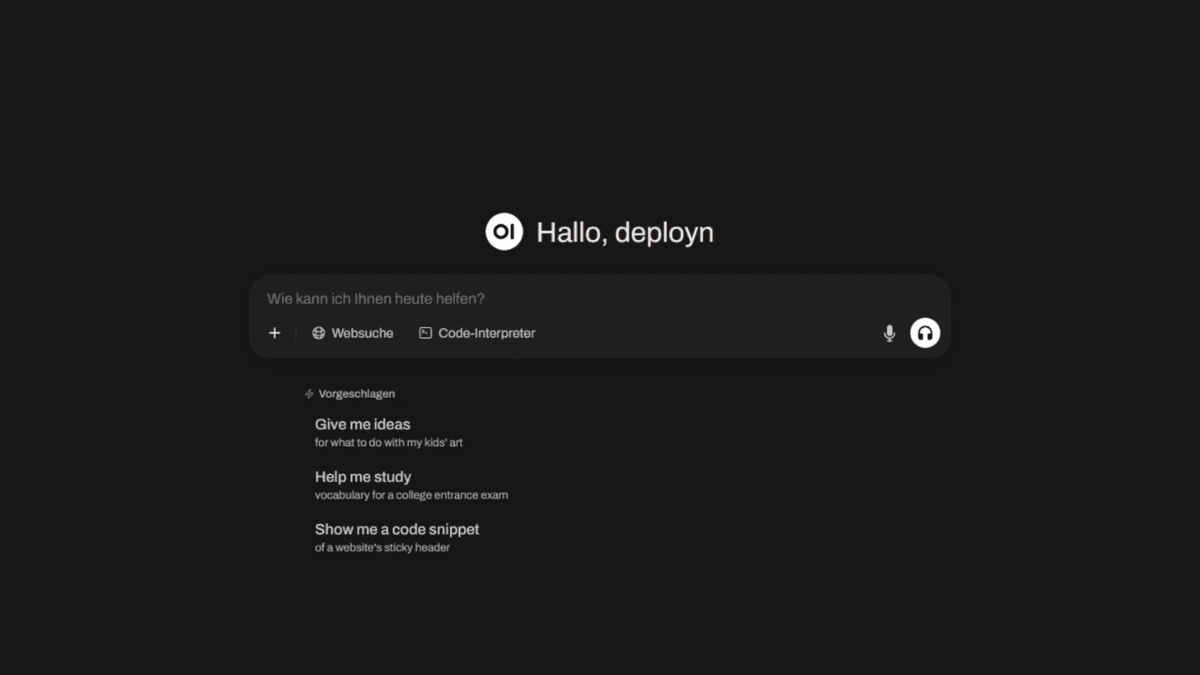
Table of Contents
Imagine having a private, powerful AI interface that looks as sleek as ChatGPT but is 100% under your control on your own homeserver. That’s exactly what Open WebUI is. All your data stays local, there are no external dependencies, and nothing leaves your server. You can use any open-source language models like Llama, Mistral, or Deepseek here – completely offline and private.
To ensure this runs smoothly, I’ll show you how to install Open WebUI with Docker and connect it with Ollama to host your own AI platform.
Why Open WebUI Anyway? Regaining Control
The major language models are fascinating, but they come with a trade-off: you give up control over your data. Open WebUI is the answer to that. Since it’s open-source, you have full transparency and the assurance that your conversations remain private.
Open WebUI provides an elegant user interface for various LLMs (Large Language Models). You can:
- Use local models via Ollama.
- Compare multiple AI models in parallel.
- Upload documents and work with them directly in the chat.
- Customize the web interface to your needs.
Prerequisites: The Right Hardware for Your Local AI
To get started, we first need a server. Your server needs a Linux operating system. For this tutorial, I’m working with Ubuntu, but the steps are nearly identical for other distributions.
This is where it’s decided how powerful your AI interface will ultimately be:
- Without local models (API use only): If you’re only using Open WebUI as a frontend for external services like the API from OpenAI or OpenRouter, 2 GB of RAM and two CPU cores are sufficient.
- With local models (Ollama): Here, the RAM is the limiting factor. Every language model you want to use must be fully loaded into RAM.
- Graphics Card (GPU): For a smooth inference experience, a CUDA-enabled NVIDIA GPU is recommended. While processing works without a GPU, you should expect noticeably longer wait times.
For this tutorial, I am using a VPS from Hetzner. If you want to learn more about setting up your first VPS, you can find a detailed guide here.
Step 1: Preparing the Server and Installing Docker
After creating your server, connect to it via SSH. First, we’ll create a new user and give it sudo rights.
# Execute on the server
adduser deployn
usermod -aG sudo deployn
exit
Now, we’ll reconnect with the new user and bring the system up to date.
ssh deployn@YOUR_SERVER_IP
sudo apt update && sudo apt upgrade -y
Next, we need to install Docker. The easiest way on Ubuntu is through the official apt repository.
# Install Docker dependencies
sudo apt-get update
sudo apt-get install ca-certificates curl
sudo install -m 0755 -d /etc/apt/keyrings
sudo curl -fsSL https://download.docker.com/linux/ubuntu/gpg -o /etc/apt/keyrings/docker.asc
sudo chmod a+r /etc/apt/keyrings/docker.asc

# Add the repository
echo \
  "deb [arch=$(dpkg --print-architecture) signed-by=/etc/apt/keyrings/docker.asc] https://download.docker.com/linux/ubuntu \
  $(. /etc/os-release && echo "${UBUNTU_CODENAME:-$VERSION_CODENAME}") stable" | \
  sudo tee /etc/apt/sources.list.d/docker.list > /dev/null
sudo apt-get update

# Install Docker Engine
sudo apt-get install docker-ce docker-ce-cli containerd.io docker-buildx-plugin docker-compose-plugin
We check the Docker installation with docker --version and docker compose version.
Step 2: Installing Open WebUI and Ollama with Docker
Now, it’s about getting Open WebUI up and running as quickly as possible. For this, we’ll use Docker Compose.
Creating the Directory Structure
To keep the project data organized, I’ll create a new folder in the home directory.
# Create and change into the directory
mkdir open-webui && cd open-webui

# Create necessary subdirectories for persistent data
mkdir data ollama
The compose.yaml for Ollama and Open WebUI
We create the central compose.yaml file. This describes which services Docker should start.
nano compose.yamlPaste the following content. This configuration starts both the user interface (open-webui) and the backend service for the models (ollama).
services:
    open-webui:
        image: ghcr.io/open-webui/open-webui:main
        container_name: open-webui
        ports:
            - "8080:8080"
        volumes:
            - ./data:/app/backend/data
        environment:
            - "OLLAMA_BASE_URL=http://ollama:11434"
        restart: unless-stopped

    ollama:
        image: ollama/ollama:0.9.6
        container_name: ollama
        volumes:
            - ./ollama:/root/.ollama
        # If you have an NVIDIA GPU, uncomment the following lines
        # deploy:
        #   resources:
        #     reservations:
        #       devices:
        #         - driver: nvidia
        #           count: 1
        #           capabilities: [gpu]
        restart: unless-stopped
Explanation of the configuration:
image: We use specific versions to ensure reproducibility. You can find the latest version on Docker Hub (Ollama) and GitHub (Open WebUI).ports: We expose port8080to access the Web UI.volumes: We create the foldersdataandollamato permanently store the configuration and downloaded models.environment: Here we tell Open WebUI where to find the Ollama service.
Starting the Containers
Now, we start the application with the command sudo docker compose up -d.
sudo docker compose up -dThe -d parameter ensures that the commands are executed in the background. Docker will now download the images, which might take a few minutes the first time. You can check if the containers are running with sudo docker ps.
Step 3: First Login and Finding the Right Model
If everything is running, you can reach the web interface in your web browser (http://YOUR_SERVER_IP:8080).
Create your administrator account. After logging in, the user interface is still empty. We first need to install a language model.
- Go to the administration settings (click on your name in the top right corner).
- Select “Settings” -> “Models”.
- Click on “Manage Models”.
- Enter the name of a model from ollama.com/library (e.g.,
llama3.1ordeepseek-r1:8b) and click “Download”.
CAUTION
Make sure you have enough storage space on your server (df -h). Large models can quickly take up several gigabytes. The RAM consumption also
increases sharply when a model is loaded.
The model will now be downloaded automatically. After that, you can select it in the chat window.
The Most Flexible Solution: External APIs with OpenRouter
If your hardware is not sufficient for large LLMs, there is an elegant solution: Open WebUI can serve as a central interface for external, powerful AI models. The key to this is the integration of OpenRouter.ai.
- Create an API Key: Create an account on OpenRouter.ai, top up your credit if necessary, and generate a new API key.
- Add a Connection in Open WebUI:
- In Open WebUI, go to “Administration” -> “Settings” -> “Connections”.
- Click “Add Connection”.
- Enter the base URL of OpenRouter:
https://openrouter.ai/api/v1. - Paste your API key and save.
After saving, you will see a huge list of external models under “Select Model”. You can now seamlessly switch between your local models and the powerful external models without leaving the user interface. This is the ultimate flexibility.
Conclusion: Your Own AI Platform
Congratulations! You have successfully installed Open WebUI with Docker and are now able to host your own AI. The combination of Ollama and Open WebUI is a powerful, flexible alternative to commercial services.
You now have full control. Experiment with the available models, customize the interface, and discover the world of local AI models on your own server.
What hardware do I really need to host Open WebUI?
Can I install Open WebUI without Docker?
How do I update Open WebUI and Ollama?
What is the difference between Open WebUI and Ollama?
Related Articles
Install Karakeep: Self-Hosted Bookmark Manager with Docker
Install Karakeep as your self-hosted bookmark manager with Docker. Includes Caddy reverse proxy and optional AI integration – full control over your bookmarks!
Ugreen NAS Setup: Complete Homeserver Guide Step-by-Step
Set up your Ugreen NAS as a full homeserver: hardware prep, Docker, network config, and more. A detailed step-by-step guide to get you started quickly.
Install Claper: Self-Host Interactive Presentations with Docker
Create interactive presentations with Claper. This guide shows you step-by-step how to install and secure Claper on your own server using Docker and Docker Compose.
Crater on Synology NAS: Create Invoices Easily with Docker
Install Crater on your Synology NAS with Docker. Create invoices, track expenses and payments with this free, open-source billing solution for your NAS.