Monitor Your Internet Speed with Speedtest Tracker
With Speedtest Tracker, you can monitor the internet speed of your connection.
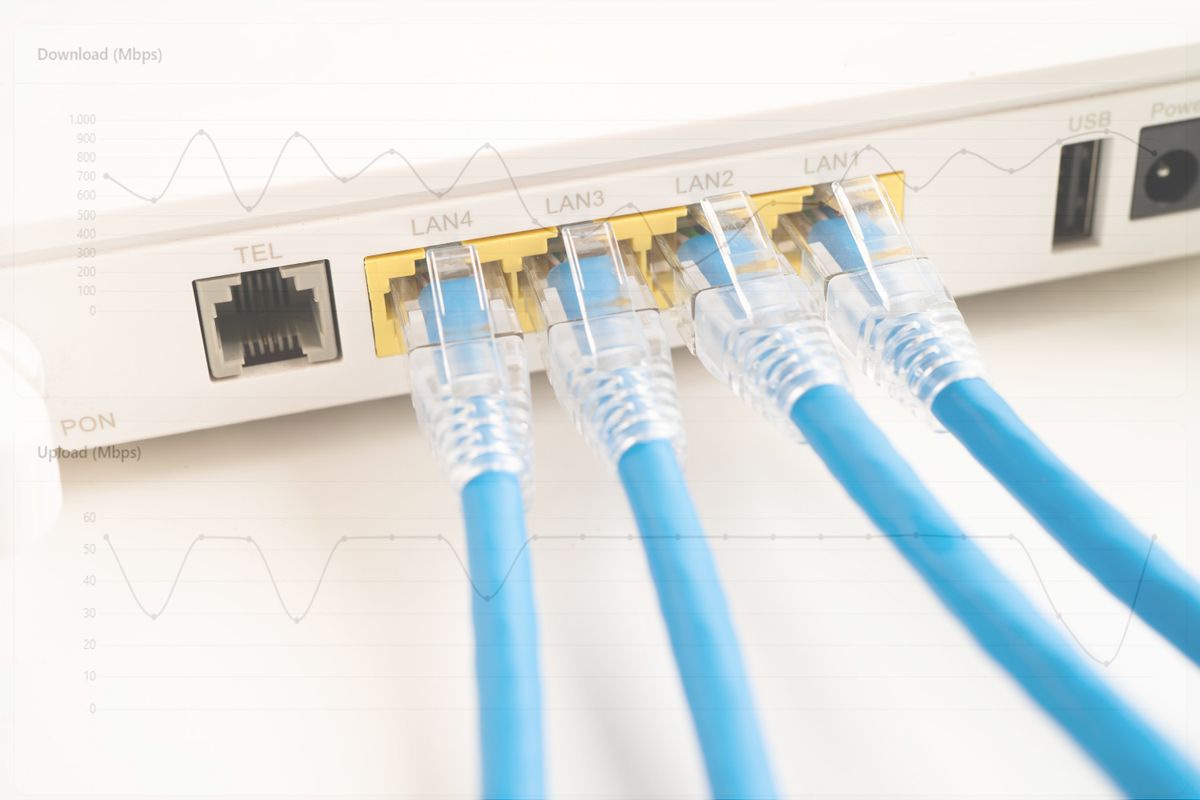
Table of Contents
Since the introduction of § 57 Abs. 4 TKG in December 2021 in Germany, users have the right to a reduction in monthly fees or an extraordinary ** termination** of the contract “in the case of a significant, continuous or regularly recurring deviation” between the promised and the actual performance. The German Federal Network Agency provides a desktop app for officially measuring the speed.
Speedtest Tracker
Independent of this, there’s an open-source program called Speedtest Tracker. It allows you to automatically and continuously monitor your internet speed. While the Federal Network Agency’s app should be used for official complaints, we’ll look at how to set up Speedtest Tracker for personal monitoring and documentation.
Preparation
First, you need a device with Docker and Docker-Compose installed. I recommend a server that’s directly connected to the router via cable. On this server, we’ll create three folders for configuration and the database, as well as a docker-compose.yml file.
mkdir speedtest-tracker
cd speedtest-tracker
mkdir data
mkdir keys
mkdir db
touch docker-compose.yml
Docker Compose File
networks:
    proxy:
        external: true
        name: proxy
    internal:
        external: false

services:
    speedtest-tracker:
        container_name: speedtest-tracker
        environment:
            - PUID=1000
            - PGID=1000
            - DB_CONNECTION=pgsql
            - DB_HOST=db
            - DB_PORT=5432
            - DB_DATABASE=speedtest_tracker
            - DB_USERNAME=speedy
            - DB_PASSWORD=password
            - TZ=Europe/Berlin
        volumes:
            - ./data:/config
            - ./keys:/config/keys
        image: lscr.io/linuxserver/speedtest-tracker:latest
        restart: unless-stopped
        networks:
            - internal
            - proxy
        depends_on:
            - db
    db:
        image: postgres:15
        restart: always
        environment:
            - POSTGRES_DB=speedtest_tracker
            - POSTGRES_USER=speedy
            - POSTGRES_PASSWORD=password
        volumes:
            - ./db:/var/lib/postgresql/data
        networks:
            - internal
The PUID and PGID should be set to your own user and group. Simply enter id in the terminal to determine these values. The timezone can be changed. The database password should be changed for both DB_PASSWORD and POSTGRES_PASSWORD.
Reverse Proxy
If you don’t have a reverse proxy on the server, the network configuration needs to be adjusted. In this case, port 80 of the Speedtest Tracker must also be exposed.
Otherwise, you can create a proxy host for the container. In the case of Caddy, it would look like this if you want to reach the Speedtest Tracker at https://speedtest.domain.com and it should only be accessible internally:
https://speedtest.domain.com {
    @blocked not remote_ip private_ranges
    respond @blocked 403
    reverse_proxy speedtest-tracker:80
}
Settings
After starting the containers, you can log into the Speedtest Tracker with the username admin@example.com and password password. You can change these in the settings. In the “General” settings, you’ll also find the option to configure a “Speedtest schedule”. Here, you need to use the cron format.
Examples:
*/30 * * * * # every 30 minutes
0 * * * *    # every hour
0 0 * * *    # every day at midnight
0 22 * * 1-5 # Monday to Friday at 10 PM
0 0 * * 0    # every Sunday at midnight
0 0 1 * *    # on the first of every month at midnight
Sample Data
The data can be exported as CSV. You can choose from the following columns to export:
- “ID”
- “IP address”
- “Service”
- “Service ID”
- “Server name”
- “Download”
- “Upload”
- “Ping”
- “Packet loss”
- “Download jitter”
- “Upload jitter”
- “Ping jitter”
- “Upload latency high”
- “Upload latency low”
- “Upload latency avg”
- “Download latency high”
- “Download latency low”
- “Download latency avg”
- “Comments”
- “Scheduled”
- “Created at” sowie
- “Uploaded at”
My setup: Vodafone Gigabit Cable Internet with 1000 Mbit/s download and 50 Mbit/s upload. The Speedtest Tracker ran every hour from 27.07.2024 00:00 to 27.09.2024 23:00. I exported and analyzed the data (1512 measurements):
- 16 measurements had no internet connection, corresponding to an availability of 98.94%
- Some Packets were lost in 206 measurements
- The average download speed was 661.05 Mbit/s (median 722.71 Mbit/s)
- The average upload speed was 49.37 Mbit/s (median 53.98 Mbit/s)
- The average ping was 11.58ms (median 9.99ms)
There were no significant differences between the individual days of the week.
| Day of Week | Download | Upload | Ping |
|---|---|---|---|
| Monday | 624,66 | 49,52 | 11,43 |
| Tuesday | 659,50 | 48,96 | 11,43 |
| Wednesday | 656,70 | 48,37 | 12,26 |
| Thursday | 678,87 | 48,65 | 11,83 |
| Friday | 685,64 | 48,54 | 11,51 |
| Saturday | 668,30 | 51,03 | 11,53 |
| Sunday | 653,65 | 50,52 | 11,09 |
A slightly larger difference was noticeable between the hours. The download speed was highest at 8 PM and lowest at 3 AM.
| Hour | Download | Upload | Ping |
|---|---|---|---|
| 00 | 672,95 | 49,73 | 13,20 |
| 01 | 331,93 | 51,75 | 10,17 |
| 02 | 416,89 | 52,10 | 11,38 |
| 03 | 229,87 | 50,99 | 13,13 |
| 04 | 383,27 | 50,07 | 11,48 |
| 05 | 657,53 | 51,63 | 14,19 |
| 06 | 677,68 | 50,51 | 12,07 |
| 07 | 670,94 | 50,44 | 12,01 |
| 08 | 774,71 | 46,66 | 12,11 |
| 09 | 794,96 | 50,35 | 10,65 |
| 10 | 655,78 | 46,00 | 13,37 |
| 11 | 810,39 | 50,38 | 12,19 |
| 12 | 785,71 | 47,78 | 12,88 |
| 13 | 690,12 | 47,85 | 12,62 |
| 14 | 788,69 | 46,59 | 11,93 |
| 15 | 809,30 | 49,61 | 9,77 |
| 16 | 593,85 | 51,16 | 9,78 |
| 17 | 794,67 | 46,36 | 9,87 |
| 18 | 707,39 | 52,00 | 9,03 |
| 19 | 752,65 | 47,99 | 9,83 |
| 20 | 843,68 | 46,69 | 10,83 |
| 21 | 813,24 | 46,74 | 12,33 |
| 22 | 527,61 | 49,74 | 11,72 |
| 23 | 681,27 | 51,68 | 11,41 |
You can download my raw data here
Conclusion
Speedtest Tracker is a simple and effective tool for monitoring internet speed. The data can be easily exported and analyzed. The installation is straightforward and quickly done.