Guide for mail server Mailcow behind Traefik with Docker
Set up your own mail server with Mailcow and Docker. Run it behind Traefik as a reverse proxy with SSL, spam filtering, and webmail – complete step-by-step guide!

Table of Contents
CAUTION
Please note that this blog post was originally written in German and has been translated for your convenience. Although every effort has been made to ensure accuracy, there may be translation errors. I apologize for any discrepancies or misunderstandings that may result from the translation and I am grateful for any corrections in the comments or via mail.
Should you host your mail server? It’s probably not usually worth the effort, especially when it comes to mission-critical mail functionality. If you need it, it is much easier to use an external service.
Examples include services such as Zoho Mail, Mailbox, Runbox or ProtonMail. The costs for these start at around 1 - 5 € per month. It is also possible, if you already have a Microsoft 365 contract, to set up a personal e-mail account. The same applies to a subscription to Google Workspace.
However, I would still like to host my own mail server. Here, too, a large selection of programs could be used for this purpose. Mail-in-a-box](https://mailinabox.email/) and Mailu are certainly worth mentioning.
Mailcow
In this tutorial, however, we use Mailcow, the Mailserver Suite with the “Muuh” 😃
mailcow.email | The mailserver suite with the ‘moo’ - 🐮 + 🐋 = 💕
– Mailcow
Mailcow is a free, open-source software suite for setting up, managing, and administering email addresses. Mailcow uses various open-source tools and services, such as Postfix, Dovecot and ClamAV, to send, receive, filter and secure emails.
It is best to try out the demo beforehand to see whether the suite offers what you want, at least at first glance.
Requirements
The requirement for hosting the mail server is access to a Linux server (for example, Ubuntu or Debian). According to the documentation, the system should have at least the following resources:
- CPU: 1 GHz
- RAM: at least 6 GiB + 1 GiB swapDisk
- HDD: 20 GiB (in addition to the disk space required for the e-mails)
- System type: x86_64
6 GiB RAM + 1 GiB swap is fine for most private installations, while 8 GiB RAM are recommended for ~5 to 10 users.
In my experience, it also works with a little less RAM, but there is little buffer left. I assume the server is set up as described in my other guide. According to this, Traefik is also used as a proxy manager. Ports 25 and 587 on the server must not be blocked by the provider; this is the case with Hetzner (affiliate link) , for example, as long as you do not ask for this block to be lifted. If a firewall is in use, some ports must be open or changed to open ports in the settings later.
| Service | Port |
|---|---|
| Postfix SMTP | 25 |
| Postfix SMTPS | 465 |
| Postfix Submission | 587 |
| Dovecot IMAP | 143 |
| Dovecot IMAPS | 993 |
| Dovecot POP | 3110 |
| Dovecot Manage Sieve | 4190 |
With Netcup (Affliate Link) (New Customer Vouchers) I have had no problems running a mail server in the past.
Install Mailcow
After we have connected to our server via ssh ssh username@server-ipaddress, we download the repository “mailcow dockerized” into our Docker directory.
cd ~/docker
git clone https://github.com/mailcow/mailcow-dockerized
cd mailcow-dockerized
./generate_config.sh
When asked for the FQDN, the mail server’s address must be entered. It is not necessarily the address that should appear to the right of the @ sign in the e-mails. Instead, it is the URL used for setup, and you should call up to manage your Mailcow. For example, mail.einedomain.de.
Then we open the configuration nano mailcow.conf. We are interested in the area with SKIP_LETS_ENCRYPT=n. Depending on whether Traefik takes care of the certificate, this line should actually be changed to SKIP_LETS_ENCRYPT=y.
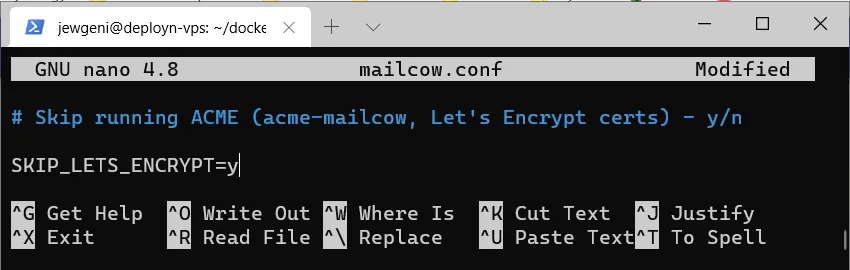
However, I get problems with SSL encryption as soon as I set this value to y. That’s why I leave it at n, so Mailcow takes care of the certificate.
Furthermore, the part with the HTTP/S bindings has to be adjusted.
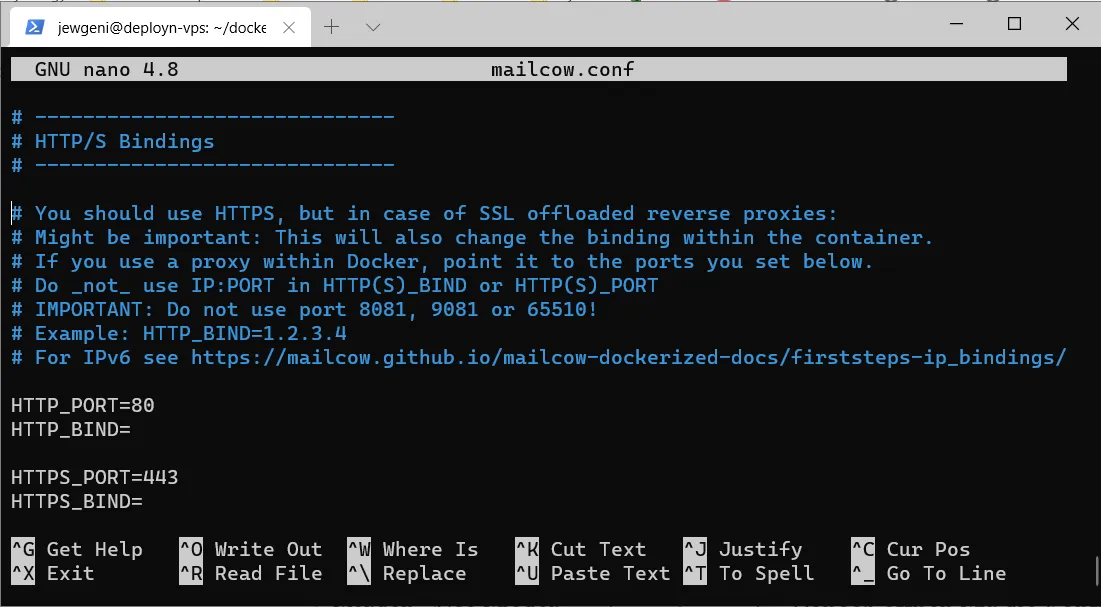
The modified setting could look something like this:
# You should use HTTPS, but in case of SSL offloaded reverse proxies:
# Might be important: This will also change the binding within the container.
# If you use a proxy within Docker, point it to the ports you set below.
# Do _not_ use IP:PORT in HTTP(S)_BIND or HTTP(S)_PORT
# IMPORTANT: Do not use port 8081, 9081 or 65510!
# Example: HTTP_BIND=1.2.3.4
# For IPv6 see https://mailcow.github.io/mailcow-dockerized-docs/firststeps-ip_bindings/

HTTP_PORT=8083
HTTP_BIND=127.0.0.1

HTTPS_PORT=8443
HTTPS_BIND=127.0.0.1
Florian has thankfully pointed out in the comments that there may be problems with the self-signed Let’s Encrypt (wildcard) certificate. It may therefore be advisable to adjust the configuration file for ADDITIONAL_SAN and ADDITIONAL_SERVER_NAMES as well:
# Additional SAN for the certificate
#
# You can use wildcard records to create specific names for every domain you add to mailcow.
# Example: Add domains "example.com" and "example.net" to mailcow, change ADDITIONAL_SAN to a value like:
#ADDITIONAL_SAN=imap.*,smtp.*
# This will expand the certificate to "imap.example.com", "smtp.example.com", "imap.example.net", "imap.example.net"
# plus every domain you add in the future.
#
# You can also just add static names...
#ADDITIONAL_SAN=srv1.example.net
# ...or combine wildcard and static names:
#ADDITIONAL_SAN=imap.*,srv1.example.com
#

ADDITIONAL_SAN=imap.*,smtp.*,mail.*

# Additional server names for mailcow UI
#
# Specify alternative addresses for the mailcow UI to respond to
# This is useful when you set mail.* as ADDITIONAL_SAN and want to make sure mail.maildomain.com will always point to the mailcow UI.
# If the server name does not match a known site, Nginx decides by best-guess and may redirect users to the wrong web root.
# You can understand this as server_name directive in Nginx.
# Comma separated list without spaces! Example: ADDITIONAL_SERVER_NAMES=a.b.c,d.e.f

ADDITIONAL_SERVER_NAMES=mail.mydomain.com
As already written, the “other bindings” may have to be changed if the ports are occupied. This can be found out by executing the command sudo lsof -i -P -n | grep LISTEN.
We then need a Docker Compose file that overwrites the original one in some respects. nano docker-compose.override.yml
version: "2.1"

### NETWORKS ###
networks:
    web:
        external:
            name: web
    default:
        driver: bridge

### Services ###
services:
    nginx-mailcow:
        networks:
            - web
        labels:
            - "traefik.enable=true"
            - "traefik.docker.network=web"
            - "traefik.http.routers.moo-rtr.rule=Host(`${MAILCOW_HOSTNAME}`)"
            - "traefik.http.routers.moo-rtr.tls=true"
            - "traefik.http.routers.moo-rtr.service=moo-svc"
            - "traefik.http.services.moo-svc.loadbalancer.server.port=8083"
            - "traefik.http.routers.moo-rtr.middlewares=chain-no-auth@file"

    certdumper:
        image: humenius/traefik-certs-dumper
        container_name: traefik_certdumper
        network_mode: none
        volumes:
            - ./traefik/acme:/traefik:ro
            - ./data/assets/ssl/:/output:rw
        environment:
            - DOMAIN=${MAILCOW_HOSTNAME}
The port number for the load balancer corresponds to the HTTP port number we previously assigned.
We start the service with docker-compose up -d and wait for all images to be downloaded. We then look under “traefik.domain.de” to see if any errors have occurred. If not, our mail cow should now be accessible under “mail.einedomain.de”.
Setting up Mailcow
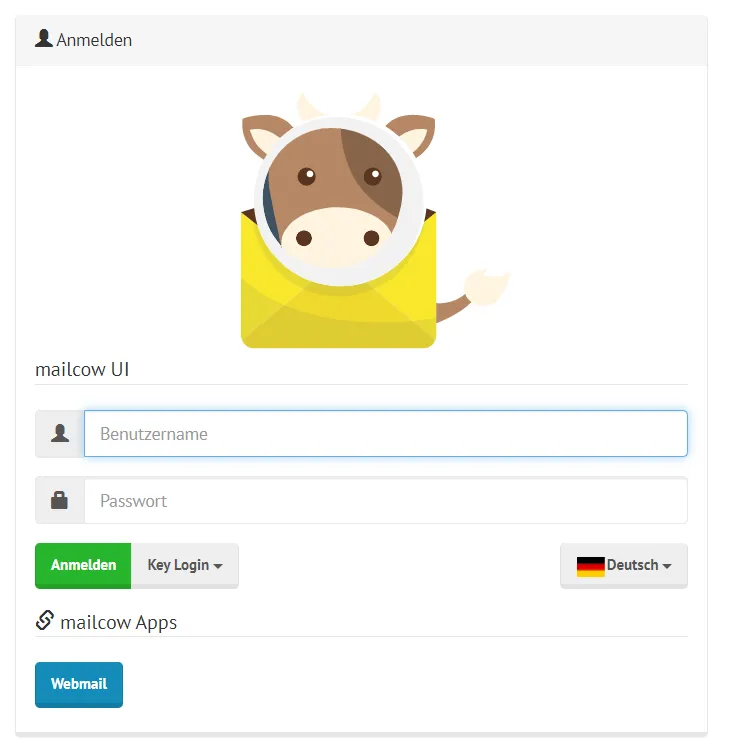
The login to the web interface is done using the default data username: admin and password: moohoo. In this respect, the admin password should be changed first.

The new password should be effective if we log out and log in again. Setting up two-factor authentication with Google Authenticator or similar programs is also possible.
Google Authenticator uses two-step verification for your Google account, offering additional protection when signing in. Two-step verification requires both your password and a verification code to sign in to your account, which you can enter with …
– Android App
– iOS App Store
The OTP query appears if we log out and log in again after activation. At this point, we could change the authentication in the docker-compose.override file to chain-no-auth if we want other people to be able to log in. If the line changes, docker-compose down and docker-compose up -d must be executed again.
The next step is the e-mail setup.
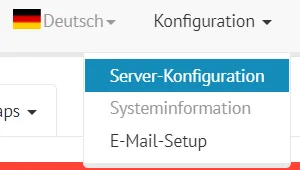
We add a domain. This time, the domain corresponds to what is to the right of the @ sign.
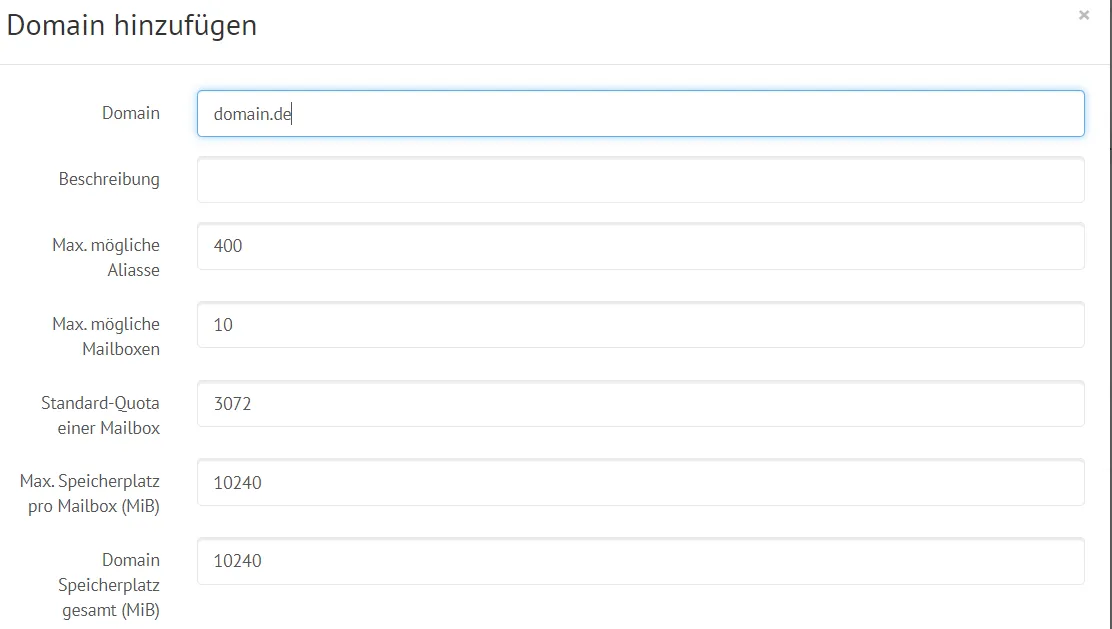
And we need to configure the DNS settings. We can find the correct settings under the DNS button.
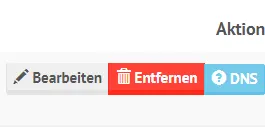
The blue button checks and displays the DNS settings
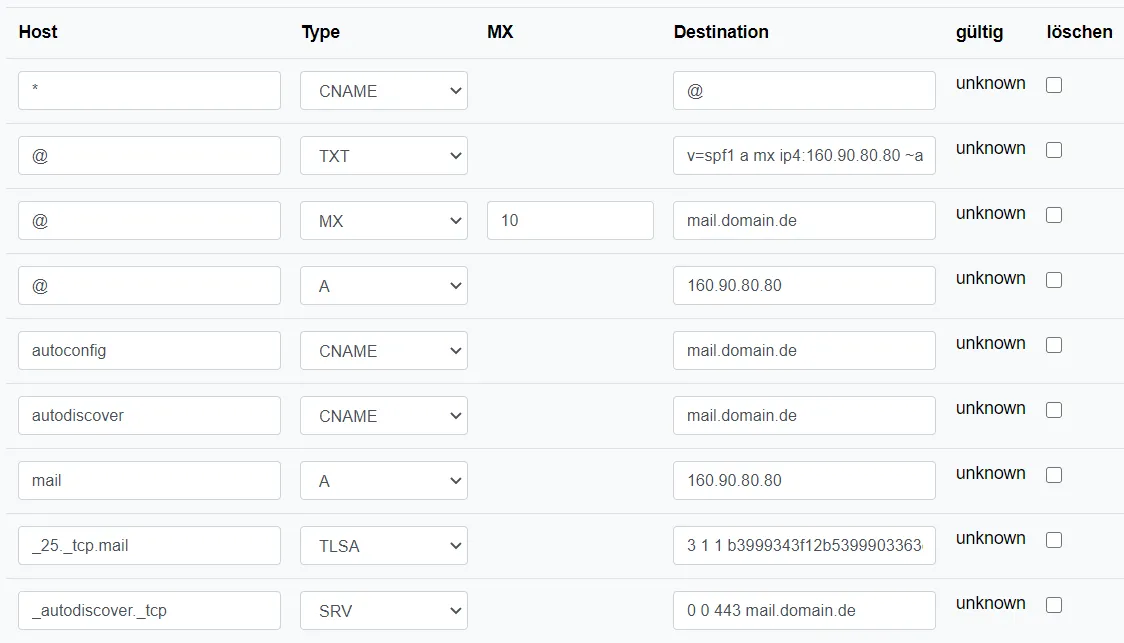
My DNS settings in Netcup. The data must of course be adjusted Under Mailboxes we add a new mailbox.
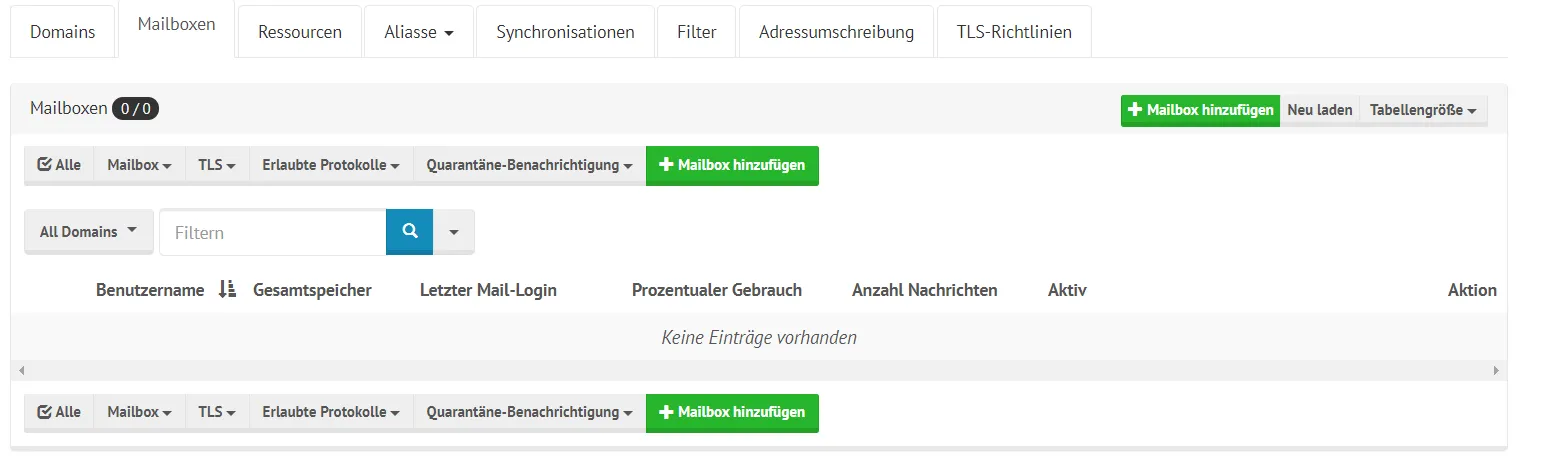
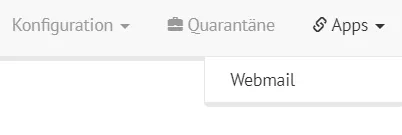
SoGo must then be restarted. As soon as you log in as a newly created user, you can switch to the webmail app.
Integration in Outlook and similar e-mail clients
If you want to integrate the e-mail inbox into an e-mail program, this can be done in just a few steps. I will show this using the example of Outlook. With Thunderbird the process is almost identical.
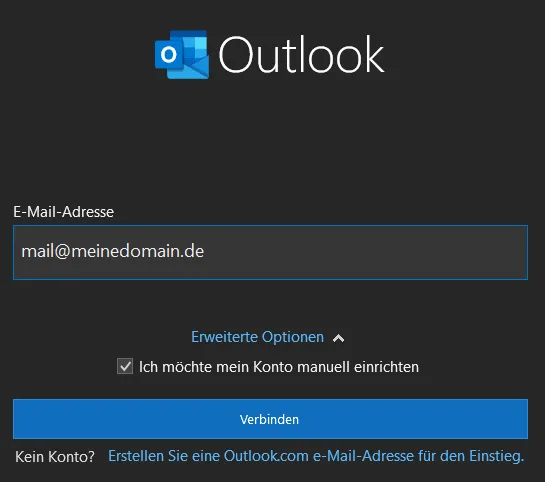
You can add a new account under the menu item File.

In the next window, check the box for manual setup.
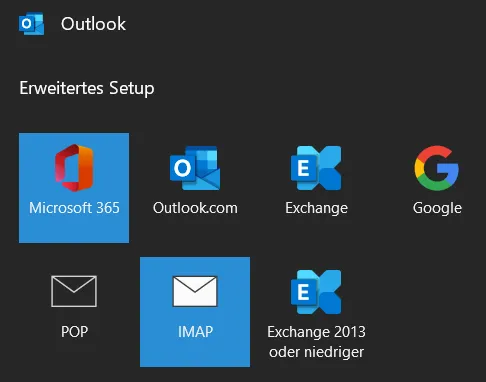
I would like to have IMAP for the type of access. POP would also be possible. The Internet Message Access Protocol is used by e-mail clients to access e-mails from a mail server. In contrast to POP3, the e-mail program only retrieves the required information from the server. With POP3, an e-mail program retrieves the e-mails from the server; they are no longer on the server but only in the mail program.
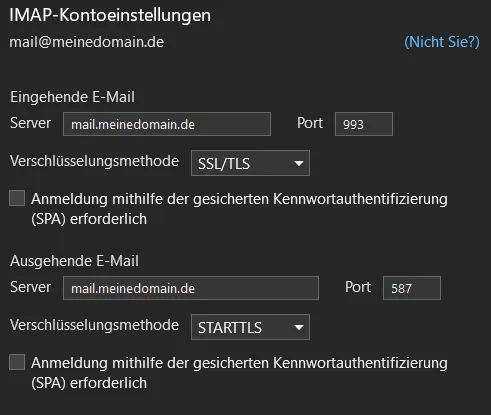
 Once the password for the mailbox has been entered, the server settings must be adjusted. The following values can be entered:
Incoming e-mail: Server: mail.mydomain.com Port: 993 Encryption method: SSL/TLS Outgoing e-mail: Server: mail.mydomain.com Port: 465 Encryption method: SSL/TLS
No error should appear if you have previously added smtp.* to the additional SANS in the configuration.
Test mail server
At Mail-tester, you can test your mail for spam potential.
mail-tester.com is a free online service that allows you to test your emails for Spam, Malformed Content and Mail Server Configuration problems
– Newsletters spam test by mail-tester.com
My result with this setup is an 8/10.

This sets up your own mail server behind Traefik. You should also be interested in the RAM utilization, which you can track with htop.

Update
Updates can be easily carried out using the attached script. Simply change to the Mailcow directory cd /path/to/mailcow and execute the script ./update.sh. The script will then perform the update.
I hope this post helps someone 😃
Related Articles
How to Install Plausible Analytics with Docker & Traefik
Install the privacy-friendly Google Analytics alternative Plausible with Docker and Traefik. Set up self-hosted web analytics on your own server step by step.
Set Up Ghost CMS with Docker & Traefik: Full Guide
Run Ghost CMS with Docker behind a Traefik reverse proxy. A step-by-step guide for building your own blog system with SSL and a custom domain – get started now!
Setting up n8n automation with Docker behind Traefik
Automate workflows efficiently with n8n. Set it up with Docker and Traefik as a reverse proxy, including SSL and practical examples – save time automating!
Set up server with Traefik as reverse proxy for Docker
Set up your server with Docker and configure Traefik as a reverse proxy using Docker Compose. Get automatic SSL certificates and secure container management.