Install Nextcloud on Shared Webhosting: Step-by-Step
Install Nextcloud on your existing shared webhosting plan. A complete step-by-step guide to turn your webhosting into a private cloud alternative – no VPS needed!
Table of Contents
CAUTION
Please note that this blog post was originally written in German and has been translated for your convenience. Although every effort has been made to ensure accuracy, there may be translation errors. I apologize for any discrepancies or misunderstandings that may result from the translation and I am grateful for any corrections in the comments or via mail.
This time it’s about how to install Nextcloud on a shared webhosting plan. Nextcloud is an open source file server with many expansion options. It can be used as an alternative to Dropbox or Google Drive.
Requirements
Of course, you need a shared web hosting plan. In my case, it is one from netcup (Alliate Link). Netcup offers the option of using new customer vouchers.
You should bear in mind that there are better installation environments than this. A regular server would, of course, be better. However, before the web hosting resources expire unused, the installation should perhaps be tried out.
It would be good if PHP 8.0 and database creation were supported. A domain is also required.
Preparation
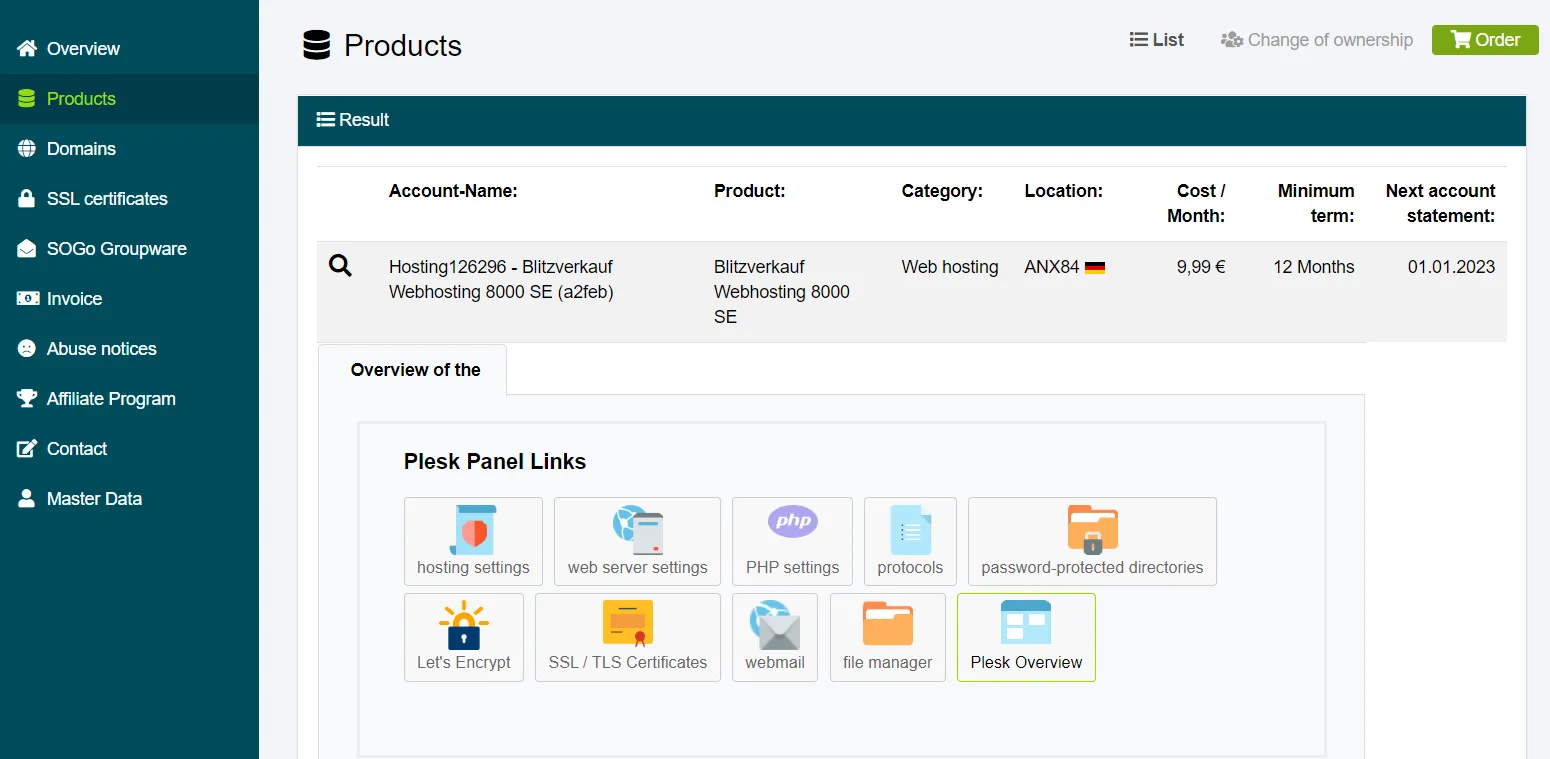
First, I call up Plesk (at Netcup, the interface is called Webhosting Control Panel). It can be called up via the CCP in the menu item Products and Plesk Overview under the respective domain.
Subdomain
I create a new subdomain there. In principle, it would also be possible to host Nextcloud in a subdirectory, i.e. domain.de/nextcloud or the root domain, i.e. domain.de. However, I would prefer a subdomain, i.e. nextcloud.domain.de.
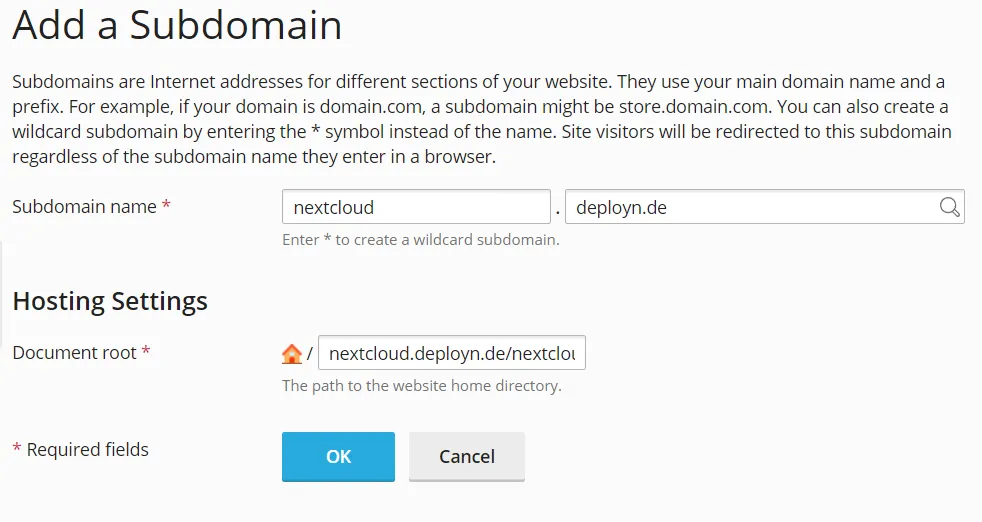
Of course, you can also choose a different name. For the root directory, I select the subfolder /nextcloud in addition to the folder with the same name as the domain.
SSL certificate
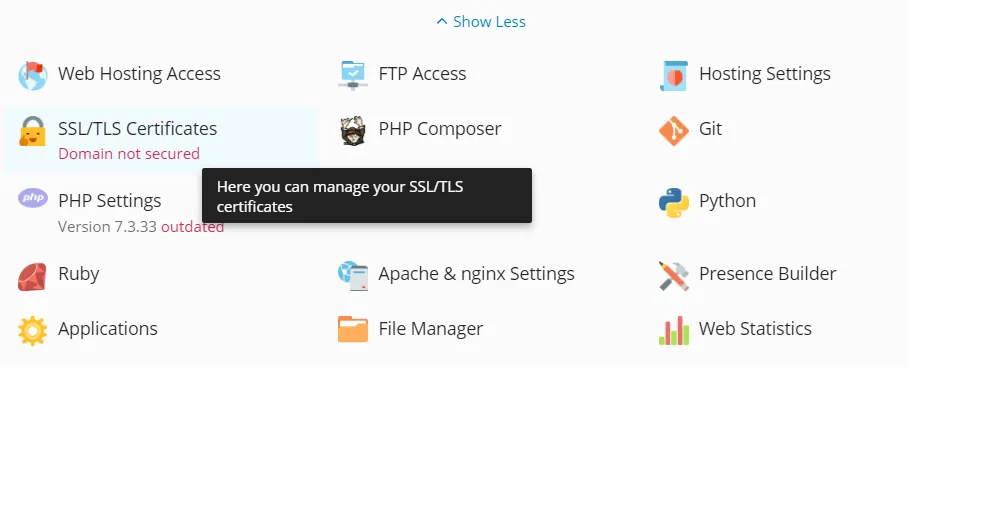
Next, I install an SSL certificate via letsencrypt. This can be done with just a few clicks.
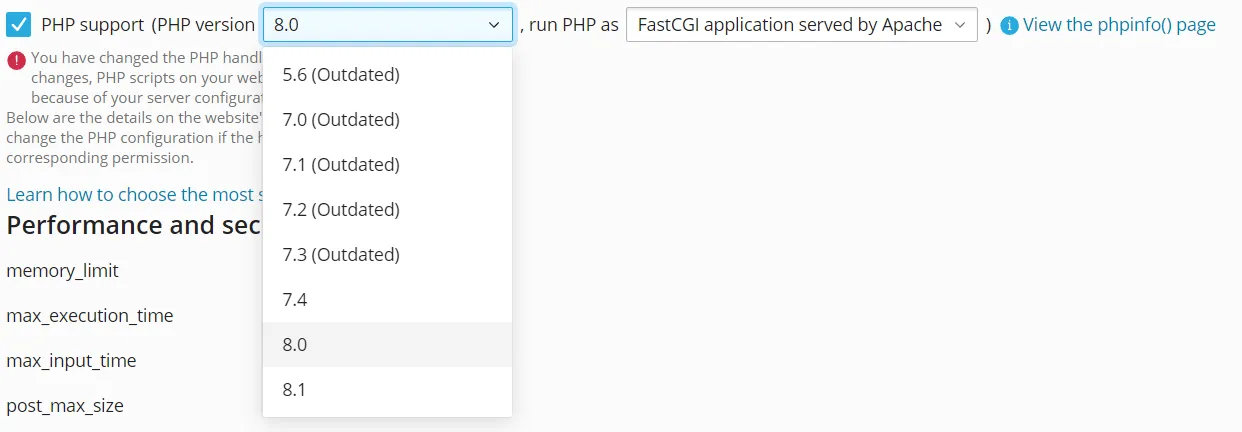
PHP 8.0
I activate PHP 8.0 under the PHP settings, even if PHP 8.1 is available.
Database
I add a database via the database menu item.
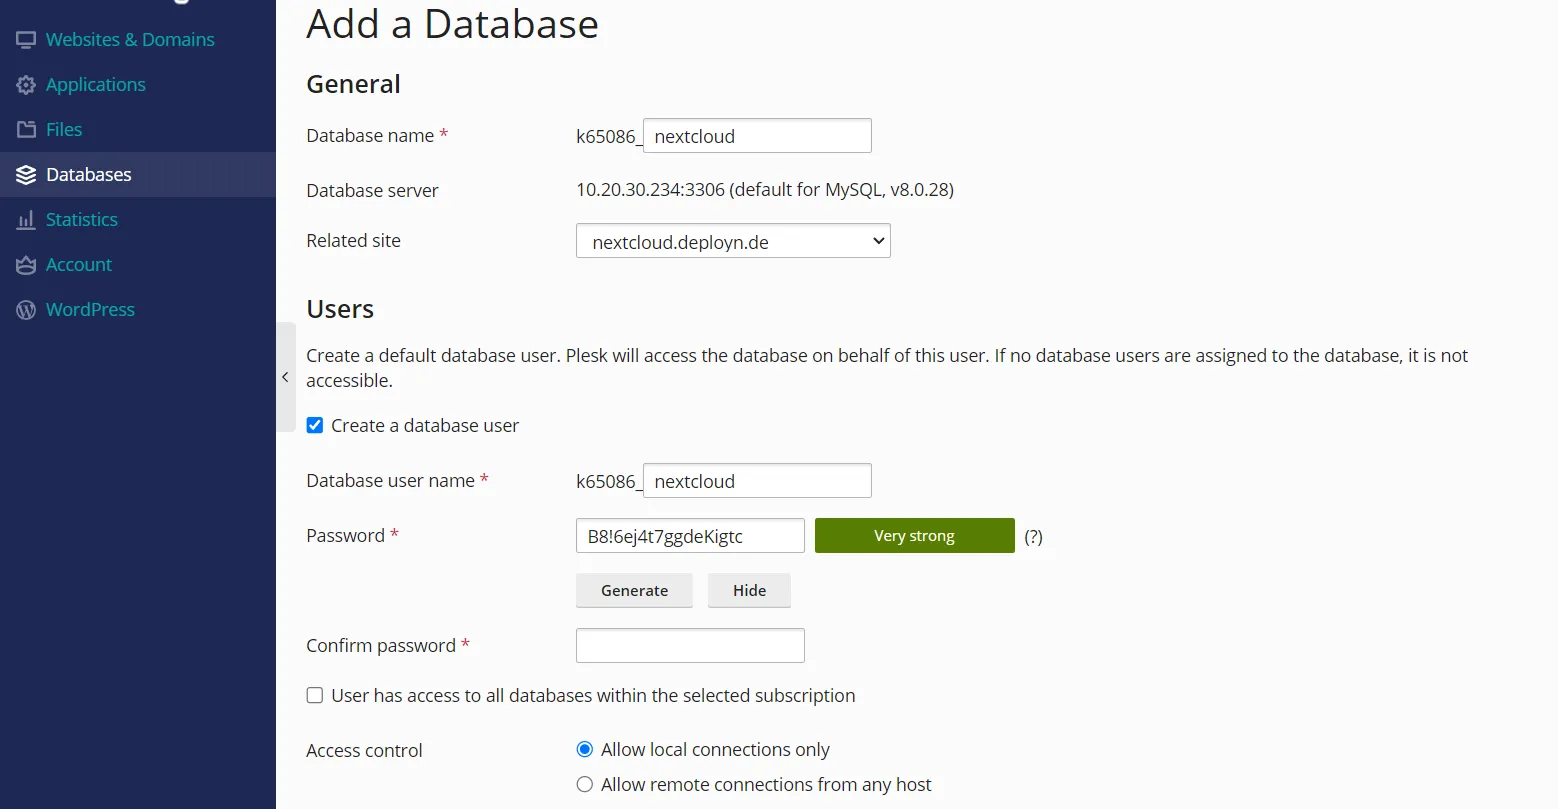
I remember the IP address of the database and of course the values I have entered. I also only allow local connections.
Install Nextcloud
Now, I switch to the file explorer in the subdomain’s root directory. So home/nextcloud.domain.de/nextcloud. There should be two files in this folder. A favicon and an index.html. I delete both.
Installation script
Instead, I download the Nextcloud installation file and place it in the directory.

Now I visit the subdomain in the web browser with the subdirectory.
https://nextcloud.domain.de/setup-nextcloud.php
The setup wizard should be displayed here. I select . as the installation path for the Dependency Checker, as I do not want a subdirectory.
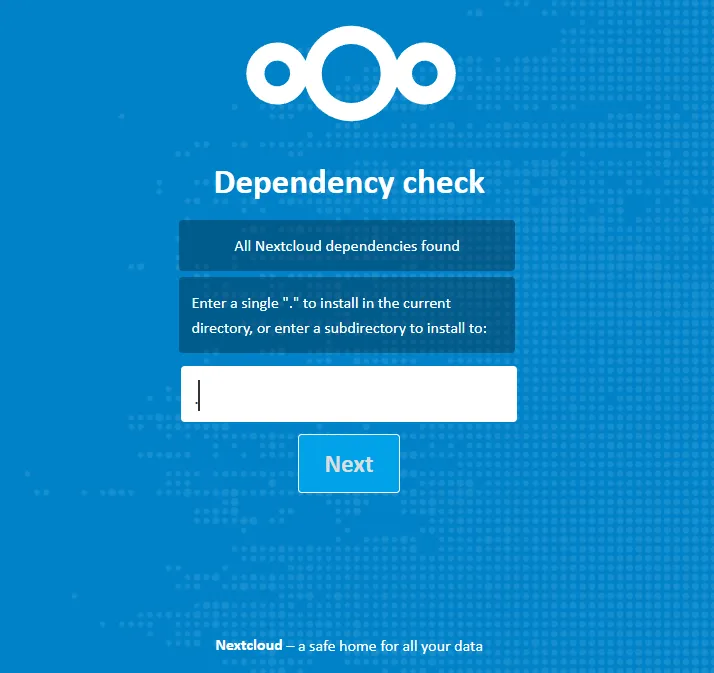
If you press continue, you have to wait a bit.
It will either say it has been installed or an error message will appear.
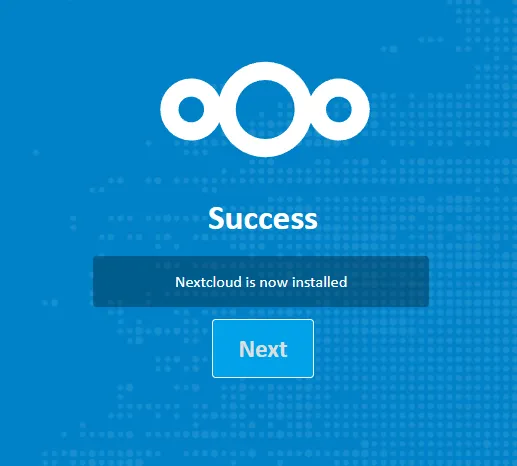
If you receive an error message, delete all files in the explorer except for the setup file and try again.
MySQL instead of SQLite
The next step is to create an administrator account. Here I change the database from SQLite to MySQL.
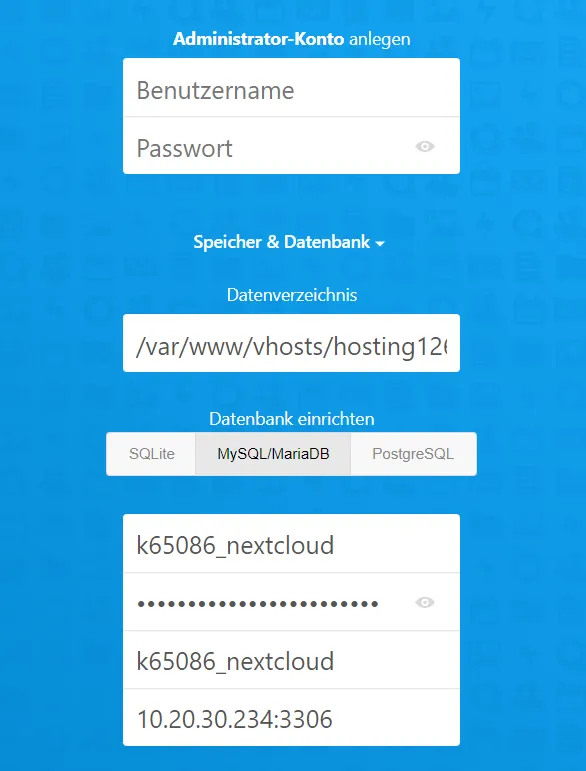
There I enter the data from my database.
And that’s it already. You can then log in to your own Nextcloud as an administrator. You should skip the installation of the suggested apps; you can do this manually later.
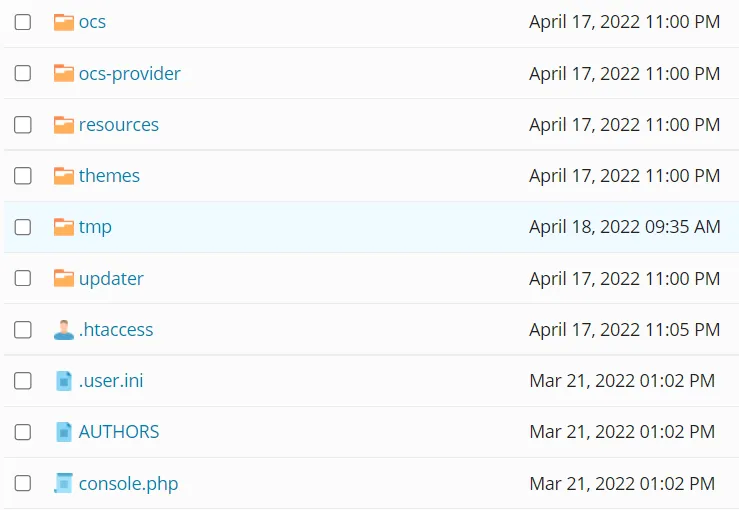
TMP folder
In the file explorer in Plesk, I add the folder “tmp”.
HSTS
At the latest I also activate HSTS for the Let’s Encrypt certificate.

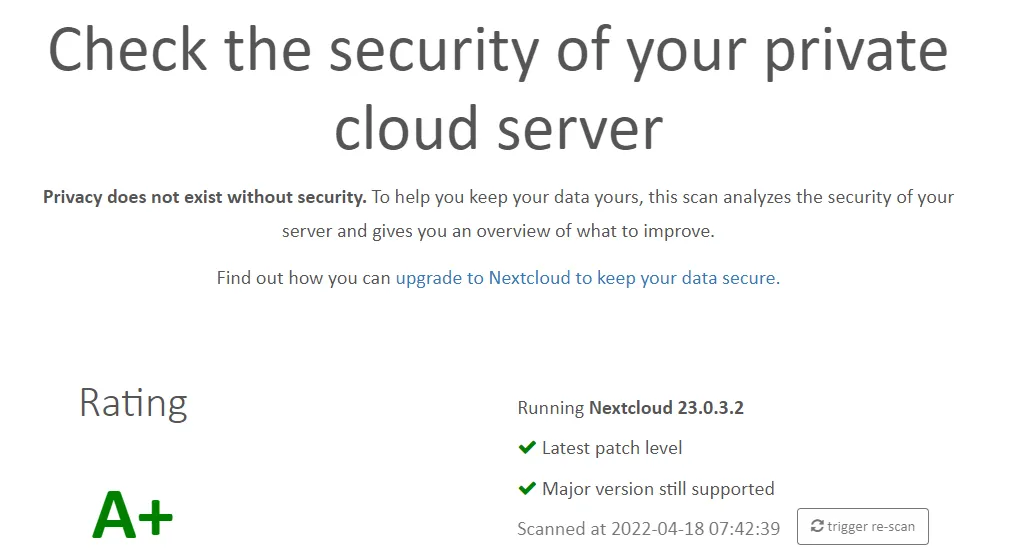
Security scan
The security scan should also return an A+. I ignore the warning about the opcache because I have no idea how to remove it.
Please feel free to contact me if you have any suggestions for improvement or comments.
Related Articles
Install Nextcloud on a VPS with Docker: Complete Guide
Set up your own private cloud with Nextcloud on a VPS using Docker and Caddy as a reverse proxy. Beginner-friendly step-by-step guide – start your cloud today!
Backups with Duplicati & Docker: Secure Data Protection
Protect your Docker data and databases reliably with Duplicati. Set up automated backups, including cloud storage. Open source, flexible, and easy to configure.
Self-Host Calibre with Docker and Traefik Reverse Proxy
Set up a self-hosted e-book manager with Calibre and Calibre-Web as GUI behind Traefik reverse proxy. Manage your e-books privately on your own server.
Install Claper: Self-Host Interactive Presentations with Docker
Create interactive presentations with Claper. This guide shows you step-by-step how to install and secure Claper on your own server using Docker and Docker Compose.