Host Google Fonts Locally in Your Tailwind CSS Project
Self-host Google Fonts locally in your Tailwind CSS project for better performance and GDPR compliance. Step-by-step guide to eliminate external font requests.

Table of Contents
CAUTION
Please note that initially, I wrote this blog post in German. This translation is for your convenience. Although every effort has been made to ensure accuracy, there may be translation errors. I apologize for any discrepancies or misunderstandings resulting from the translation. I am grateful for any corrections in the comments or via mail.
If you are a web developer using Tailwind CSS, you may be wondering how to implement fonts locally.
INFO
The opinions expressed in this article are those of the author and do not necessarily reflect the views of my employer. My employer assumes no responsibility for the accuracy, completeness or appropriateness of the value judgments or statements of fact expressed in this article.
Google Fonts
Google Fonts is a collection of fonts provided by Google that can be used by websites and other online platforms. The collection contains hundreds of fonts in different styles and languages, which are offered free of charge. From traditional serif fonts to modern sans serif options, there’s a font for every website style. Whether you’re aiming for a professional or creative look, Google Fonts offers a wide selection of free fonts that can be easily integrated into your web design.
Google Fonts offers an easy way to use fonts on websites without worrying about font licensing. They are free and can be used by anyone with internet access.
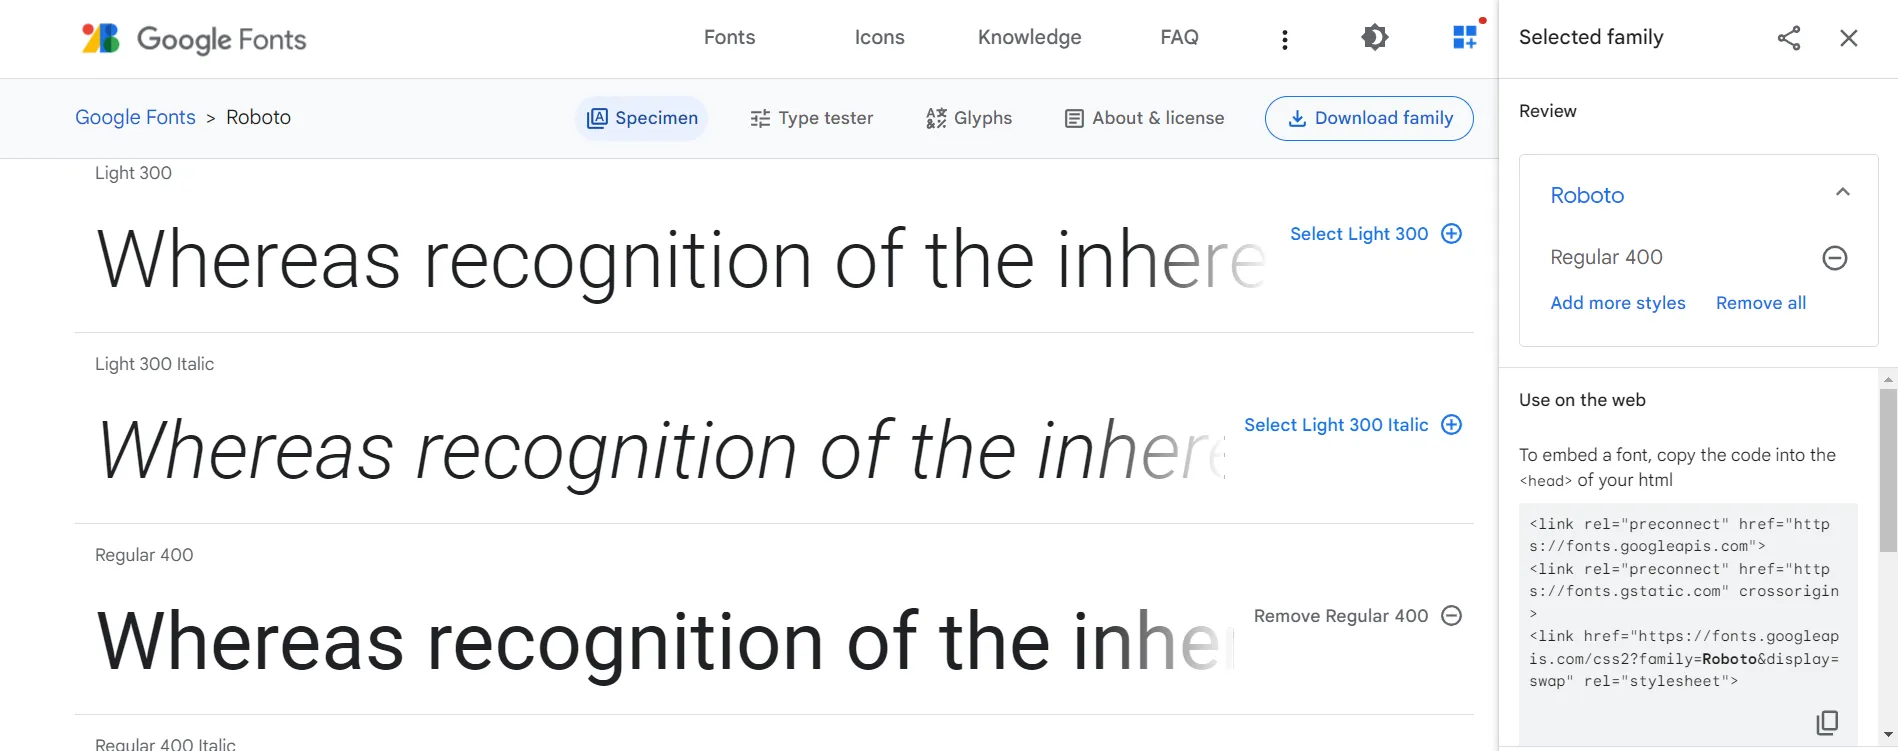
If you select the desired font, Google displays the code to use Google Fonts on a website. This code loads the fonts from Google’s server.
Google’s server or local integration
There are a few reasons why it may not be ideal to load Google Fonts directly from the Google server:
Performance: When Google Fonts are used from the Google server, the font files must be downloaded from the server each time the web page is loaded. This can potentially increase the website’s loading time, especially for users with slow internet connections. This only applies if you have a slow web server, in which case the Google CDN delivers faster.
Dependency: If Google Fonts are used from the Google server, the website becomes dependent on the availability of the Google server. If the server is down or unavailable due to problems, the website may not load properly.
Privacy: When Google Fonts are used from the Google server, users’ browser data (such as their IP address and the website they visit) is sent to Google. This may be of concern to users who are concerned about their privacy.
Legal issues: Depending on the country where your visitors are located, using the font from the Google server may be illegal. See for example LG Munich I, final judgment of 20.01.2022 - 3 O 17493/20. It is a violation of the right to informational self-determination and the right to privacy if the website owner automatically forwards a user’s dynamic IP address to Google without the user’s consent when the website is accessed. There is no justification for passing on an IP address in this case. Google Fonts can also be used locally without a connection to an established Google server when the website is accessed. The website user’s IP address is not transmitted to Google.
To avoid these problems, it is advisable to download the Google fonts and host them locally on your own server. This way you have more control over your website’s performance, availability and privacy.
I will first show the process on a pure HTML project, then in the second part with Next.js.
Set up HTML project
First, I’ll create a new project to show you how to integrate fonts locally. To use TailwindCSS, Node.js should be installed. For Windows, I recommend installing NVM-Windows to manage Node.js. Since November 2022, however, it no longer receives updates, as a similar project (“RT”) is being worked on.
Create index.html
I start with an empty folder in which I create an index.html with the following content:
<!doctype html>
<html lang="en">
	<head>
		<meta charset="UTF-8" />
		<meta http-equiv="X-UA-Compatible" content="IE=edge" />
		<meta name="viewport" content="width=device-width, initial-scale=1.0" />
		<title>Tailwind with local fonts</title>
	</head>
	<body>
		<h1>Hello world</h1>
		<p>No external fonts are used here</p>
		.
	</body>
</html>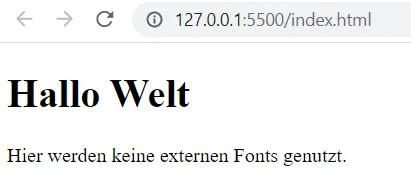
Install TailwindCSS
Next, I add a package.json to the directory with the following content:
{}Now I can also run npm install -D tailwindcss in the project folder.
This complements the previously created package.json:
{ "devDependencies": { "tailwindcss": "^3.2.4" } }And a node_modules folder and a package-lock.json are added.
If you want, you can add the Prettier plugin for Tailwind.
The tailwind.config.js is then created via npx tailwindcss init.
A tailwind.css must then be created with the following content:
@tailwind base;
@tailwind components;
@tailwind utilities;
Now I want to insert the script into the package.json file to create my CSS file that I want to include in my HTML file. My package.json will look like this:
{
	"scripts": {
		"tailwind": "tailwindcss -i ./tailwind.css -o ./style.css --watch"
	},
	"devDependencies": {
		"prettier": "^2.8.1",
		"prettier-plugin-tailwindcss": "^0.2.1",
		"tailwindcss": "^3.2.4"
	}
}
In the Tailwind.config.js you still have to enter which files are to be viewed:
/** @type {import('tailwindcss').Config} */
module.exports = {
	content: ["**/*.html"],
	theme: {
		extend: {},
	},
	plugins: [],
};
Now I can call npm run tailwind in the terminal, a style.css file is created. I can interrupt the process with Ctrl+C.
Finally, I include the Sytle.css in the HTML file:
<!doctype html>
<html lang="en">
	<head>
		<meta charset="UTF-8" />
		<meta http-equiv="X-UA-Compatible" content="IE=edge" />
		<meta name="viewport" content="width=device-width, initial-scale=1.0" />
		<link rel="stylesheet" href="style.css" />
		<title>Tailwind with local fonts</title>
	</head>
	<body>
		<h1>Hello world</h1>
		<p>No external fonts are used here</p>
		.
	</body>
</html>
If everything worked, the page should now look like this.
Download Google Fonts
We can use the official Google Fonts page to download Google Fonts, but it is easier with the Google Webfonts Helper.
I select any font and choose the character sets and font styles I want to use later.
Charsets are collections of characters and symbols that are contained in fonts. They are used to represent the characters and symbols used in a particular language or context.
Font styles, in this case, are the weights that determine the thickness or fullness of fonts. They are specified in various units, such as “regular” or “bold”, or on a scale from 100 to 900, with 100 being the lightest and 900 the heaviest.
Not all fonts offer all character sets or weights.
For example, I choose Advent Pro with latin and in 400 and 600.
Advent Pro](@/assets/images/blog/tailwindcss-lokale-fonts/images/advent-pro.png)
I also download Zen Dots.
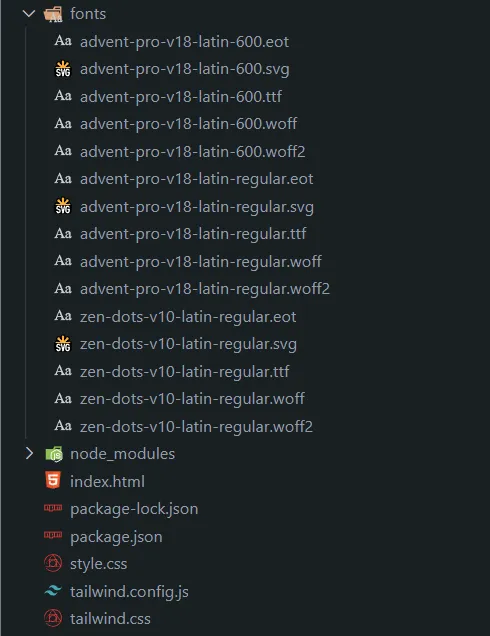
I put the content of the extracted files into a fonts folder in my project.
Integrate fonts
Finally, the fonts have to be integrated.
To do this, I first add the tailwind.css:
@tailwind base;
@tailwind components;
@tailwind utilities;

/* advent-pro-regular - latin */
@font-face {
	font-family: "Advent Pro";
	font-style: normal;
	font-weight: 400;
	src: url("./fonts/advent-pro-v18-latin-regular.eot"); /* IE9 Compat Modes */
	src:
		local(""),
		url("./fonts/advent-pro-v18-latin-regular.eot?#iefix") format("embedded-opentype"),
		/* IE6-IE8 */ url("./fonts/advent-pro-v18-latin-regular.woff2") format("woff2"),
		/* Super Modern Browsers */ url("./fonts/advent-pro-v18-latin-regular.woff") format("woff"),
		/* Modern Browsers */ url("./fonts/advent-pro-v18-latin-regular.ttf") format("truetype"),
		/* Safari, Android, iOS */ url("./fonts/advent-pro-v18-latin-regular.svg#AdventPro") format("svg"); /* Legacy iOS */
}

/* advent-pro-600 - latin */
@font-face {
	font-family: "Advent Pro";
	font-style: normal;
	font-weight: 600;
	src: url("./fonts/advent-pro-v18-latin-600.eot"); /* IE9 Compat Modes */
	src:
		local(""),
		url("./fonts/advent-pro-v18-latin-600.eot?#iefix") format("embedded-opentype"),
		/* IE6-IE8 */ url("./fonts/advent-pro-v18-latin-600.woff2") format("woff2"),
		/* Super Modern Browsers */ url("./fonts/advent-pro-v18-latin-600.woff") format("woff"),
		/* Modern Browsers */ url("./fonts/advent-pro-v18-latin-600.ttf") format("truetype"),
		/* Safari, Android, iOS */ url("./fonts/advent-pro-v18-latin-600.svg#AdventPro") format("svg"); /* Legacy iOS */
}

/* zen-dots-regular - latin */
@font-face {
	font-family: "Zen Dots";
	font-style: normal;
	font-weight: 400;
	src: url("./fonts/zen-dots-v10-latin-regular.eot"); /* IE9 Compat Modes */
	src:
		local(""),
		url("./fonts/zen-dots-v10-latin-regular.eot?#iefix") format("embedded-opentype"),
		/* IE6-IE8 */ url("./fonts/zen-dots-v10-latin-regular.woff2") format("woff2"),
		/* Super Modern Browsers */ url("./fonts/zen-dots-v10-latin-regular.woff") format("woff"),
		/* Modern Browsers */ url("./fonts/zen-dots-v10-latin-regular.ttf") format("truetype"),
		/* Safari, Android, iOS */ url("./fonts/zen-dots-v10-latin-regular.svg#ZenDots") format("svg"); /* Legacy iOS */
}
Please note that the path to the fonts folder should be correct.
Then the Tailwind-config file must be added:
/** @type {import('tailwindcss').Config} */
module.exports = {
	content: ["**/*.html"],
	theme: {
		extend: {
			fontFamily: {
				advent: ["Advent Pro", "sans-serif"],
				zendots: ["Zen Dots", "sans-serif"],
			},
		},
	},
	plugins: [],
};
Use fonts
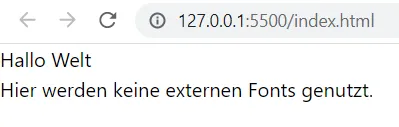
Now I can use the fonts in my index.html:
<!doctype html>
<html lang="en">
	<head>
		<meta charset="UTF-8" />
		<meta http-equiv="X-UA-Compatible" content="IE=edge" />
		<meta name="viewport" content="width=device-width, initial-scale=1.0" />
		<link rel="stylesheet" href="style.css" />
		<title>Tailwind with local fonts</title>
	</head>
	<body>
		<h1 class="font-zendots text-3xl font-semibold">Hello world</h1>
		<p class="font-advent">No external fonts are used here</p>
	</body>
</html>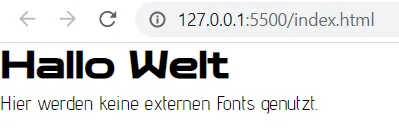
Next.js with TailwindCSS and Google Fonts
Next, I want to use the Google Fonts in Next.js with TailwindCSS. So, I create a new project folder with a quasi-empty package.json:
{}Install Next.js
Then I install Next.js
npm install next react react-domInstall Next/Font
I want to use the Next/Font API to load the Google Fonts. To do this, I install the package:
npm install @next/fontInstall TailwindCSS
Then I install the packages for TailwindCSS:
npm install -D tailwindcss postcss autoprefixer prettier prettier-plugin-tailwindcssThen I need a PostCSS configuration file with the name postcss.config.js:
module.exports = {
	plugins: {
		tailwindcss: {},
		autoprefixer: {},
	},
};
And again a tailwind configuration file (tailwind.config.js). I add two Google fonts to the default theme:
/** @type {import('tailwindcss').Config} */
const defaultTheme = require("tailwindcss/defaultTheme");

module.exports = {
	content: ["./src/**/*.{js,ts,jsx,tsx}"],
	theme: {
		extend: {
			fontFamily: {
				sono: ["var(--font-sono)", ...defaultTheme.fontFamily.sans],
				prosto: ["var(--font-prosto)", ...defaultTheme.fontFamily.sans],
			},
		},
	},
	plugins: [],
};
Create next app
First I add my required scripts to the package.json, it will look like this:
{
	"scripts": {
		"dev": "next dev",
		"build": "next build",
		"start": "next start"
	},
	"dependencies": {
		"@next/font": "^13.1.1",
		"next": "^13.1.1",
		"react": "^18.2.0",
		"react-dom": "^18.2.0"
	},
	"devDependencies": {
		"autoprefixer": "^10.4.13",
		"postcss": "^8.4.20",
		"prettier": "^2.8.1",
		"prettier-plugin-tailwindcss": "^0.2.1",
		"tailwindcss": "^3.2.4"
	}
}
Now, I can create the src folder and a style folder. In this folder, I create a global.css file in which I import the tailwind styles:
@tailwind base;
@tailwind components;
@tailwind utilities;
Then I create a pages folder in the src folder and a _app.jsx file in it. In this file I load Tailwind into my project, as well as the Google Fonts via the Next/Font API:
import "../styles/global.css";

import { Prosto_One, Sono } from "@next/font/google";

const prosto = Prosto_One({
	weight: ["400"],
	subsets: ["latin"],
	variable: "--font-prosto",
});

const sono = Sono({
	weight: ["400", "700"],
	subsets: ["latin"],
	variable: "--font-sono",
});

const MyApp = ({ Component, pageProps }) => (
	<div className={`${sono.variable} ${prosto.variable}`}>
		<Component {...pageProps} />
	</div>
);

export default MyApp;
Create index page
In the pages folder I also create an index.jsx file in which I use the Google Fonts in TailwindCSS:
const Index = () => {
	return (
		<header className="font-sono flex min-h-screen flex-col justify-center bg-stone-800 text-stone-50">
			<h1 className="font-prosto text-center text-5xl uppercase">Hello world</h1>
			<p className="mt-8 text-center">The Google Fonts are loaded locally.</p>
		</header>
	);
};

export default Index;
Start
At this point the project should have the following folder structure:
.
├── .next
├── node_modules
└── src
   ├── pages
   │   ├── _app.jsx
   │   └── index.jsx
   └── styles
       └── global.css
├── package-lock.json
├── package.json
├── postcss.config.js
└── tailwind.config.js
Now I can start the project:
npm run dev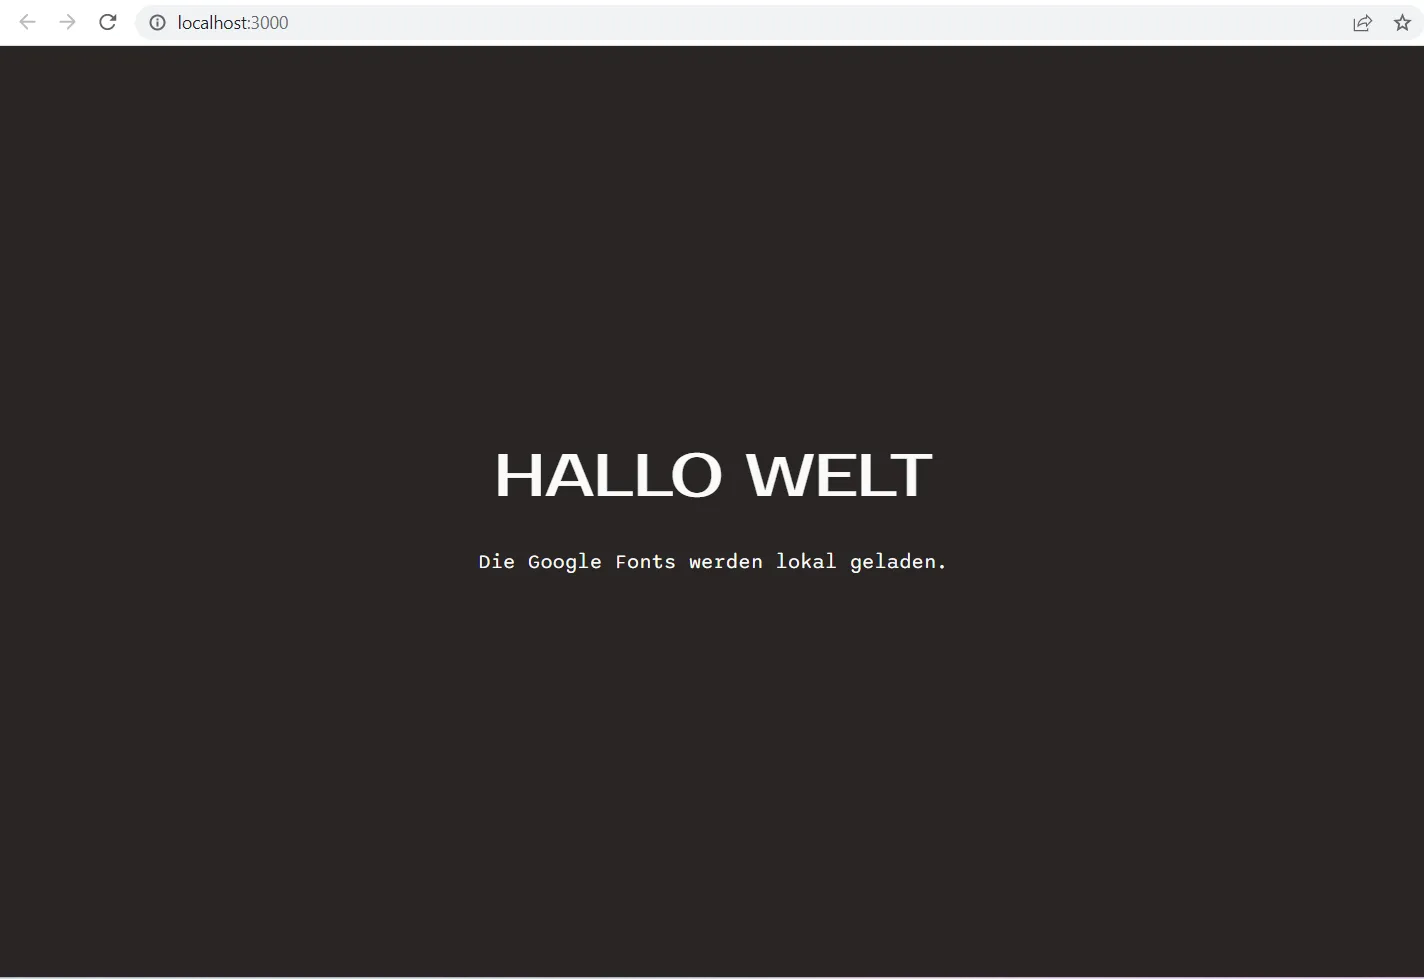
Verification
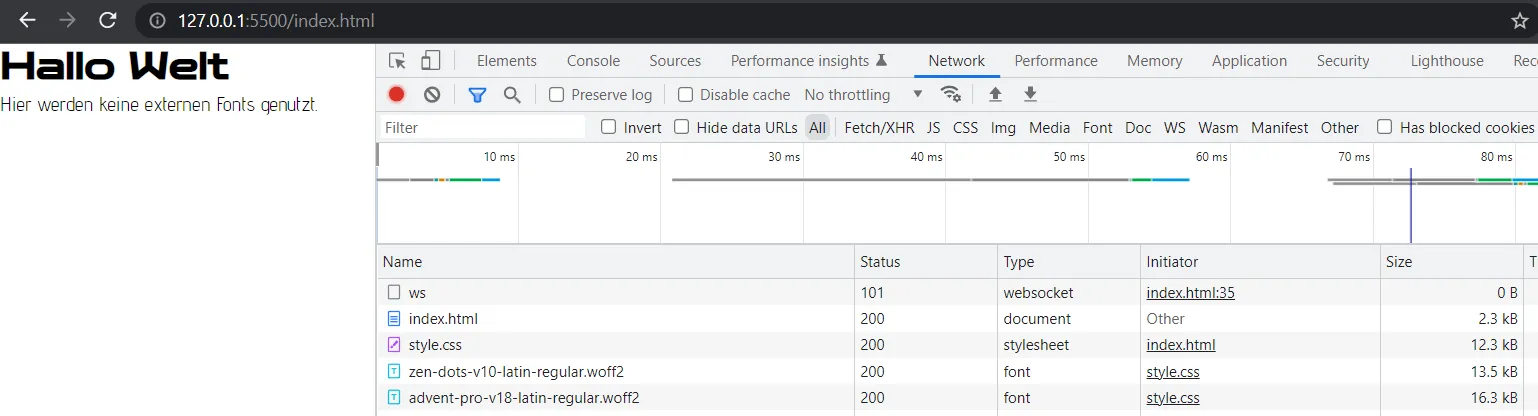
How can you check where the Google Fonts are loaded from?
This is possible via the browser’s network activity: Open your browser’s developer console (in Chrome you can do this by pressing Ctrl + Shift + I) and switch to the “Network” tab. You can see which resources are loaded from which URL when you visit your website. You should see several requests coming from “fonts.googleapis.com” when Google Fonts are loaded from Google.
Conclusion
In summary, the local implementation of Google Fonts with Tailwind CSS is a great way to customize the design of a website and make it stand out. It is not necessary to use the integration via the Google server.
Related Articles
Tailwind CSS: Building Reusable Components with Ease
Learn to build reusable components with variable CSS classes using Tailwind CSS. A practical tutorial for Next.js and React projects. Improve your workflow today.
Why Google Adsense Won't Make Your Blog Rich Either
I deactivated Google Ads on my blog again. Here is why blog monetization with Adsense rarely pays off and what I learned about advertising revenue.
Astro.js & Docker: Deploy Your Site on a VPS (Static & Dynamic)
Astro.js with Docker on your VPS: static (Nginx) or dynamic (Node.js). Full tutorial with current Dockerfiles, Docker Compose, and deployment workflow.
Build a Blog with Gatsby.js and Ghost CMS on Your VPS
Step-by-step guide: Build a blog with Gatsby.js and Ghost as a headless CMS. Set up everything on your VPS, configure Docker, and publish your website.